Tag Archives: bathroom

End of the Deck Bathroom

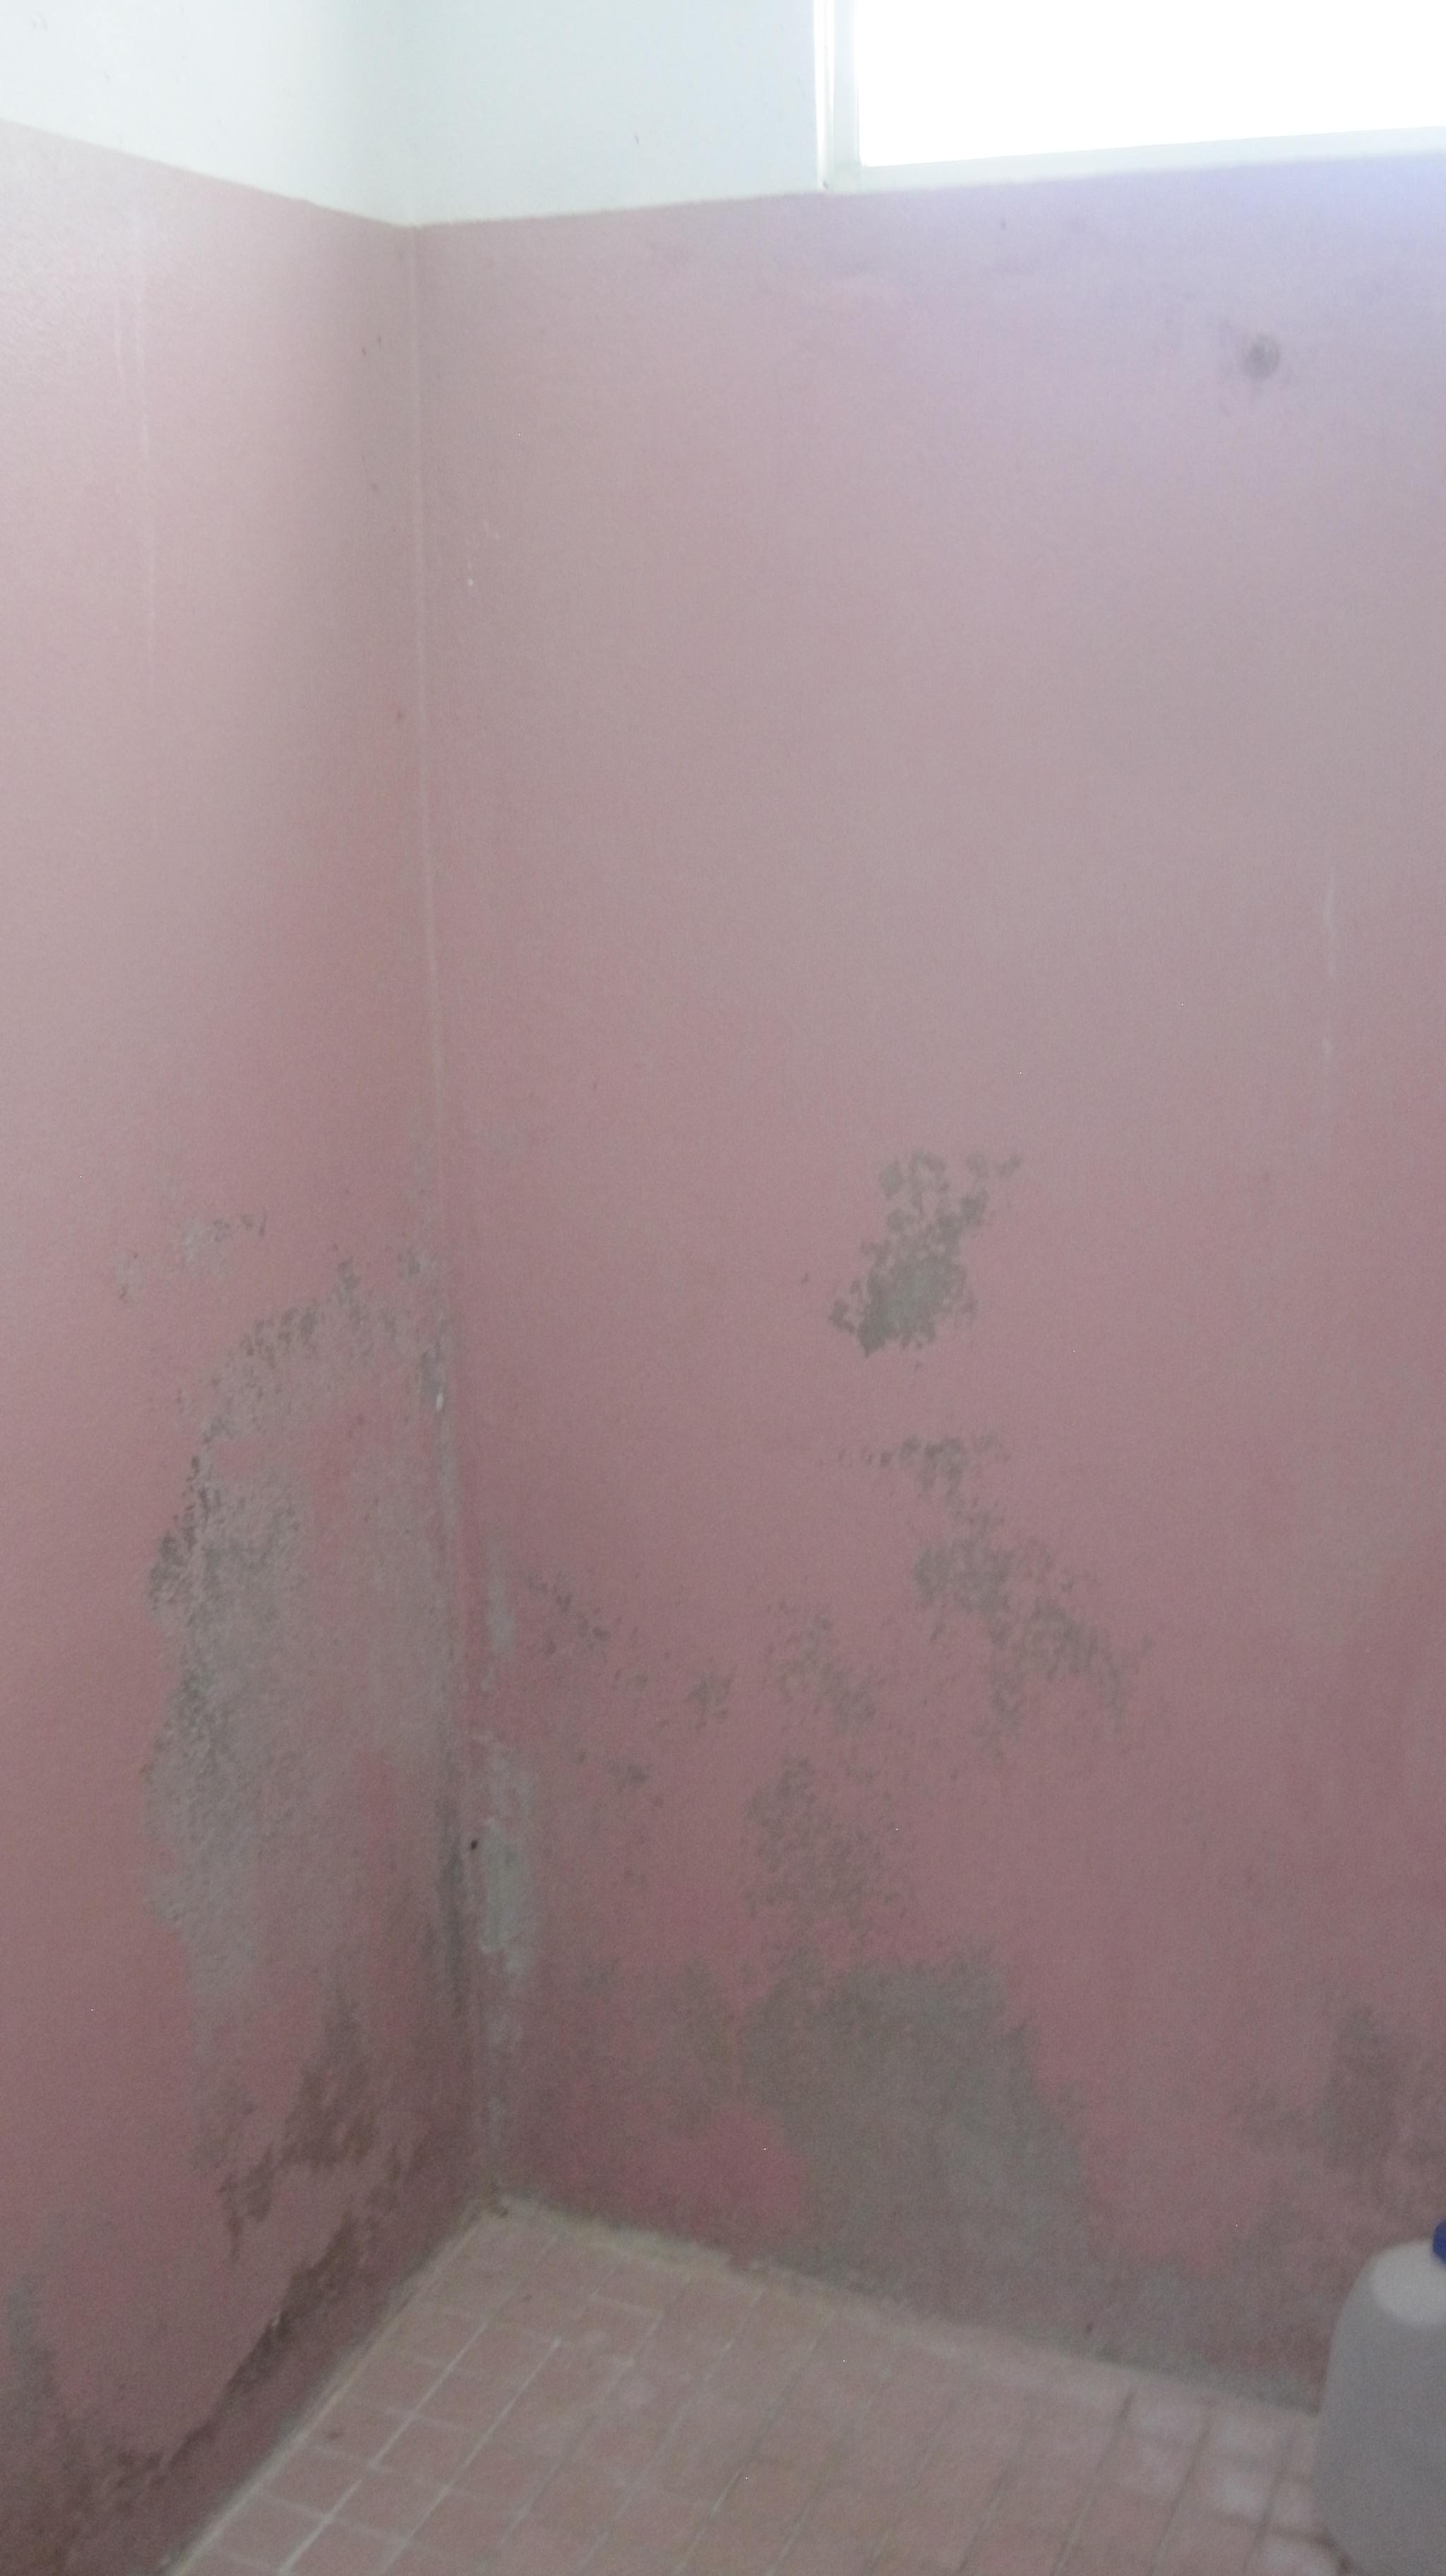
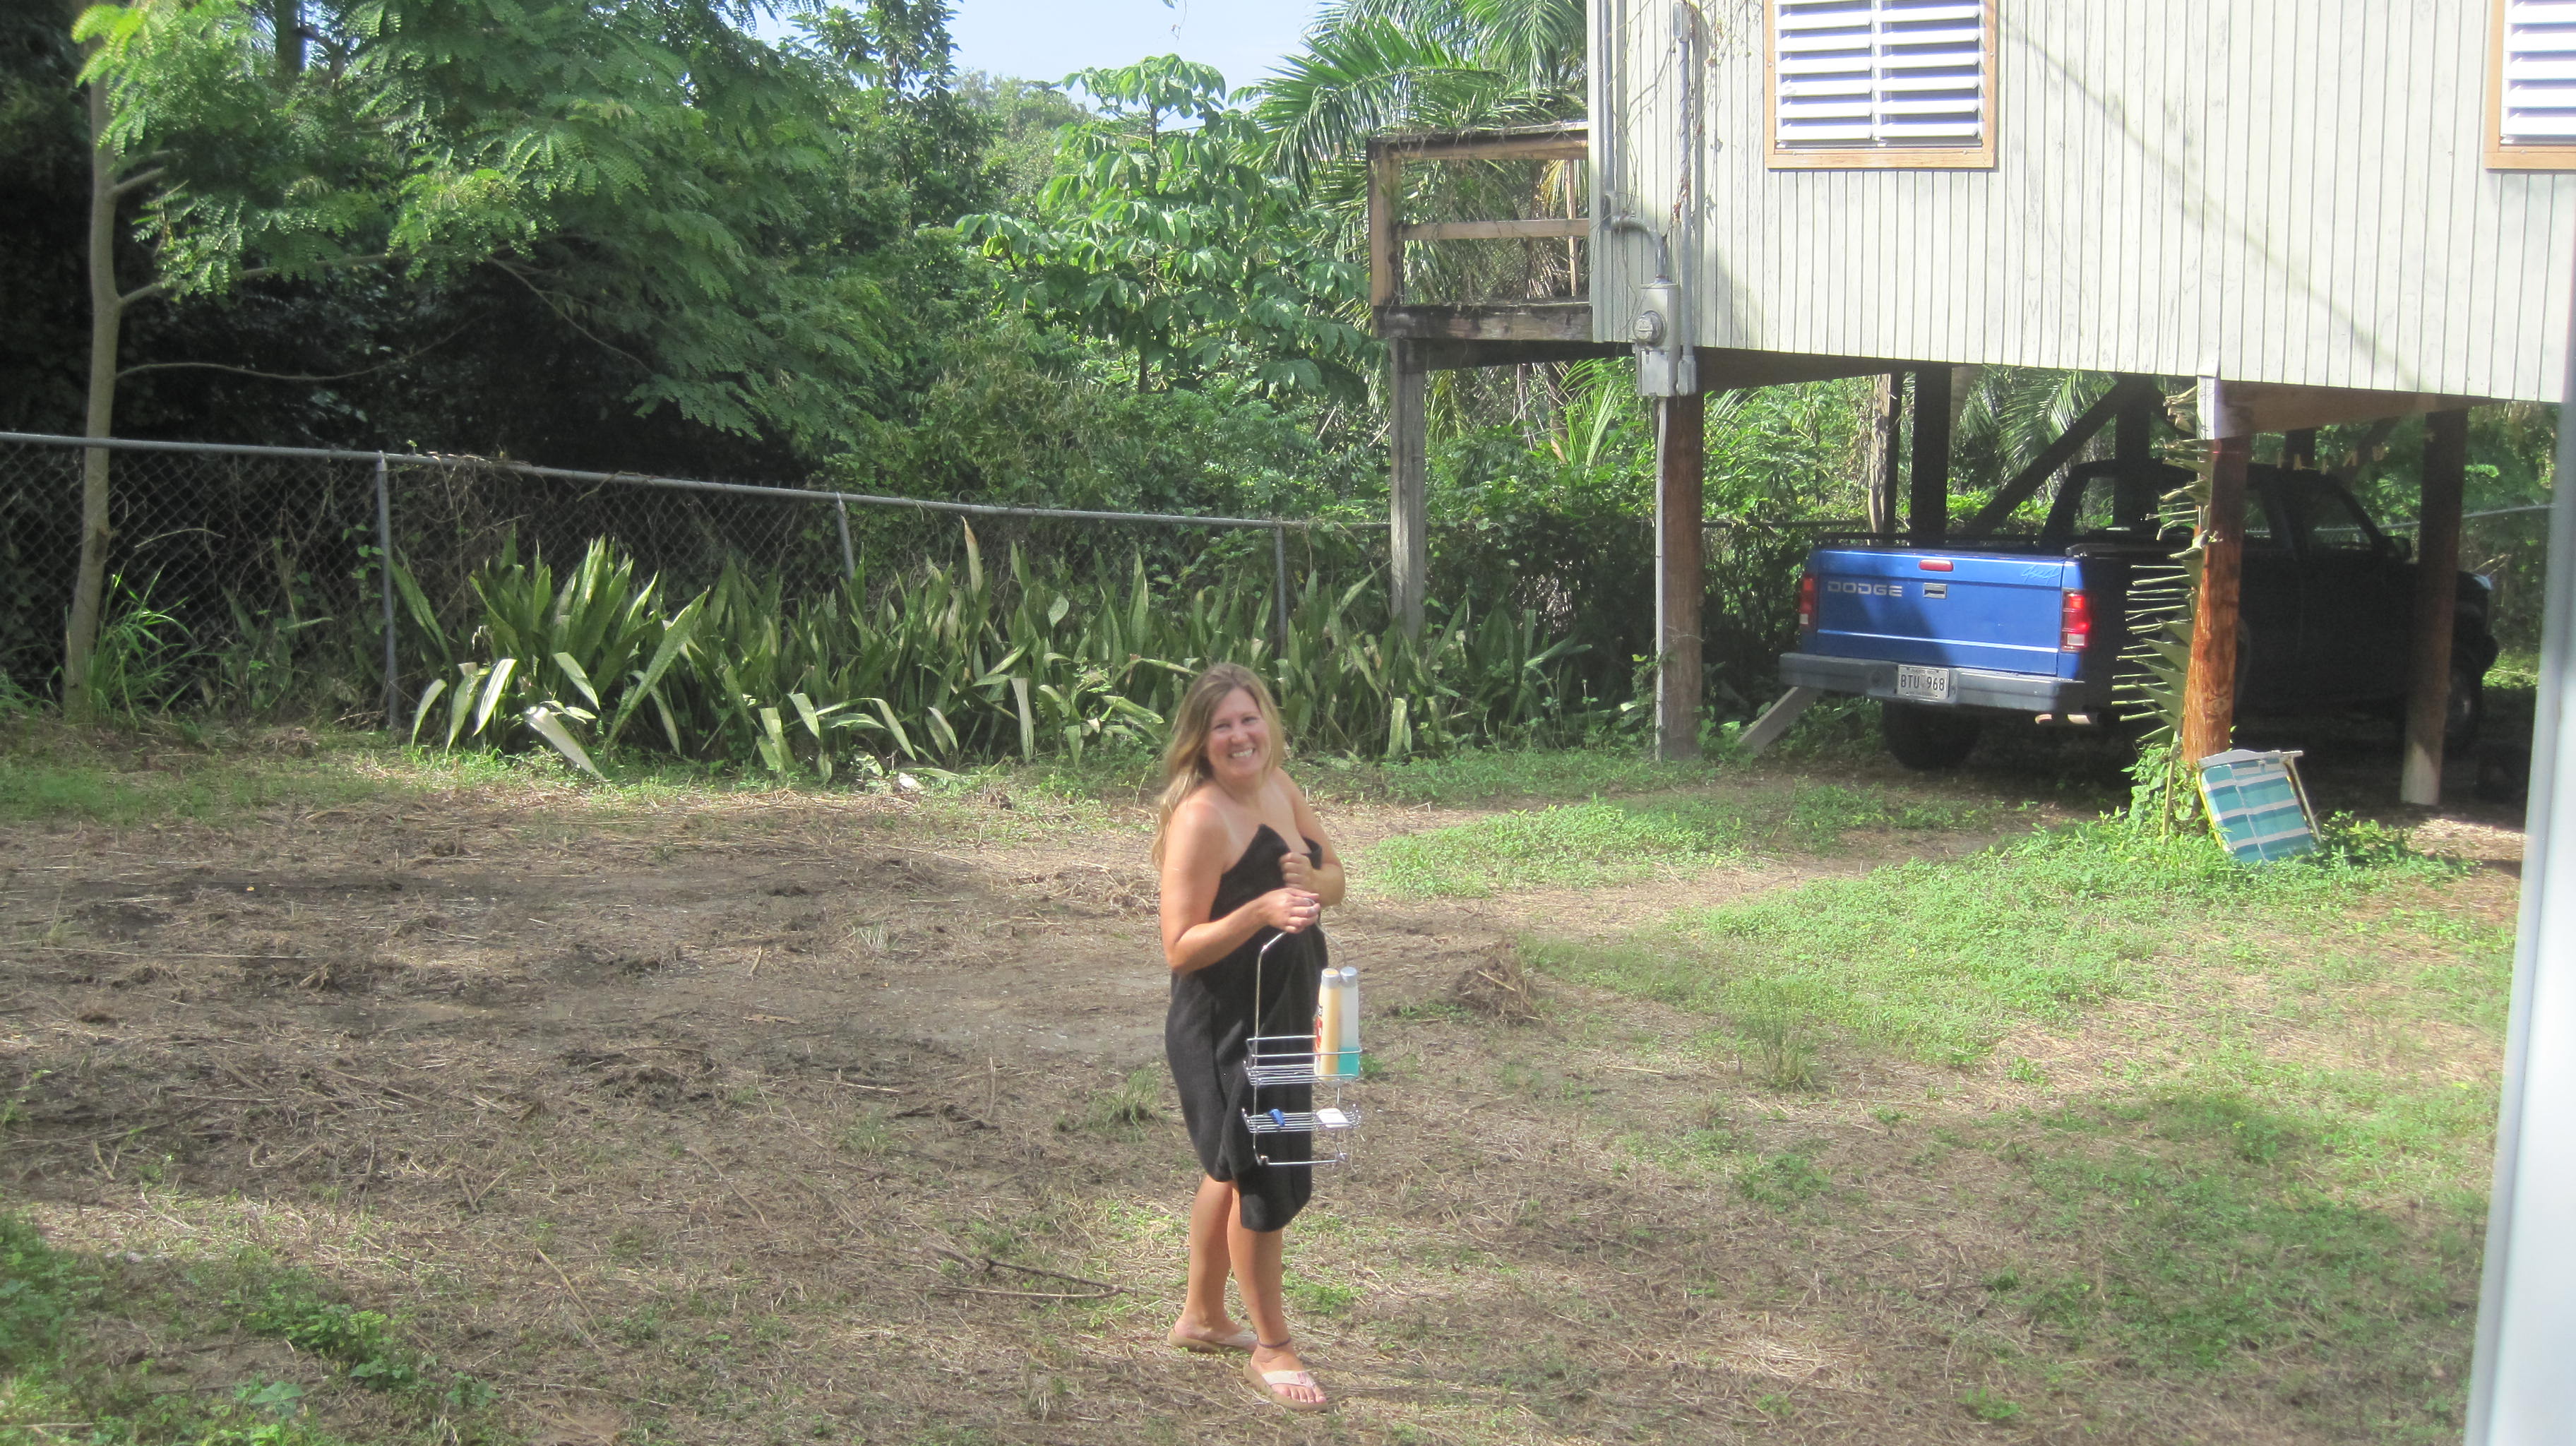
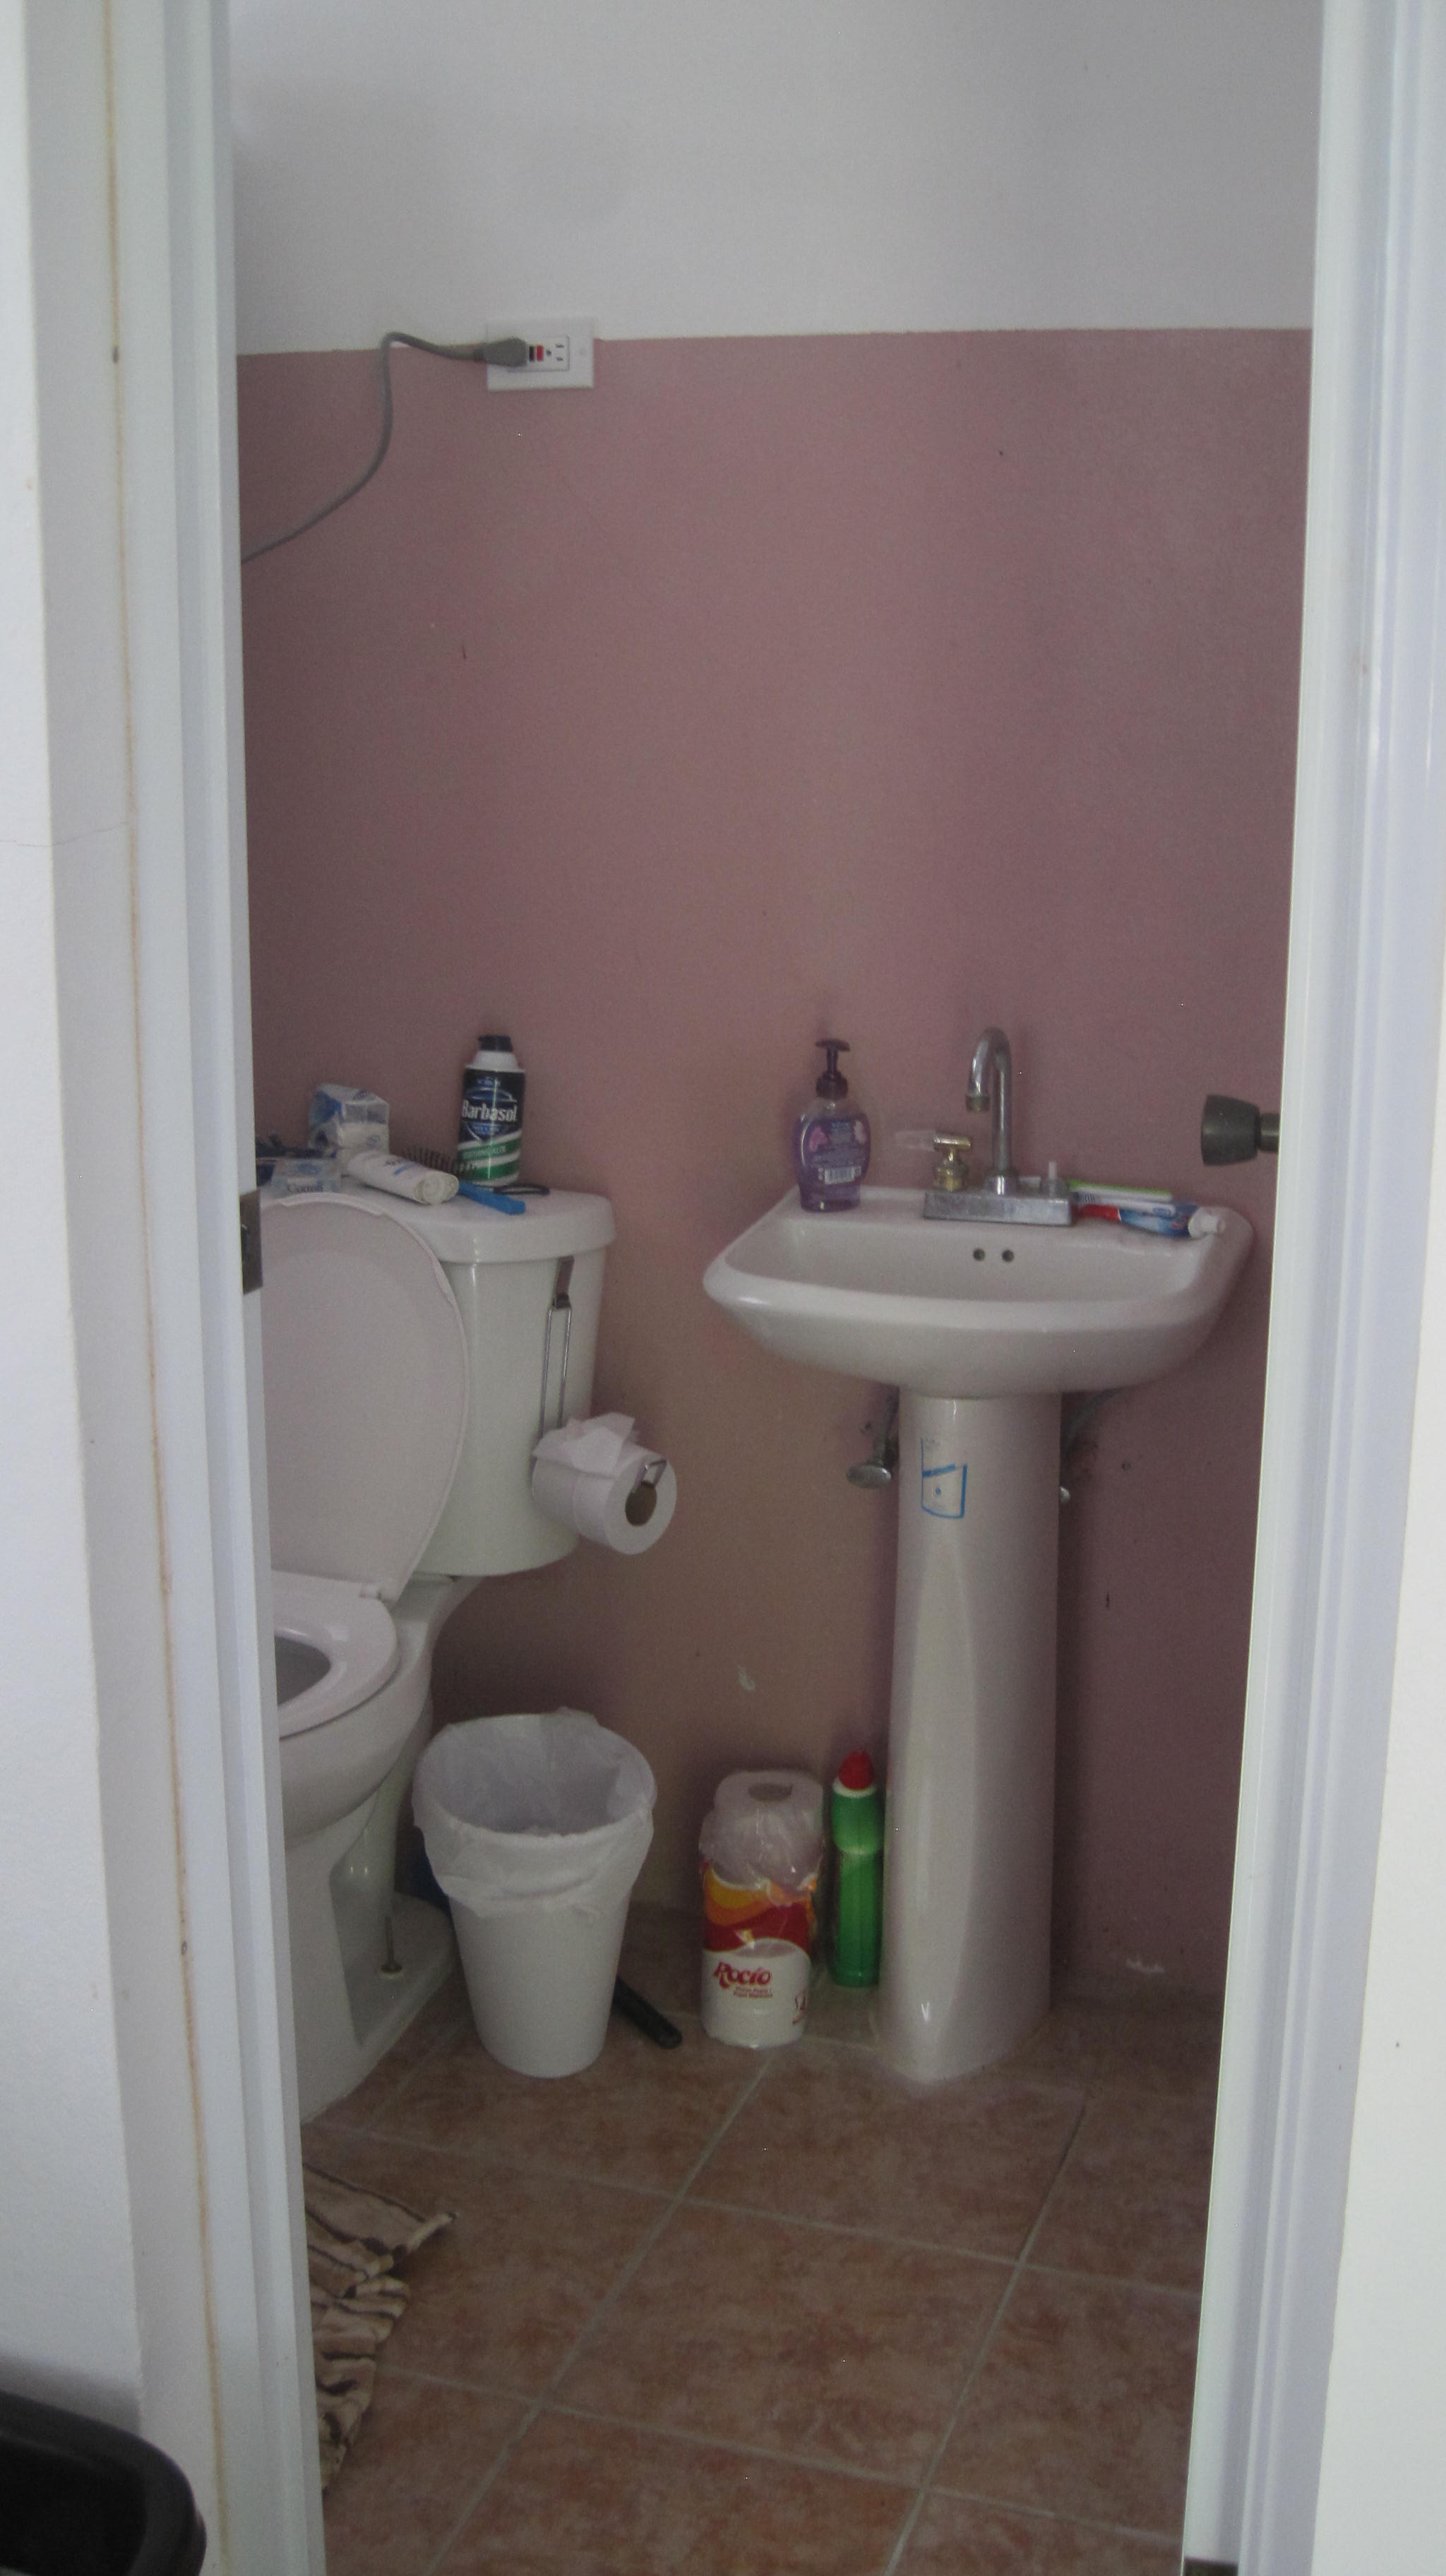
Today we accomplished a big step that we had begun over a month ago: remove the bathroom from the outdoor deck. This was a little tougher than the first part because Britton did the rest all by himself!

As it was coming down (over a month ago) it looked like this:

IMG_4686

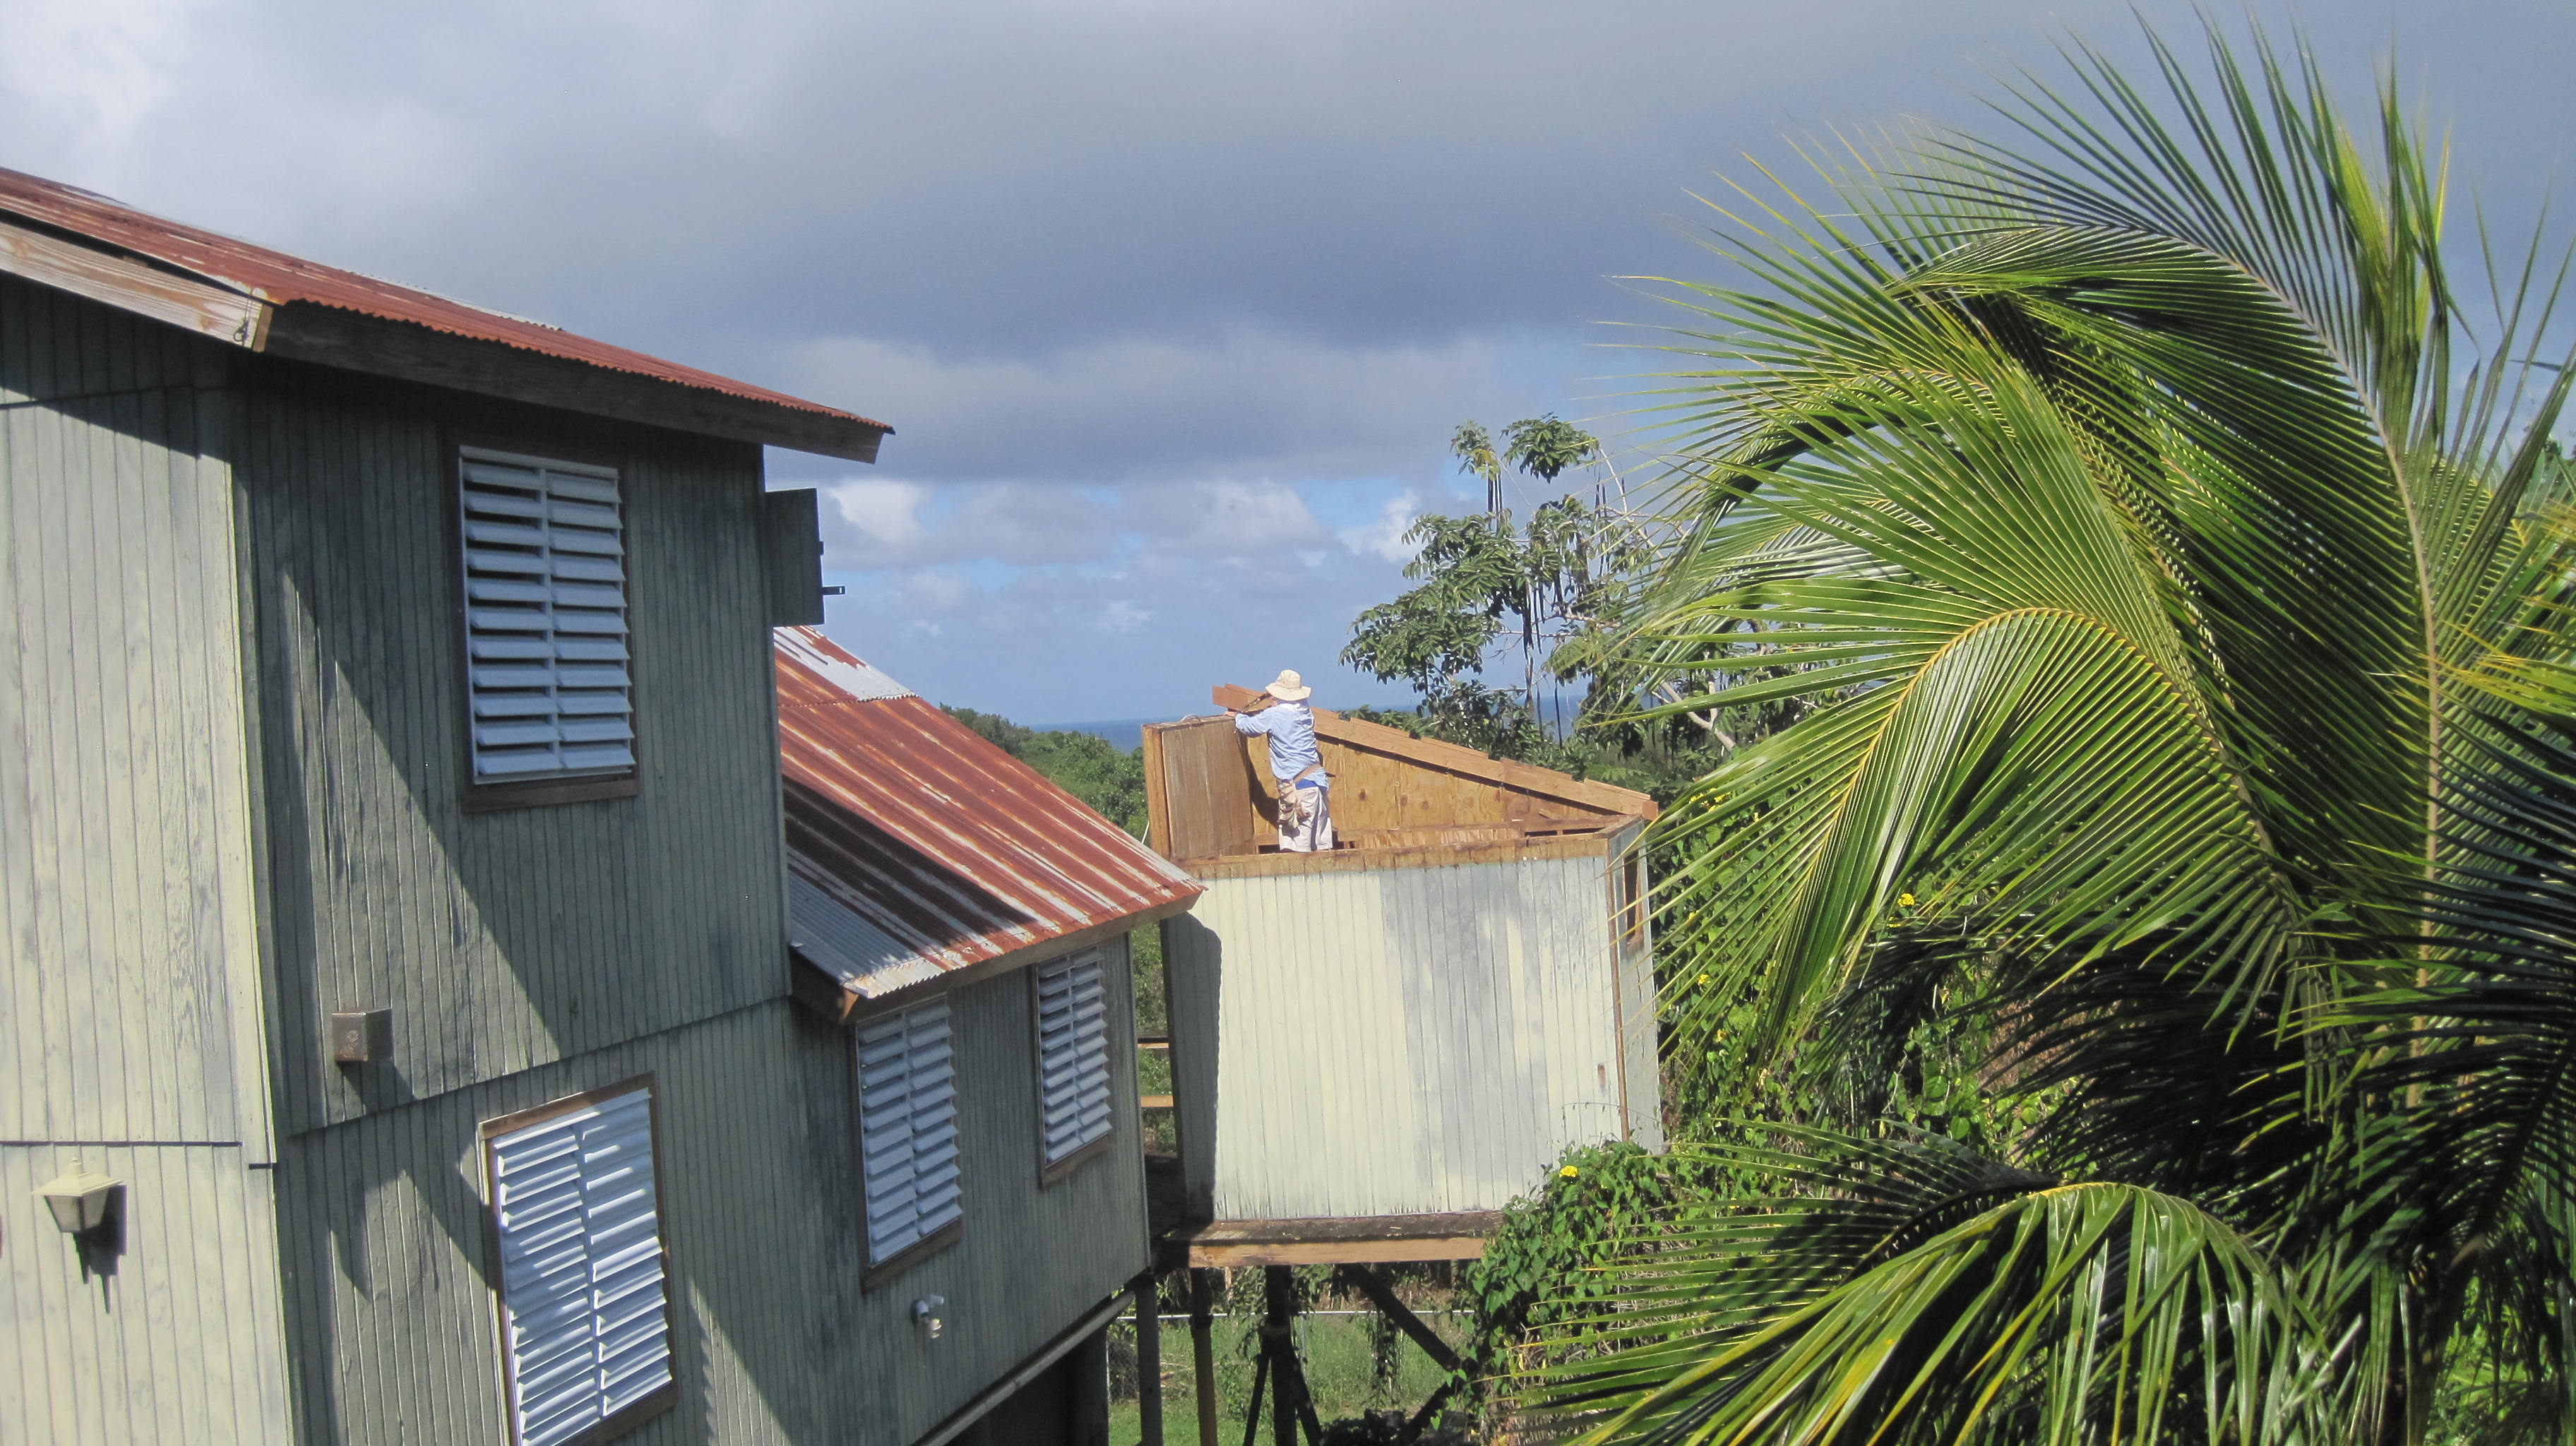
They removed the majority of the structure that day (roof, walls, doorway, window, tub, toilet, sink), but left the floor, support beams, and base structure. So over the last few days Britton has been popping out floor boards and planning how to take down the rest of the huge beams.

Popping Boards
Popping boards

Britton head IMG_5063

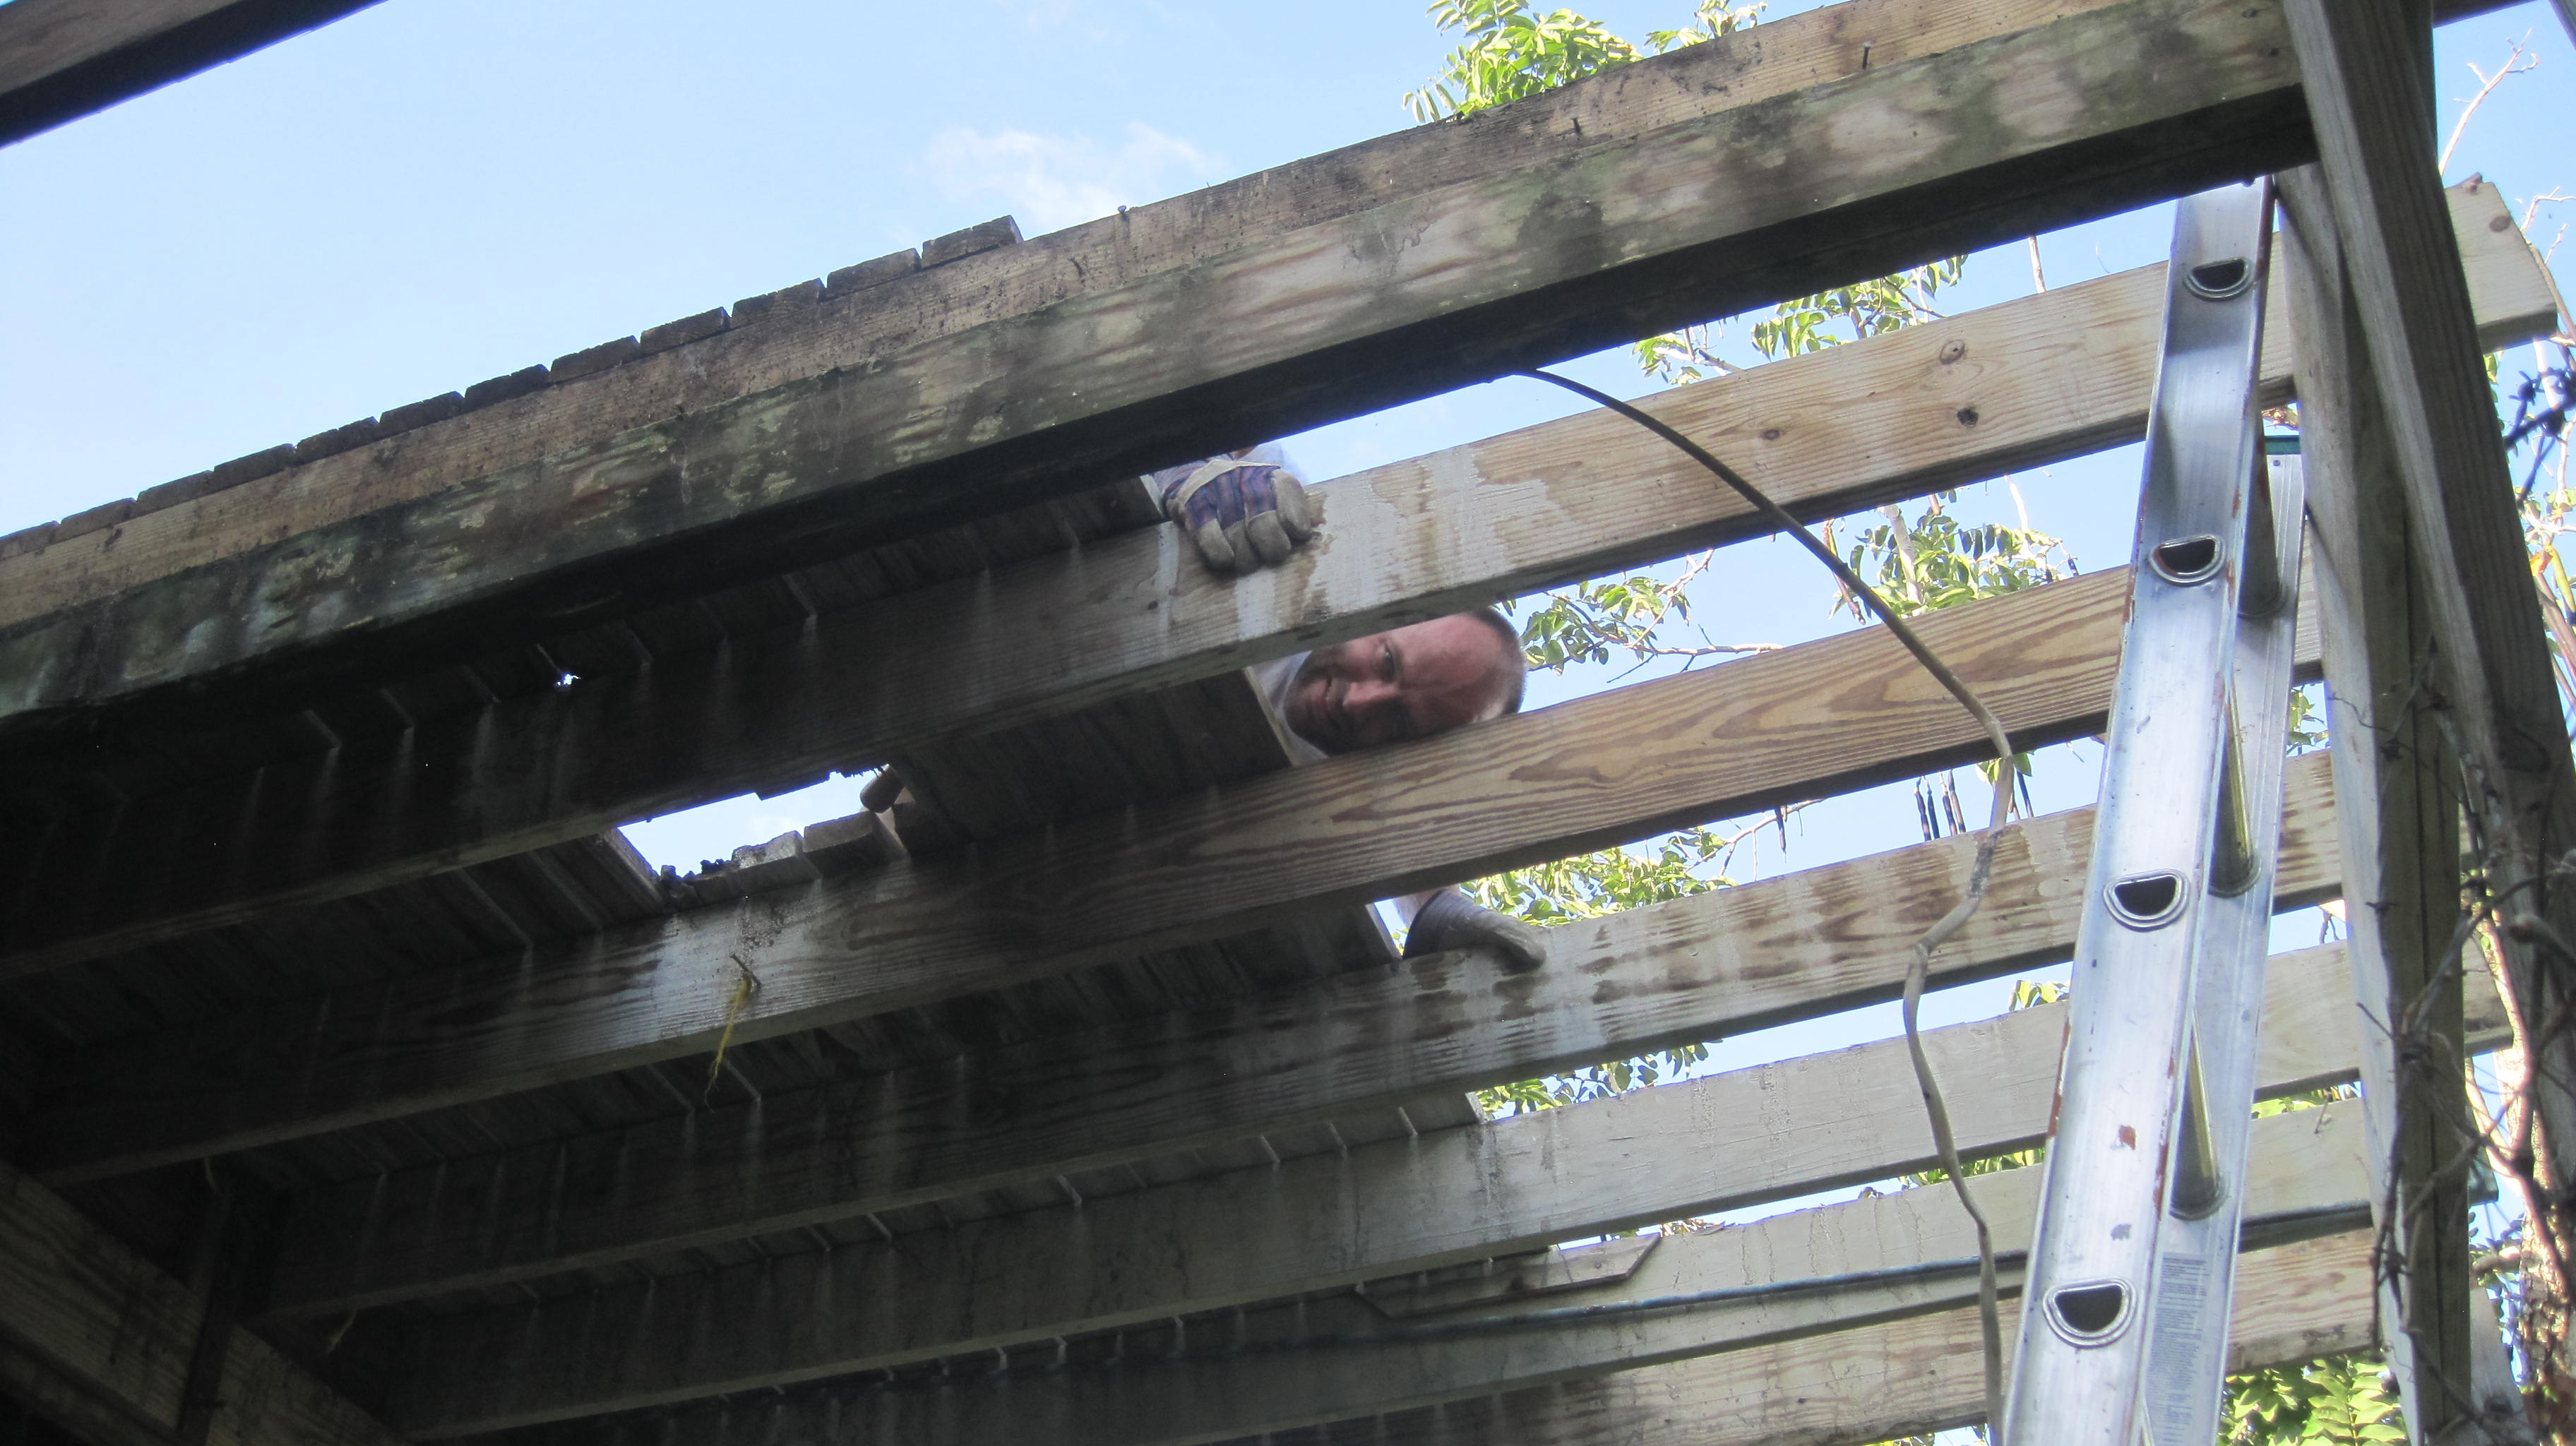
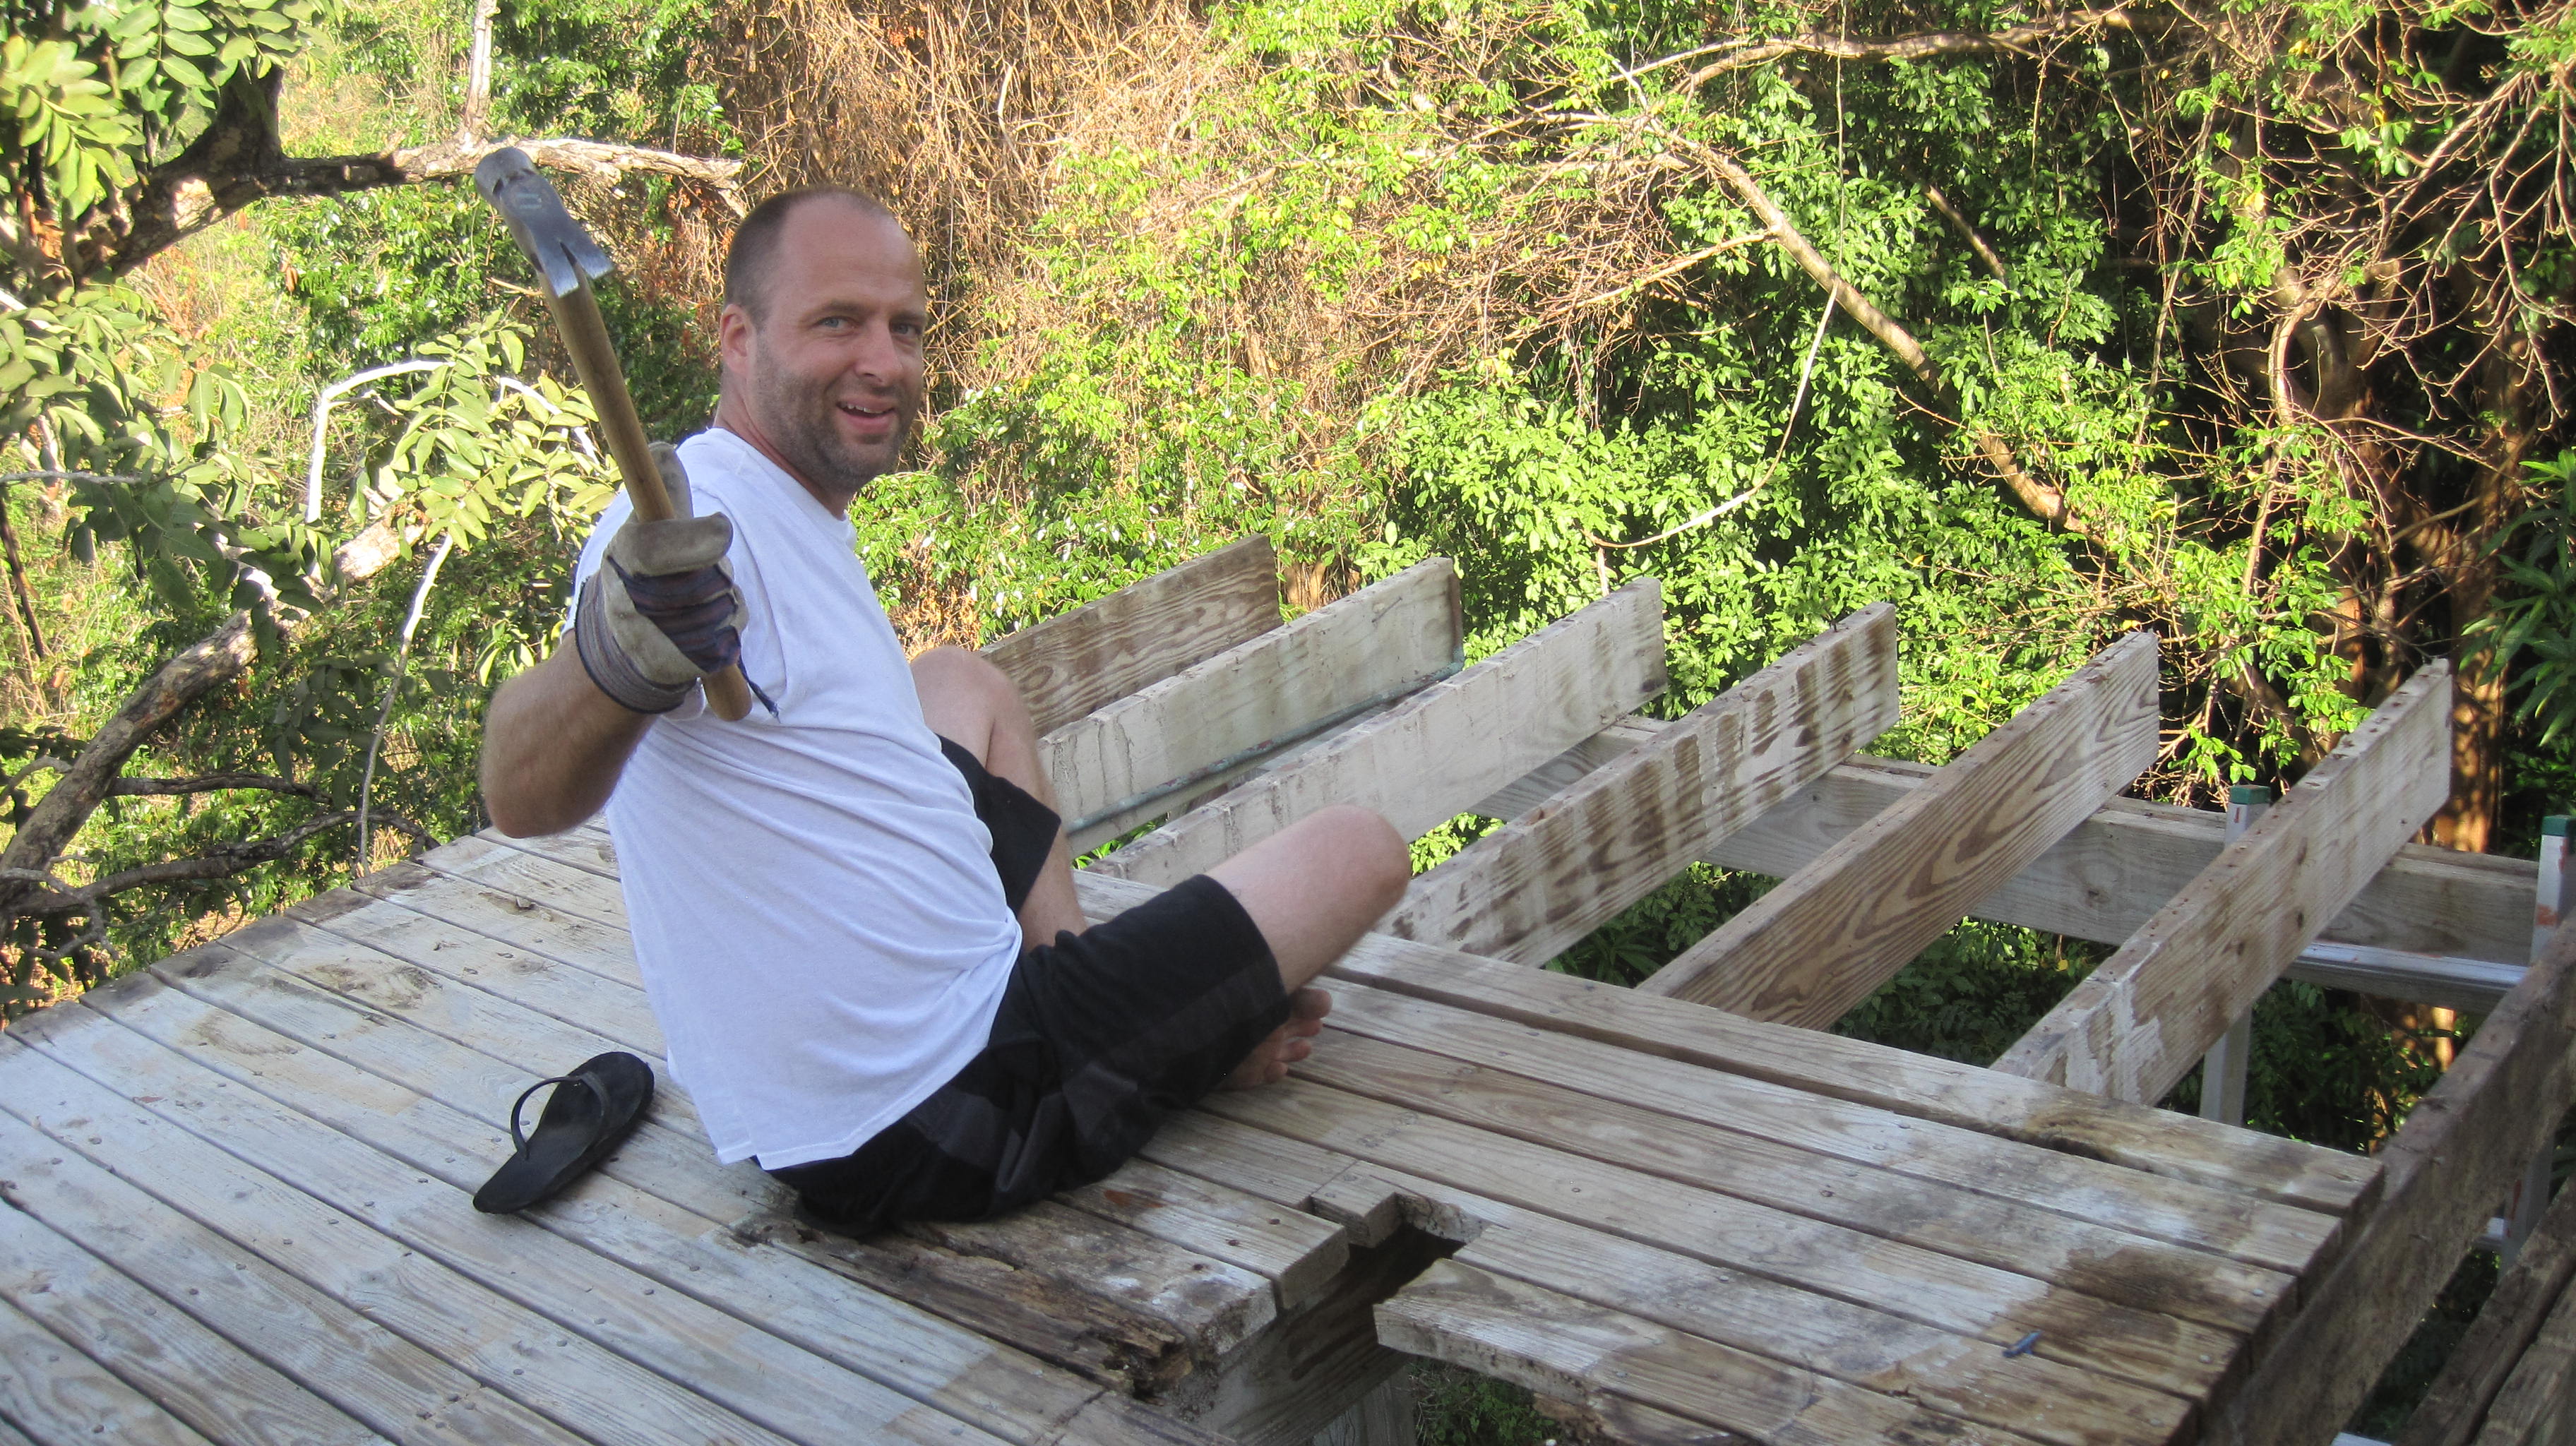
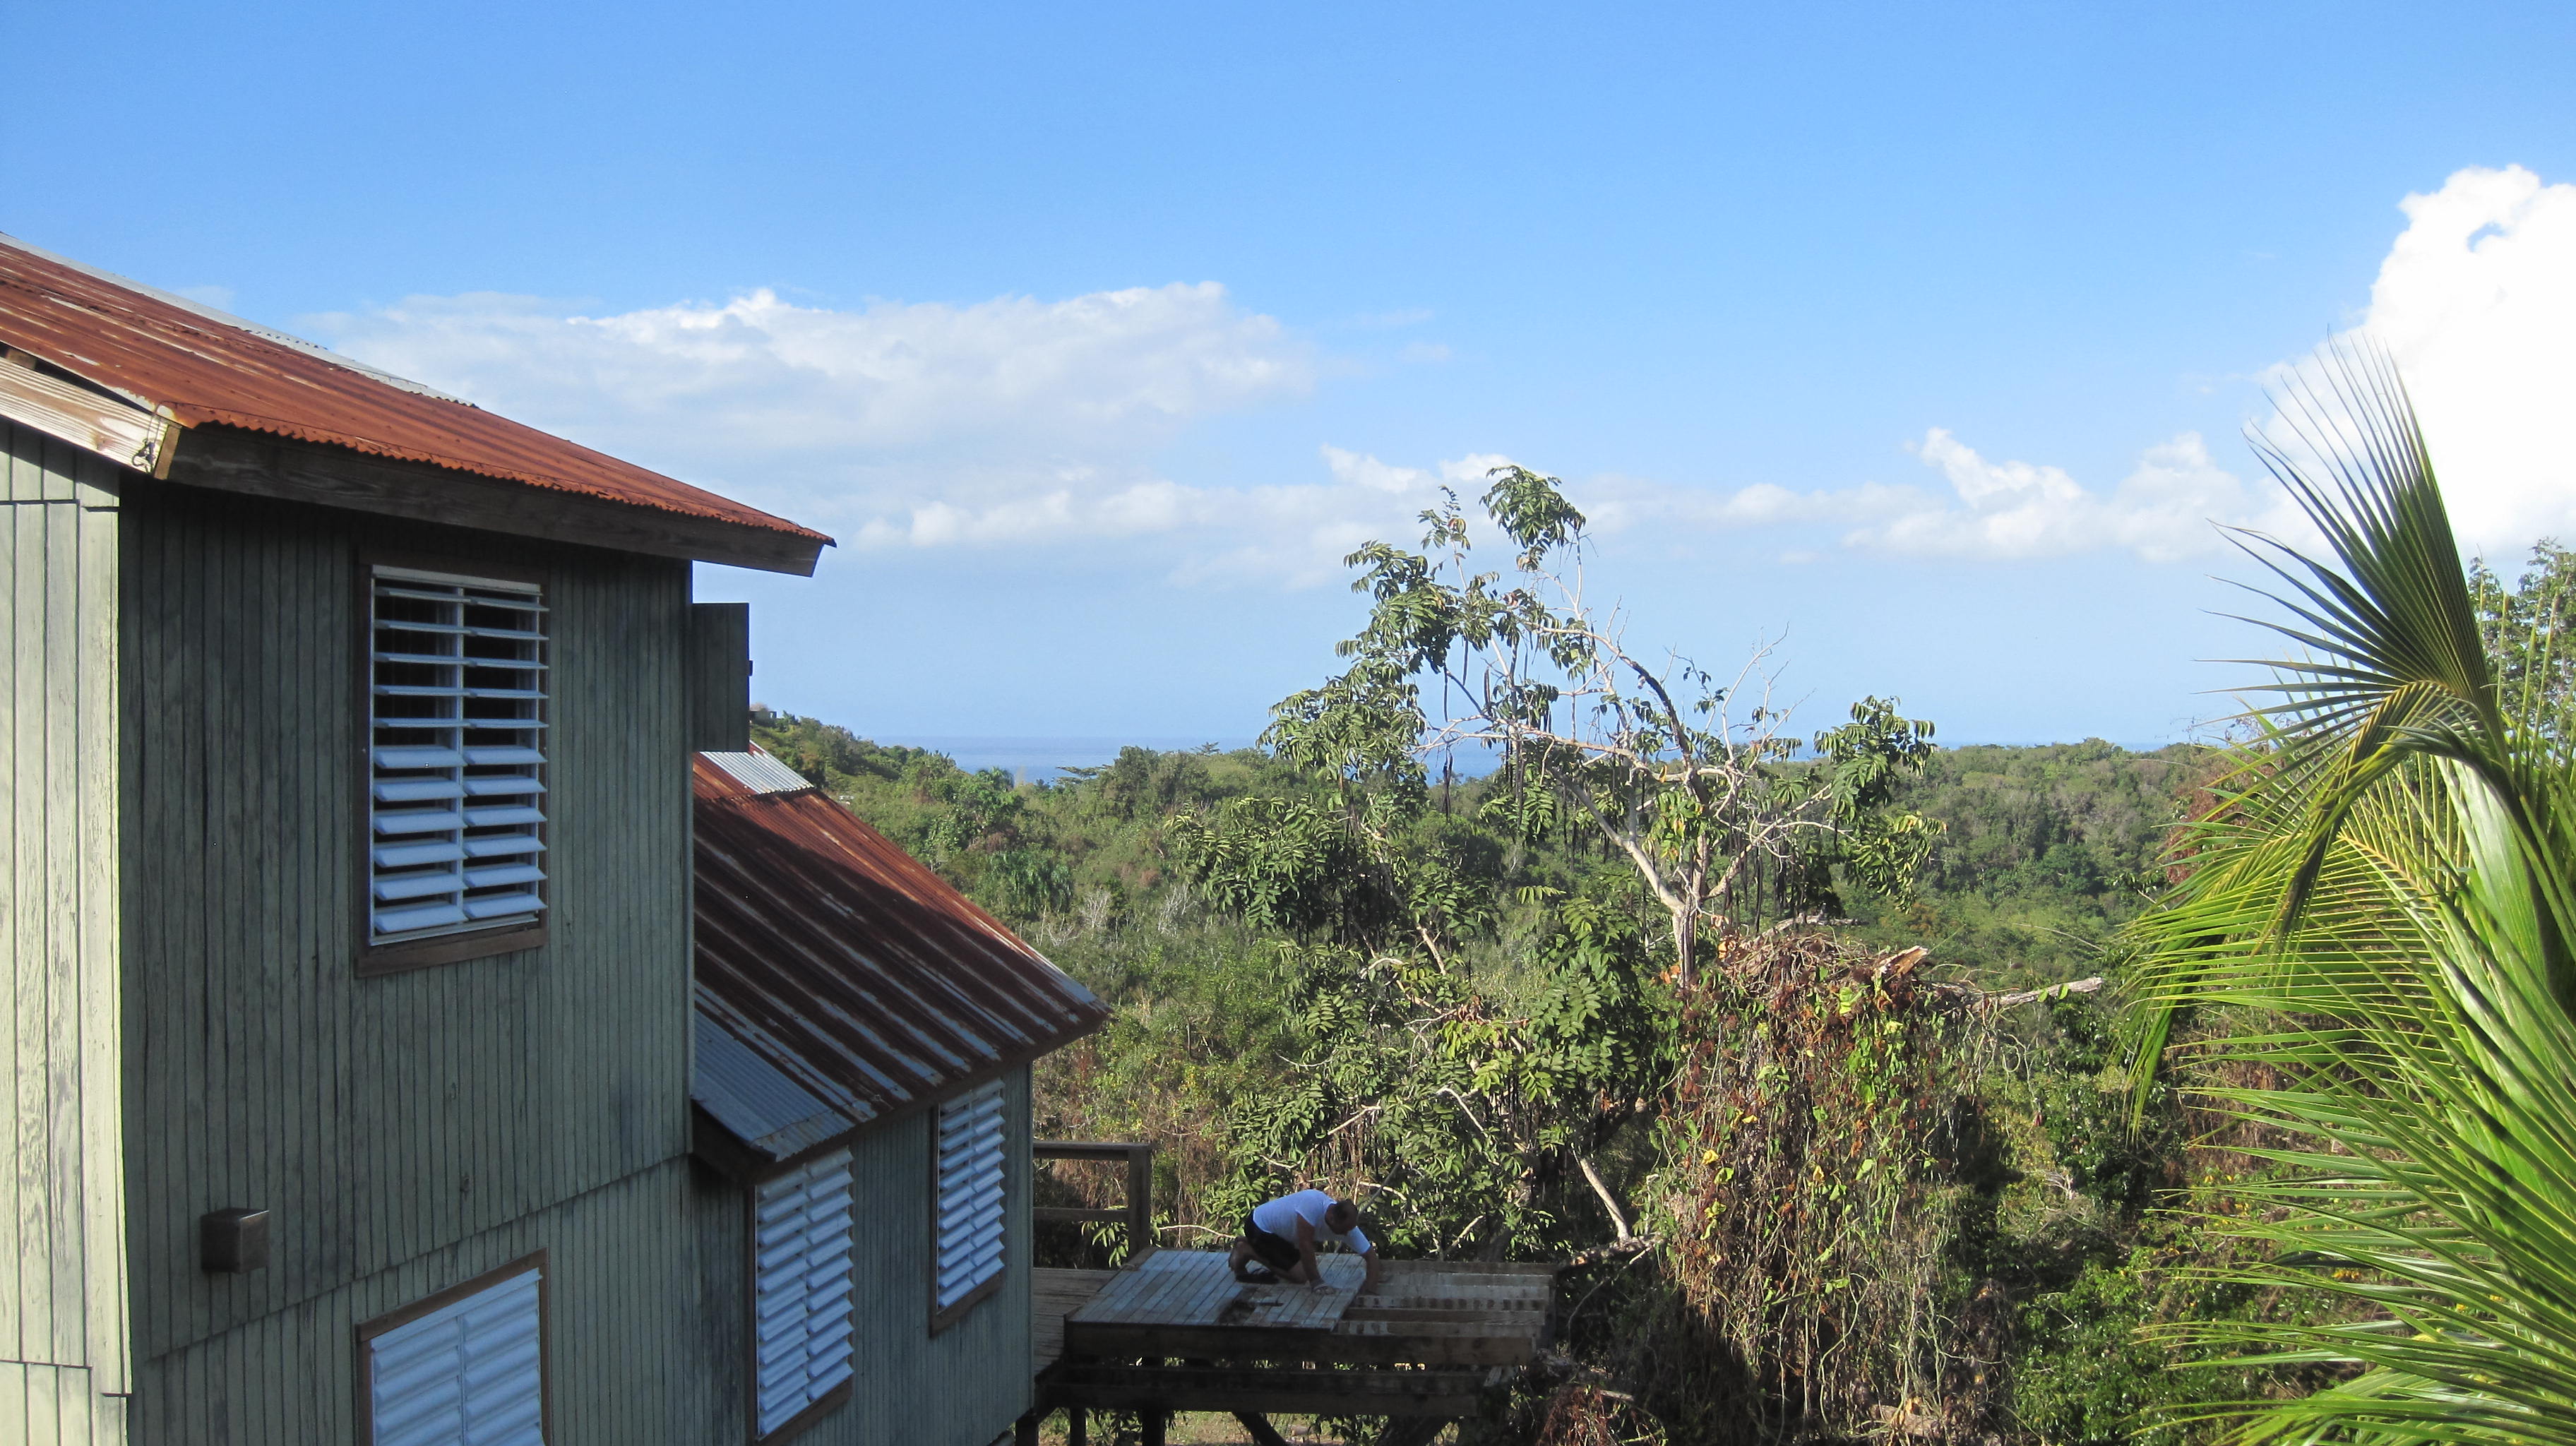
Today he finished with the floor and was to the point of actually taking down the final main support posts.

Nearly downAlmost there!

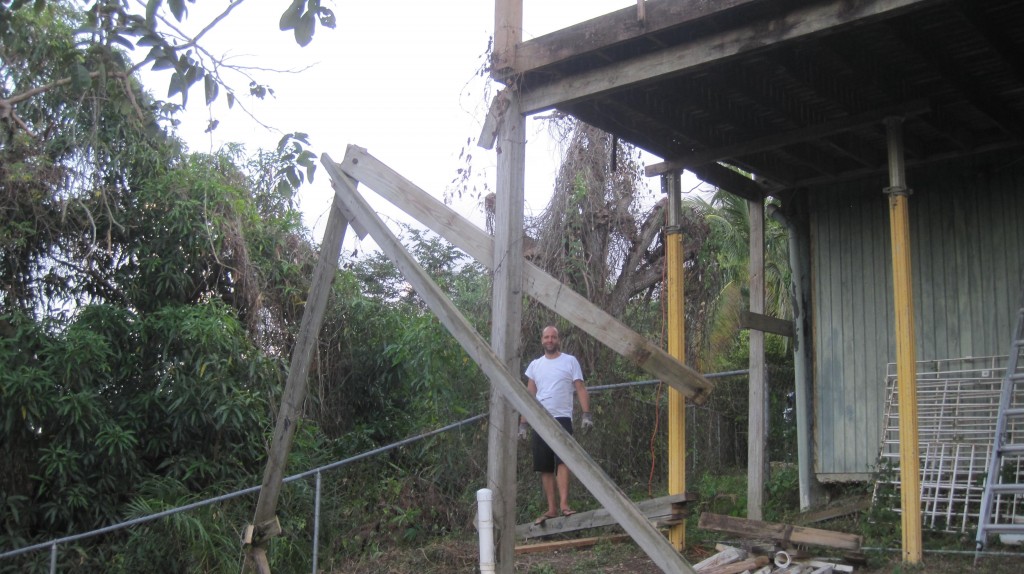
That was easier said than done because these support beams were huge and covered in barbed wire! But finally he managed to release them and now the whole thing is down!

Cleared view
By the evening it was gone!
We still have to process all the wood and separate the good pieces from the bad, take out the nails and get ready for its new life. Every end is a new beginning as they say and the timing for the end of this coop is not by chance. Our new little chicks will be arriving next week and the bathroom will soon transform into the chicken coop (we’ve been jokingly referring to it as the Poop Coop in reference to its past as a bathroom -haha). Thanks to my mom’s advice we are also going to use the bathtub as the baby chick home until they are big enough to go outside on their own. We’ve also ordered baby turkey chicks, but they won’t arrive until April so we have some time yet for them.

What do you think of this post?
  • WOW (2)
  • Awesome (3)
  • Interesting (0)
  • Useful (0)
  • Bummer (0)
  • Whoa (0)

Cabana Bathroom

Last week we started the paint and cleanup project for the cabana bathroom. The bathroom was in need of a refresh in a major way. The shower stall was flaking away down to the concrete and there were spider webs in the corners. Plus the pink walls were weird and made it feel like we were in a grimy locker room.

Before Shower stall

It took us about 2 days to paint it since we wanted it to be fully dry and we had to use two to three coats of paint (as a random aside I learned in Home Depot that a coat of paint is a “mano” which more commonly means hand in Spanish).

So in the mean time, we had to take a shower outside!

Cassie Shower

Each of us held the garden hose for the other one as we lathered up in the cool water under the palm trees and sunshine. It made me think that an outdoor shower might be kind of nice to have sometime down the line.

Shower View
Outdoor Shower View

After the paint dried, we also hung up a mirror and towel racks. Britton had to use a masonry bit in order to hang these and was careful to try not to hit the water or electric lines.

We would still like to tile the bathroom shower stall (tile here is “loza” which was also new to me, as I would have said baldosa or azulejo) and we have a small shelf to install as well.

The bathroom feels so much cleaner and brighter with a fresh coat of paint and new accessories. Plus Britton and our friend Matt had already installed a new toilet when they were here in January, so it really feels much better now that it flushes without leaking as well.

Before BathroomBathroom after 1
Before and After

The cabana is getting more and more comfortable every day and we have started to move onto fixing the wood house which is just absolutely disgusting right now. So it is good to see the results of this bathroom cleanup to keep us energized in that much larger project.

What do you think of this post?
  • WOW (0)
  • Awesome (6)
  • Interesting (2)
  • Useful (1)
  • Bummer (0)
  • Whoa (0)

Kitchen and Bathroom Demolition and Remodel

Well this little rental house is probably the biggest undertaking we have made in our rentals and in our own house. We have finished our basement, are currently working on a basement project on another property and had to do some minimal work on the other rental, but this is the first project that we’ve had to do some major demolition work on. We had to paint, tear out the carpet, all the tack strips, staples and backing for the tub. But the biggest chore so far has been in the kitchen. We had to remove all the glued on sticky blue fake wood formica, the backing and remove the sink.  Thankfully we are hiring out the tiling and wood refinishing, but this has been a major job. Here are a few pictures and a video of the process. We are excited to see how far the tilers got today while we were at work.

Bathroom tub
Tub area after removing the old plastic backing

Bathroom floors before
Bathroom Floor 1/2 with old pink carpet

Kitchen during
Here is the kitchen 1/2 through demo


This was tons of fun! (not)

What do you think of this post?
  • WOW (0)
  • Awesome (0)
  • Interesting (0)
  • Useful (0)
  • Bummer (0)
  • Whoa (0)