Category Archives: Remodeling and Renovating

House is Halfway Down

Bedroom removed from house
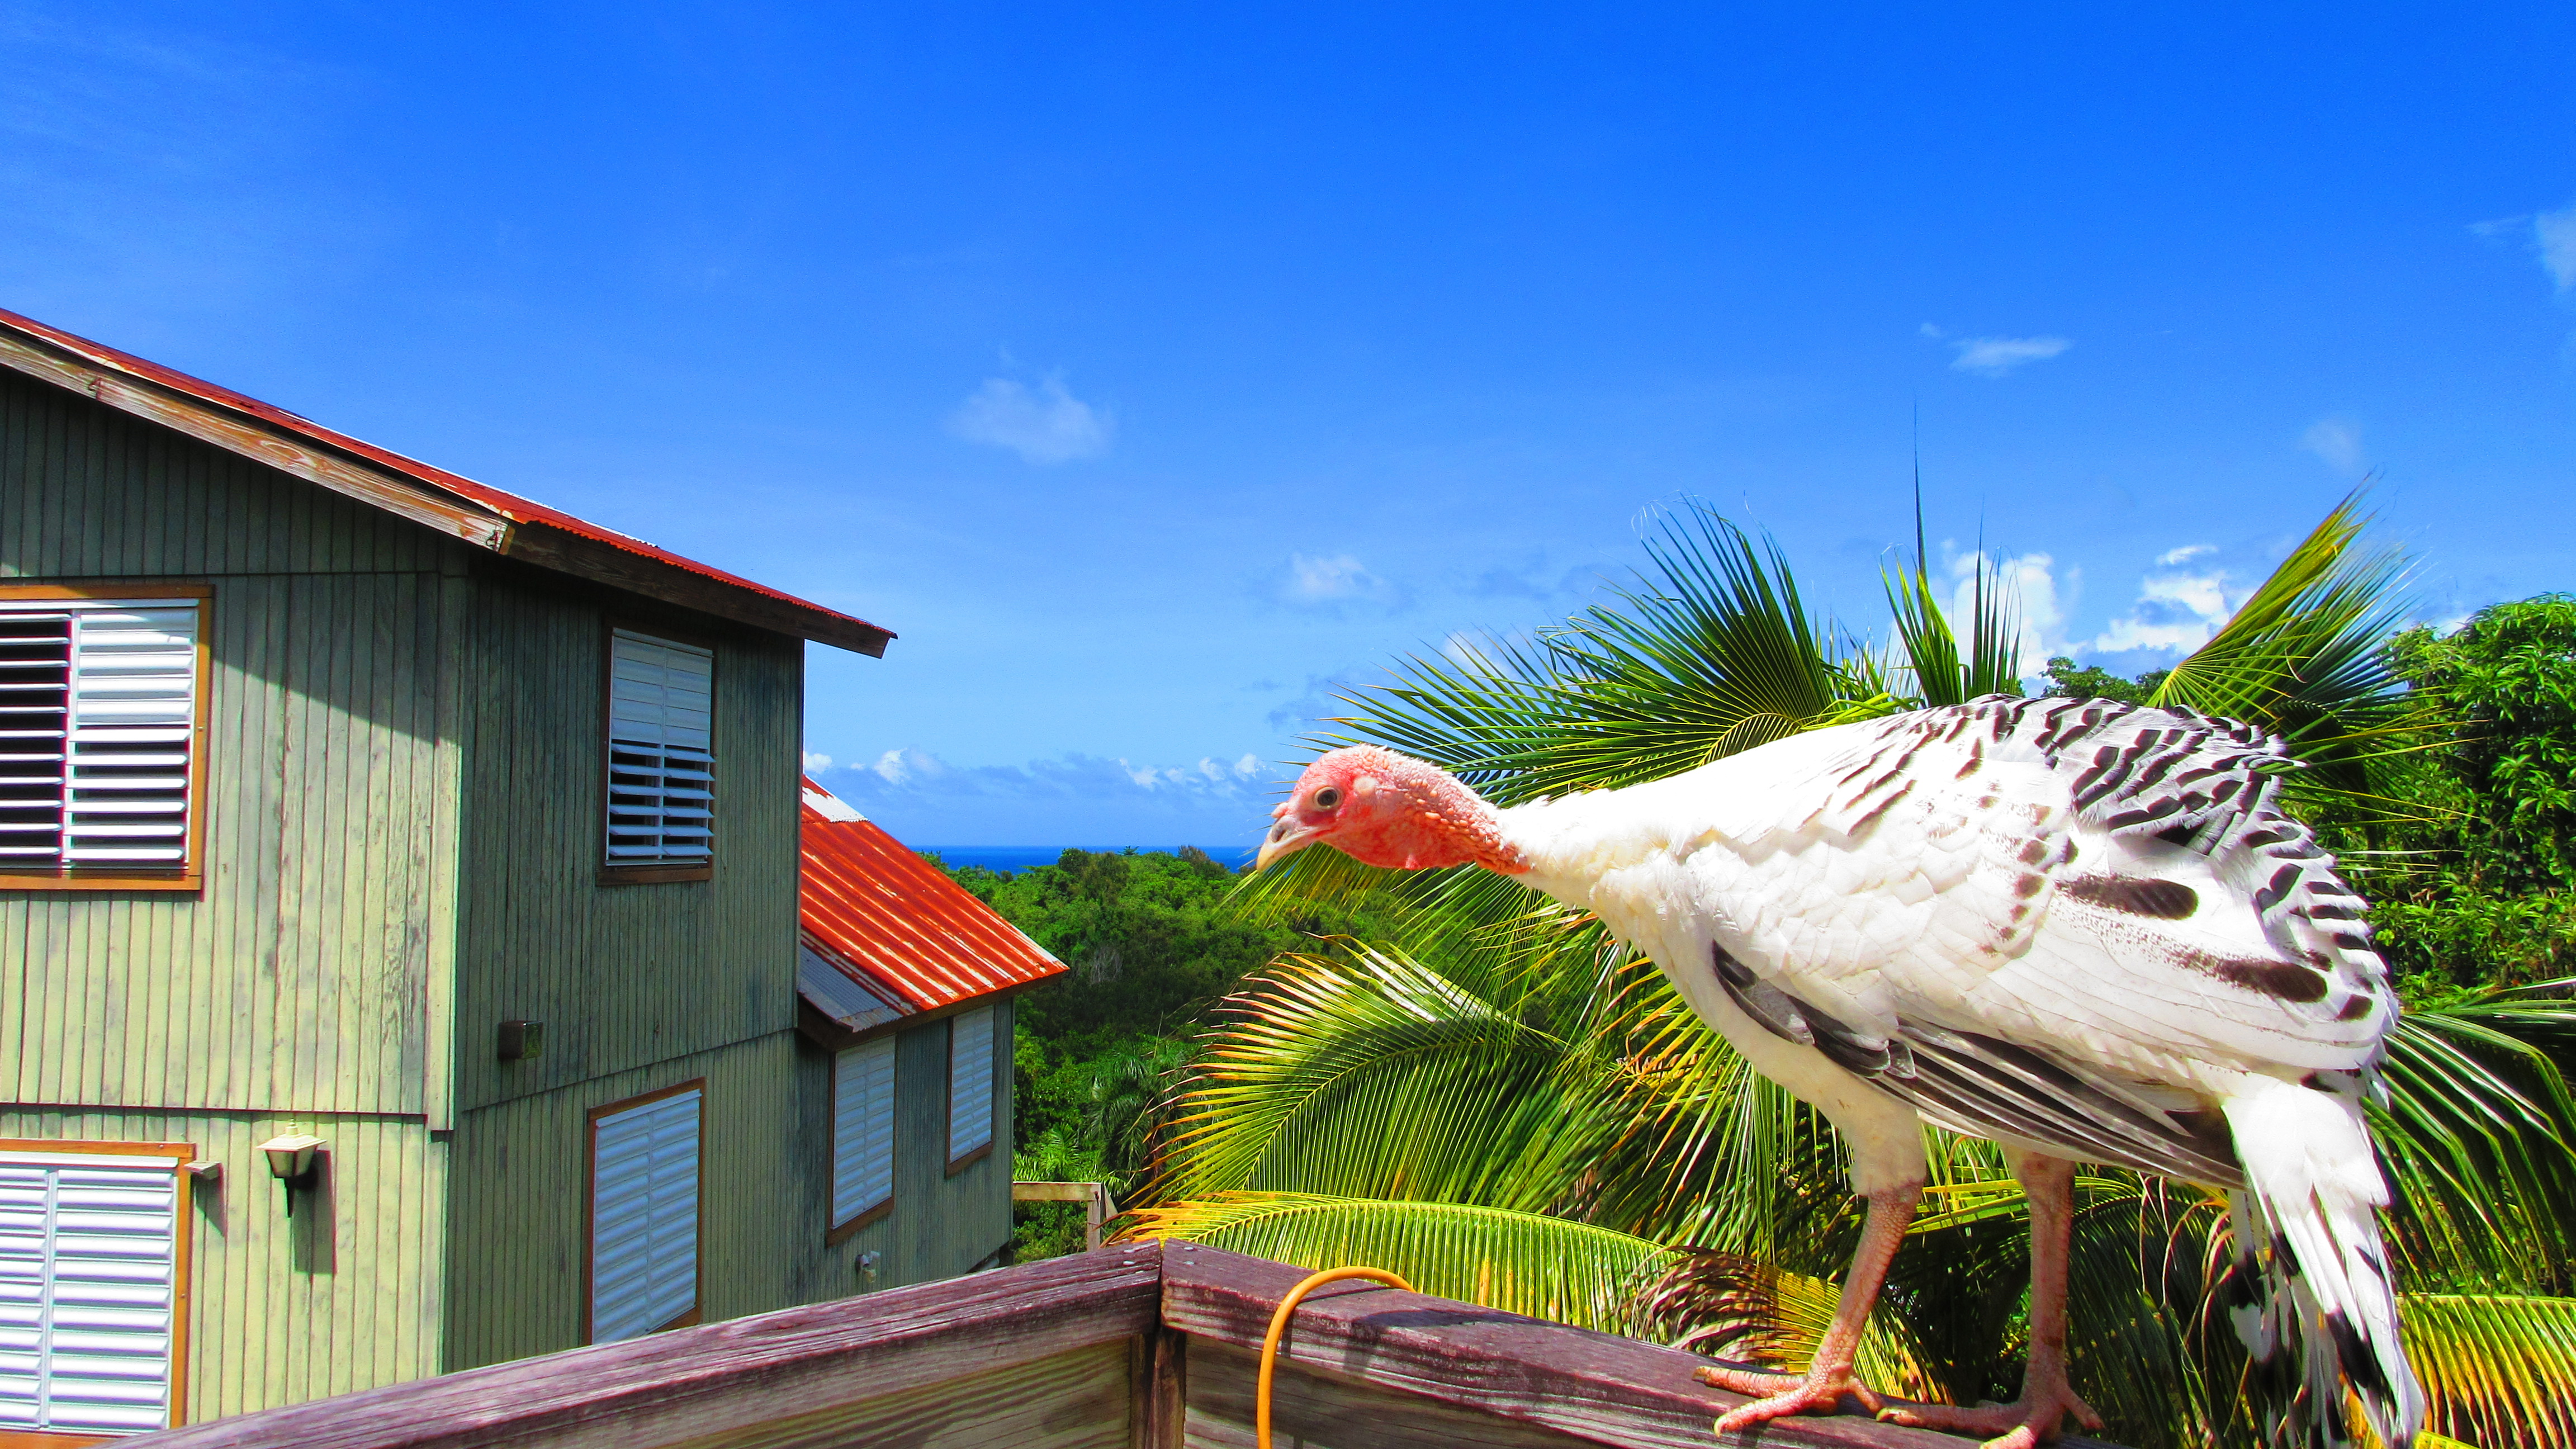
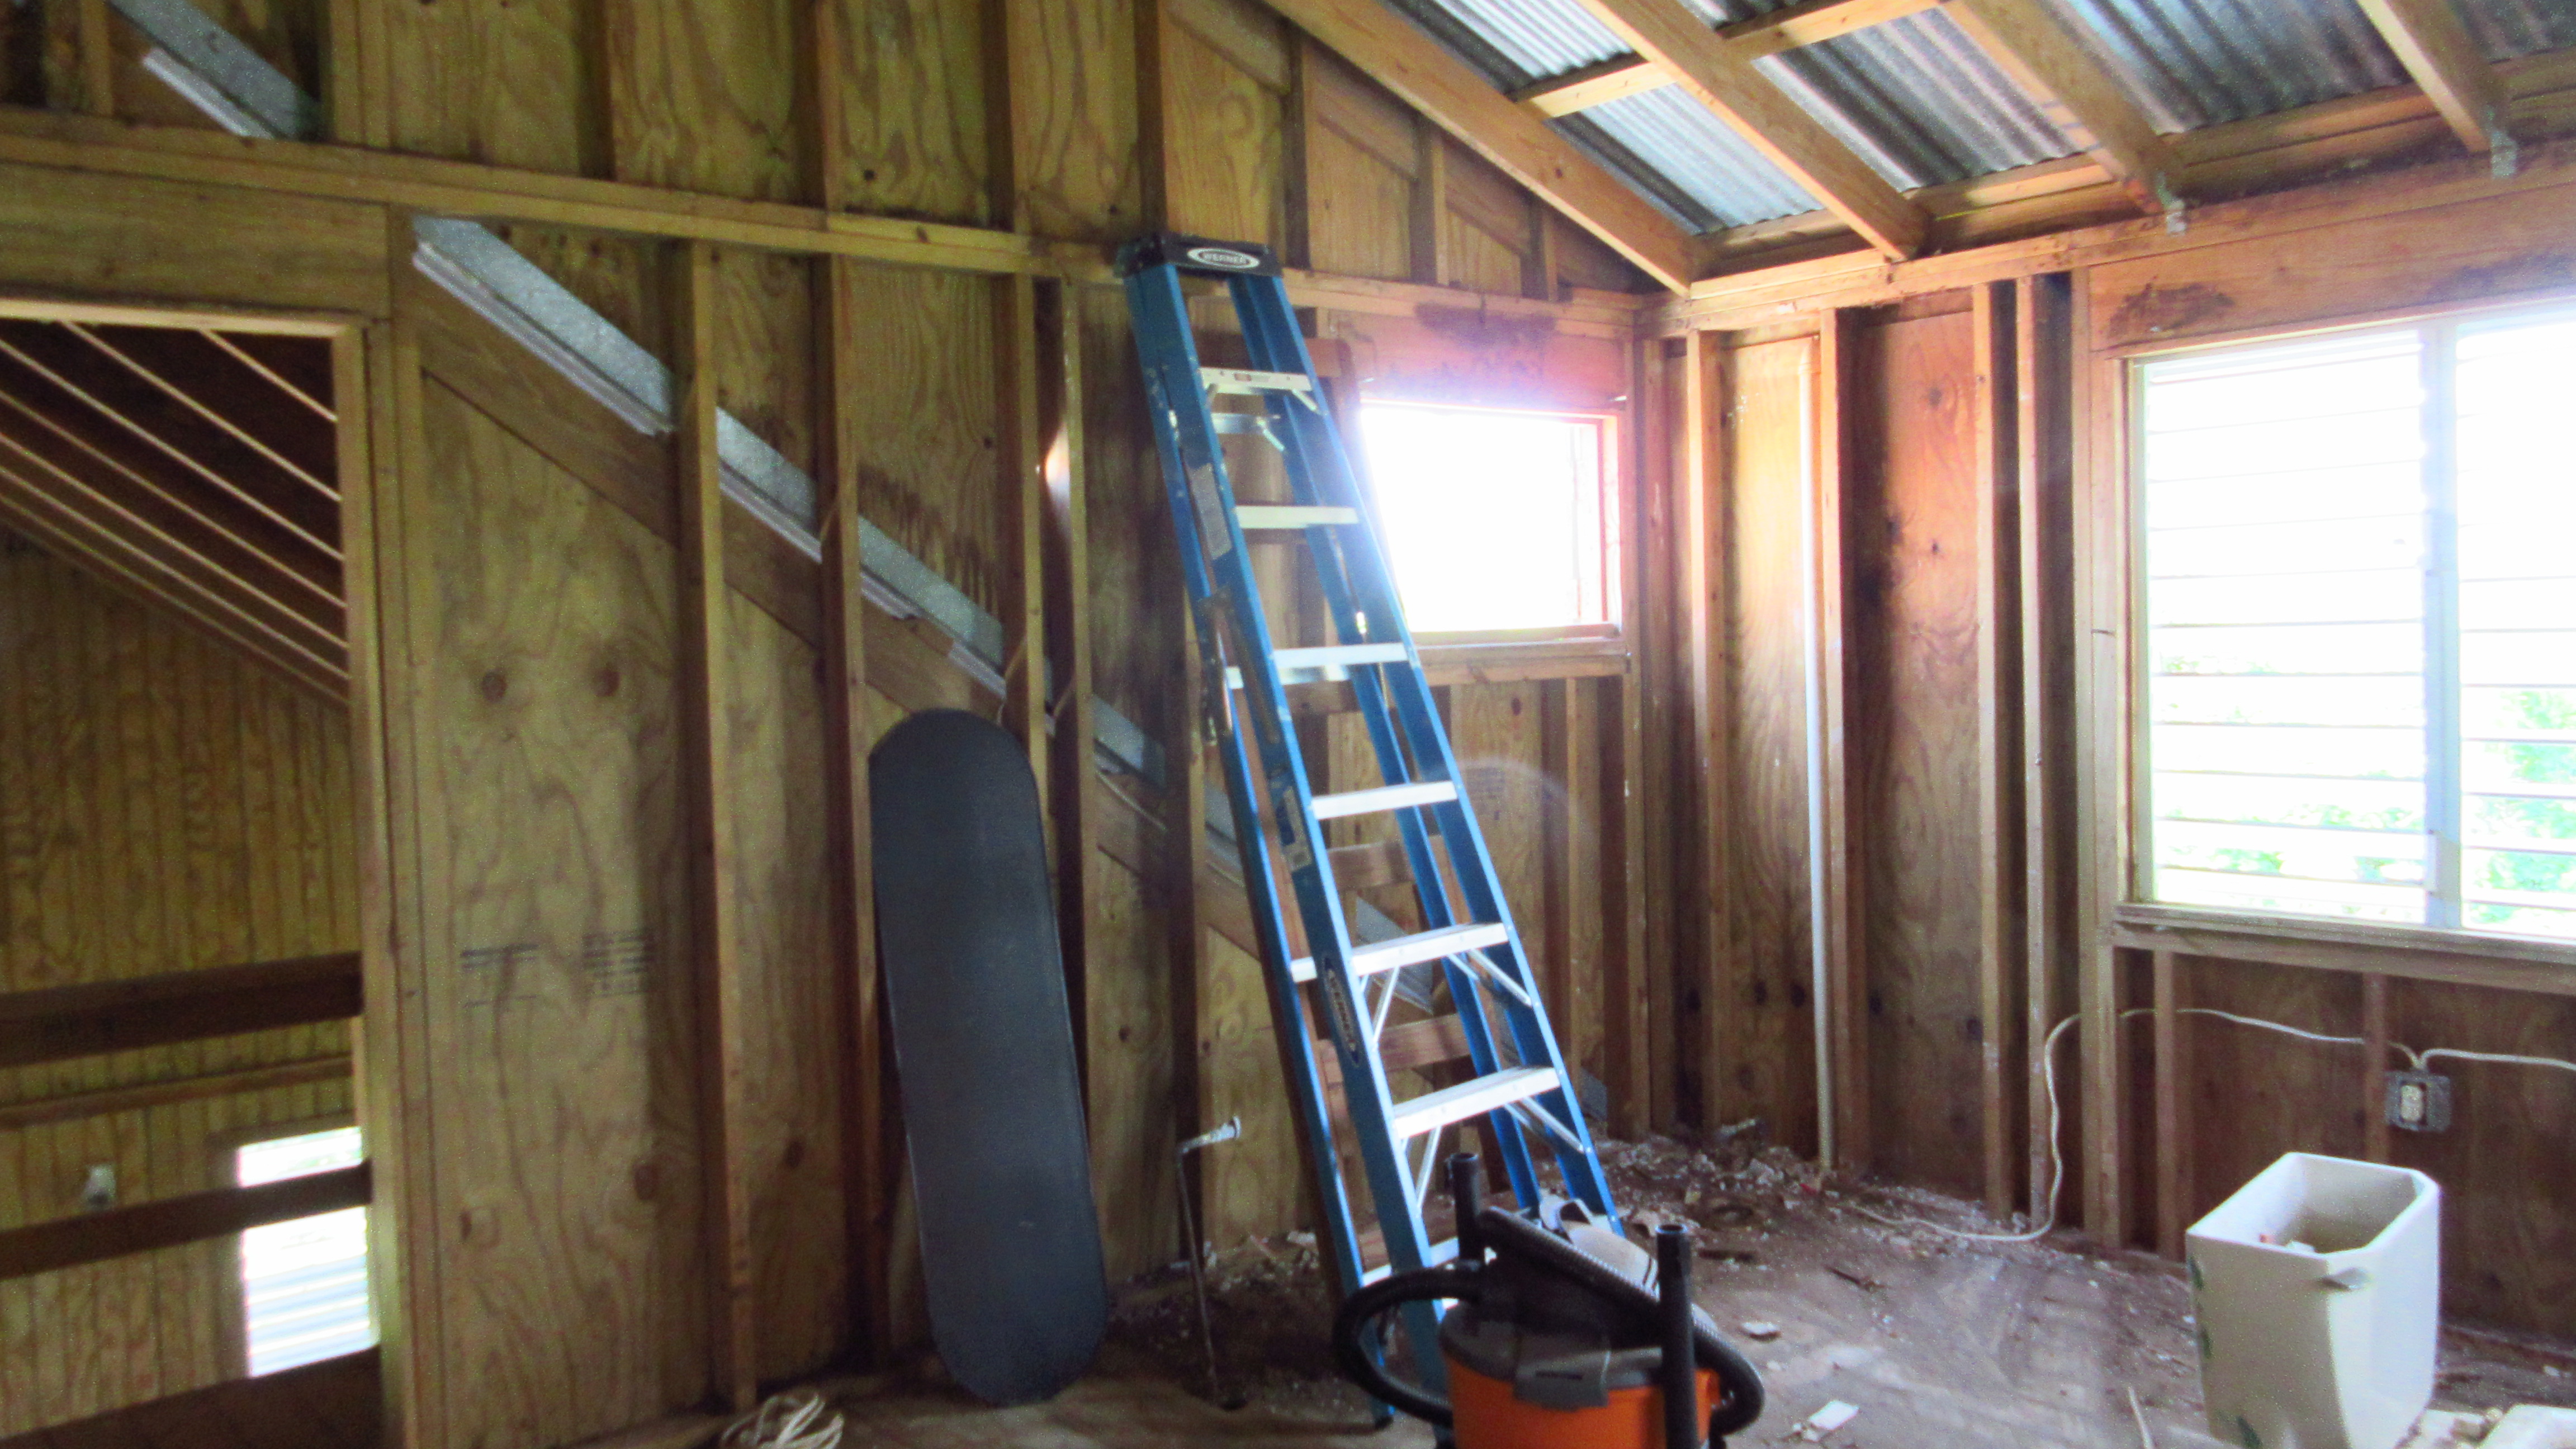
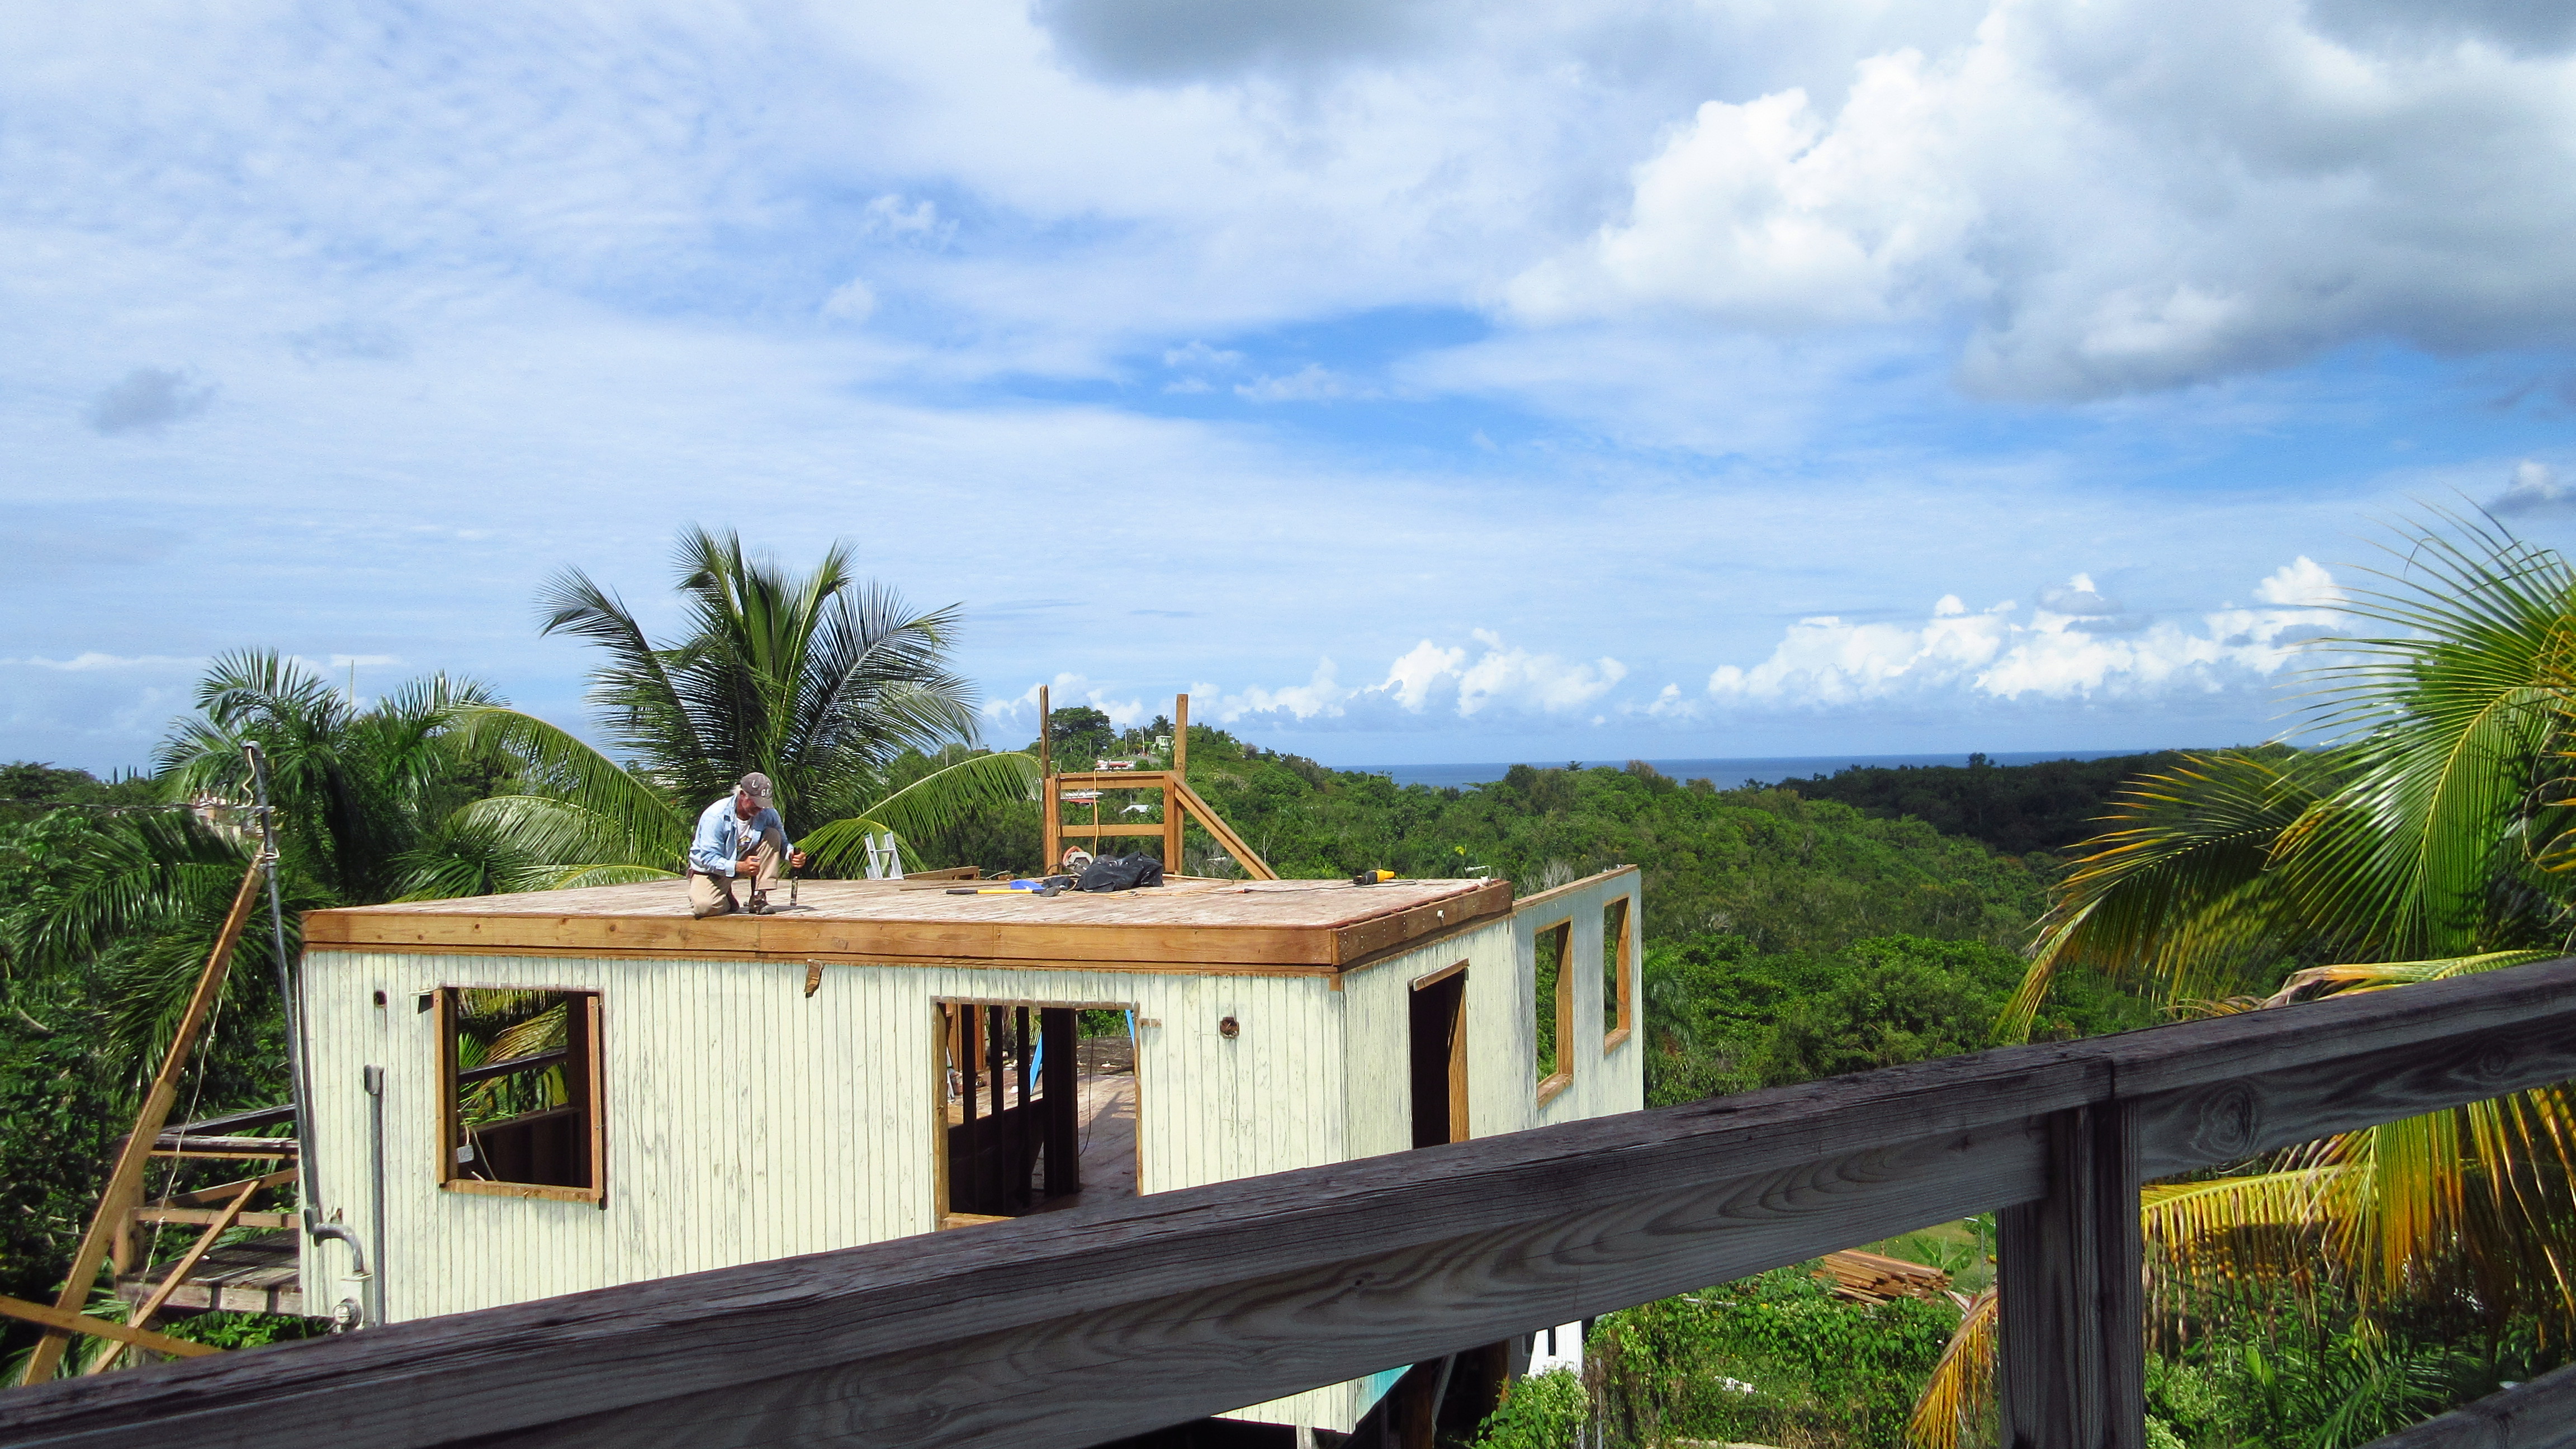
Popping off the top really opened up the view!

The wooden house demolition project is moving along pretty well. We had a few set backs but nothing too major and things are looking good.

Poop tube
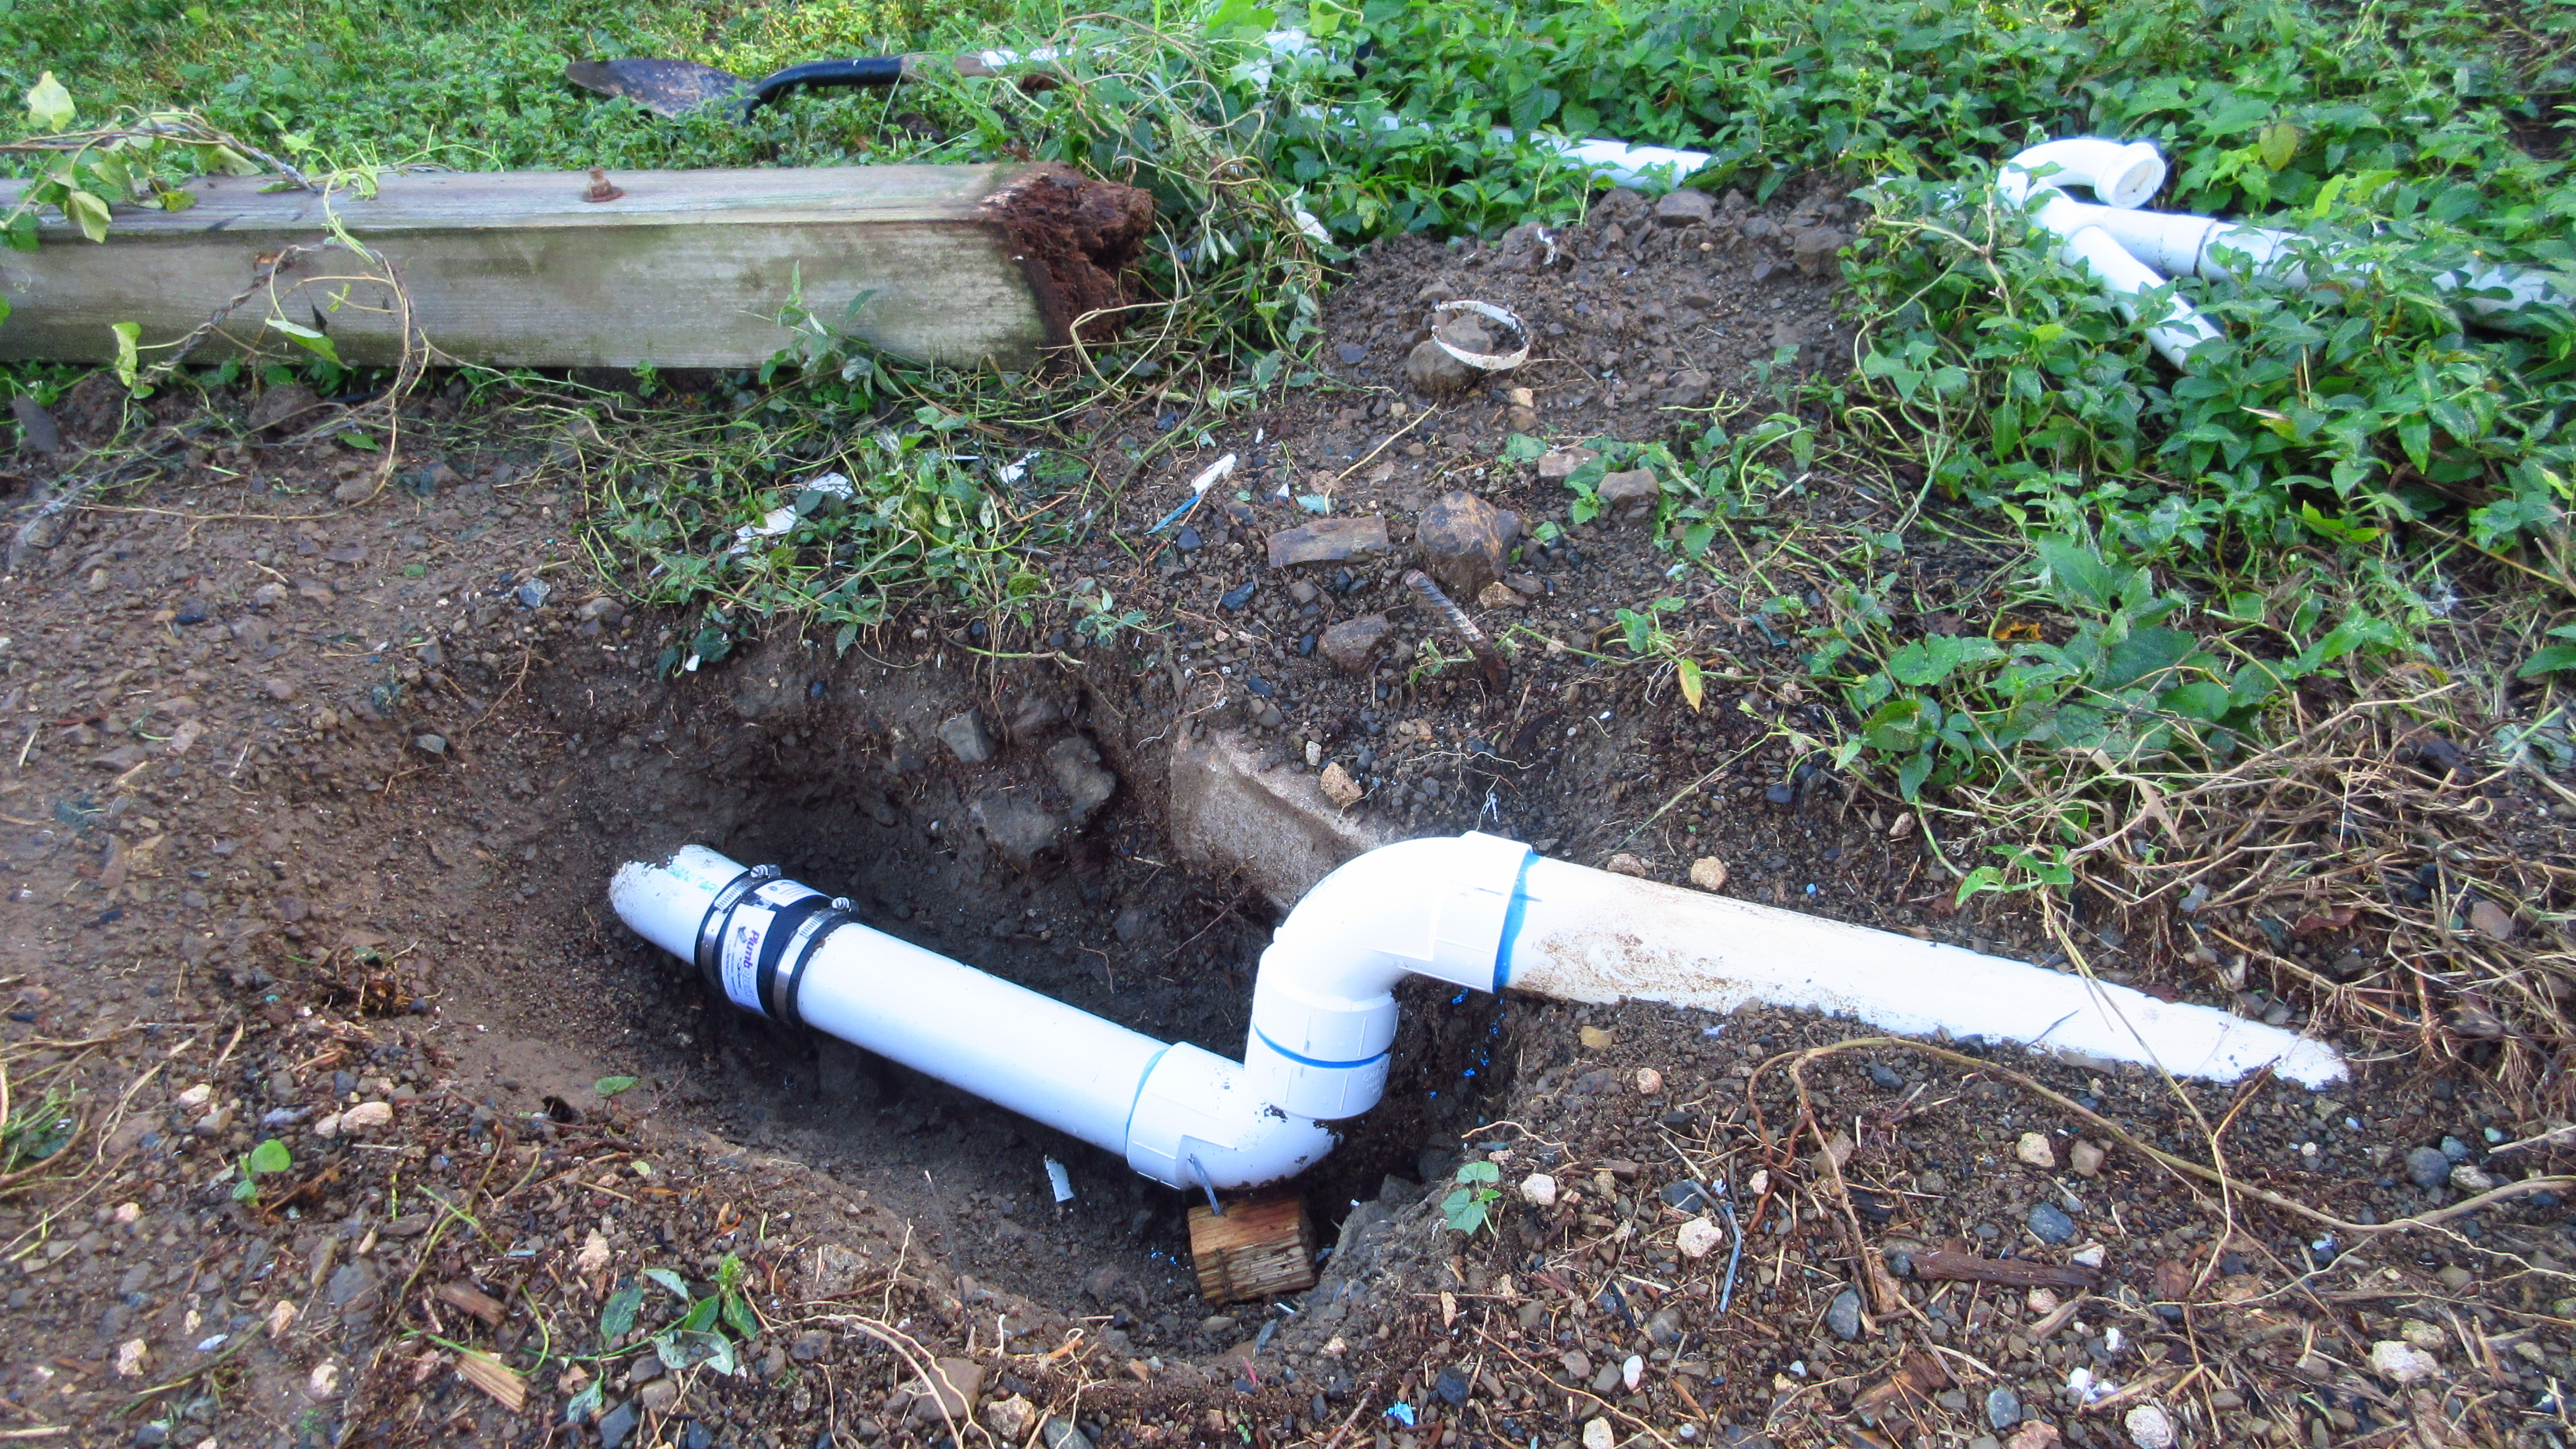
Oops…when dropping some of the pieces overboard it accidentally broke the tube that connects the cabana to the septic. So we went a day without flushing the toilet until we could get it fixed

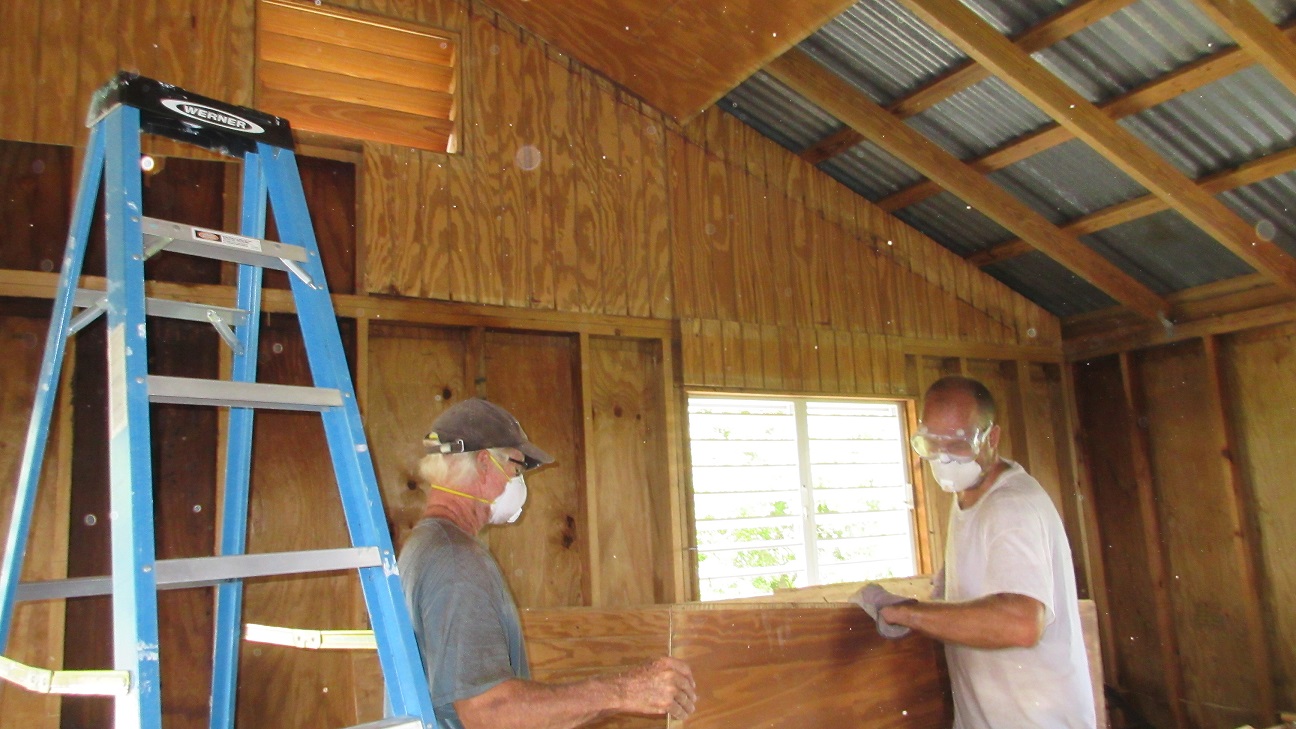
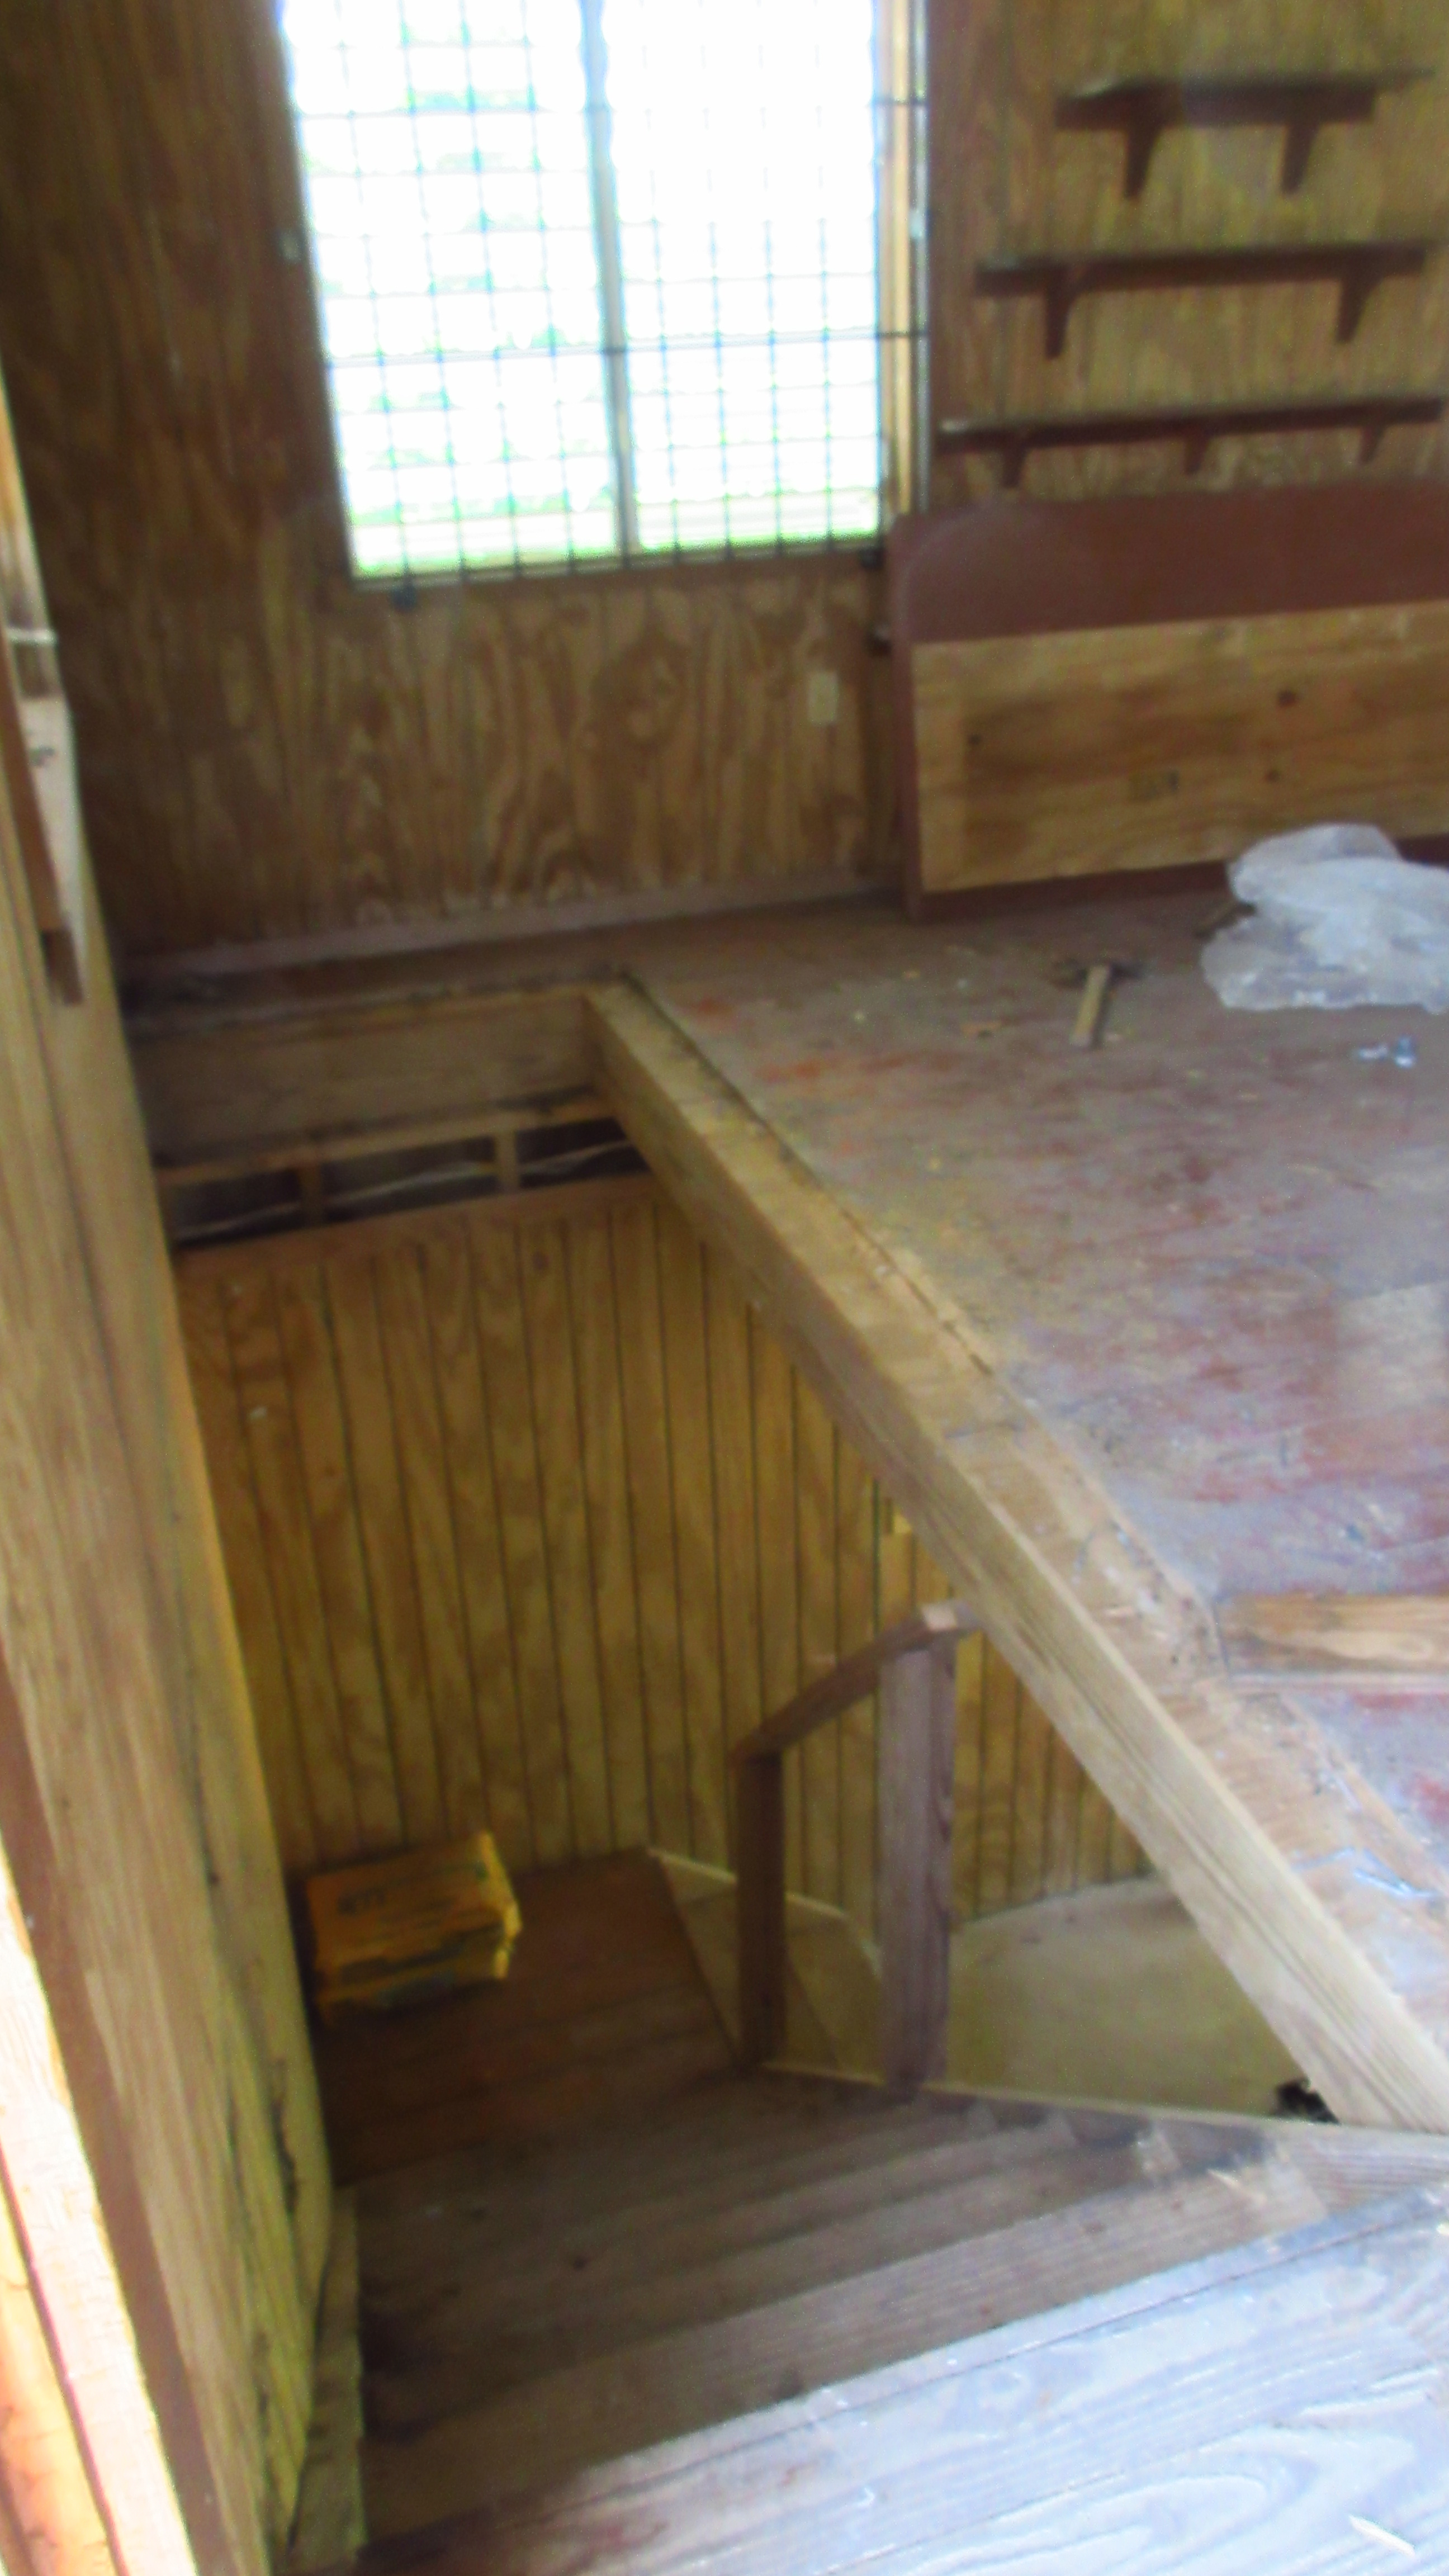
We have moved past the halfway point. The whole roof is down as well as the upstairs bedroom. Most of the walls have been removed. As we are seeing the insides of this old house we recognize that we would have probably needed to tear things all the way down to the subfloor in any case. The wall cavities were filled with remnants of just about every critter of the jungle and much of their waste.


Taking down a large wall…watch as all the bat guano starts flying!

It is weird to take down this house that we have been looking at (but not really using) for over a year straight through. I think we took our time in making the decision and met many people and learned the ropes for a long time before commencing such a big project. And really, with all the ideas we have for the property this is just the beginning…

Fan palm in place of house crop 2
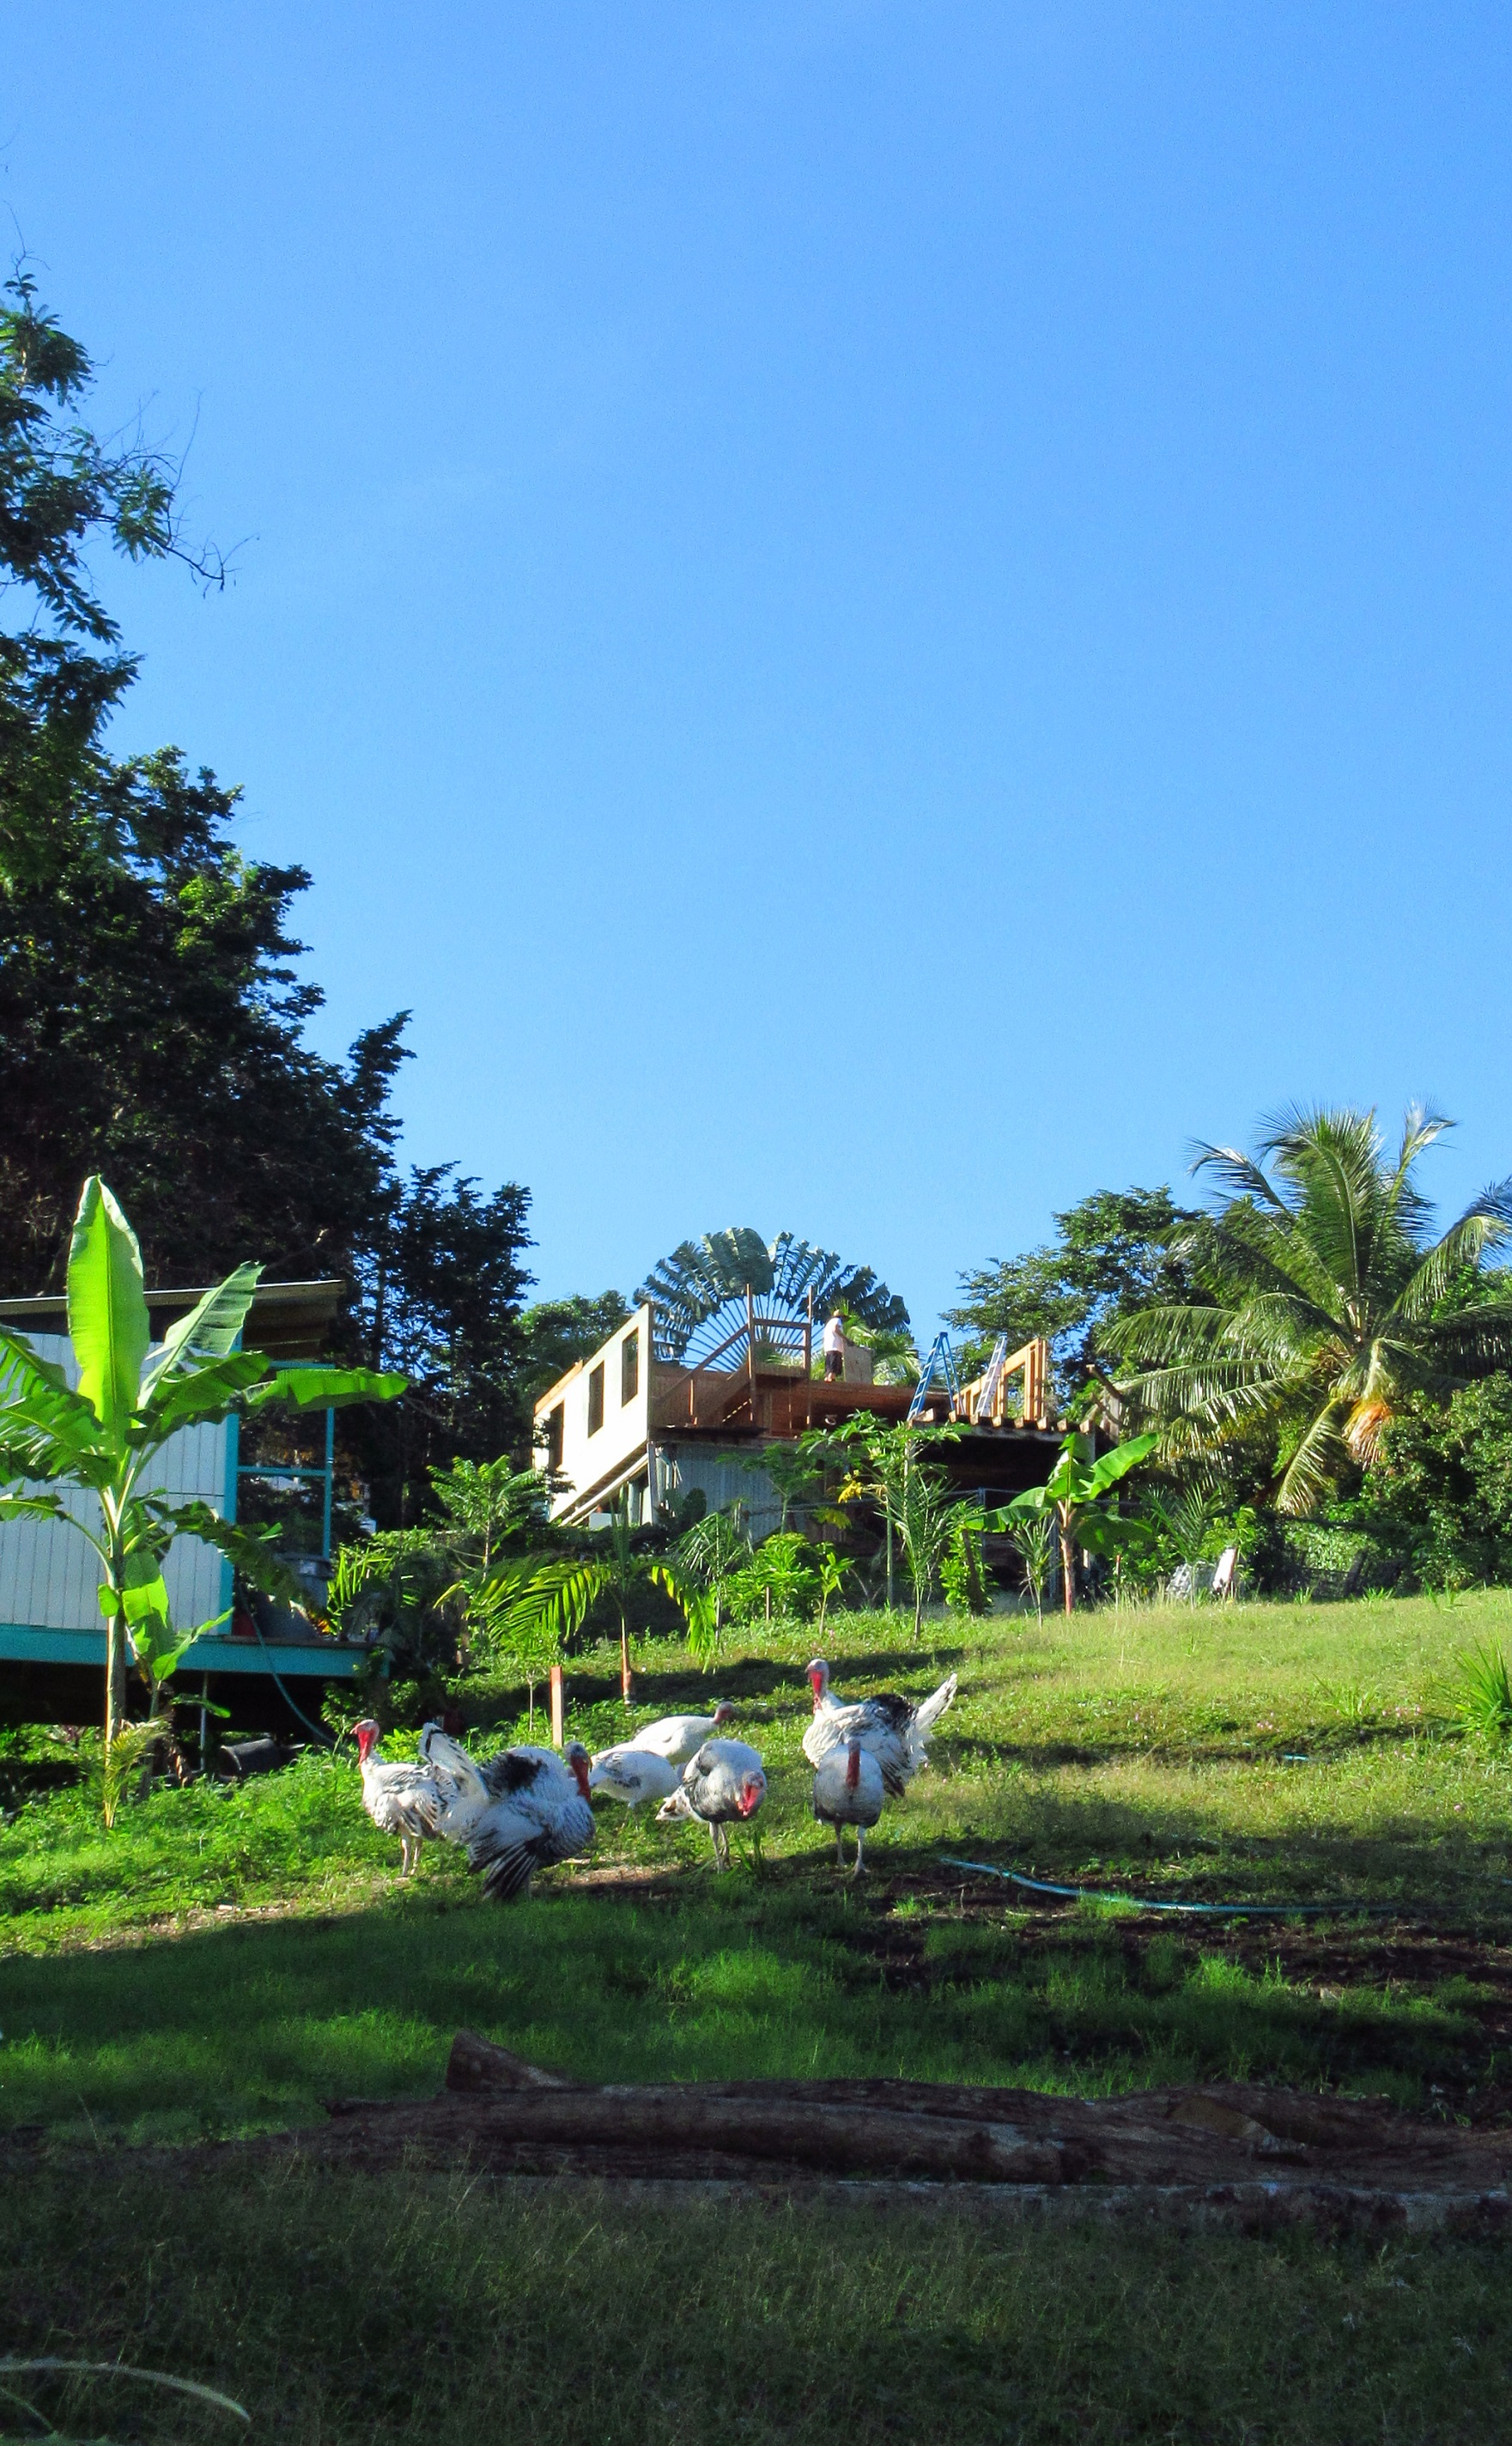
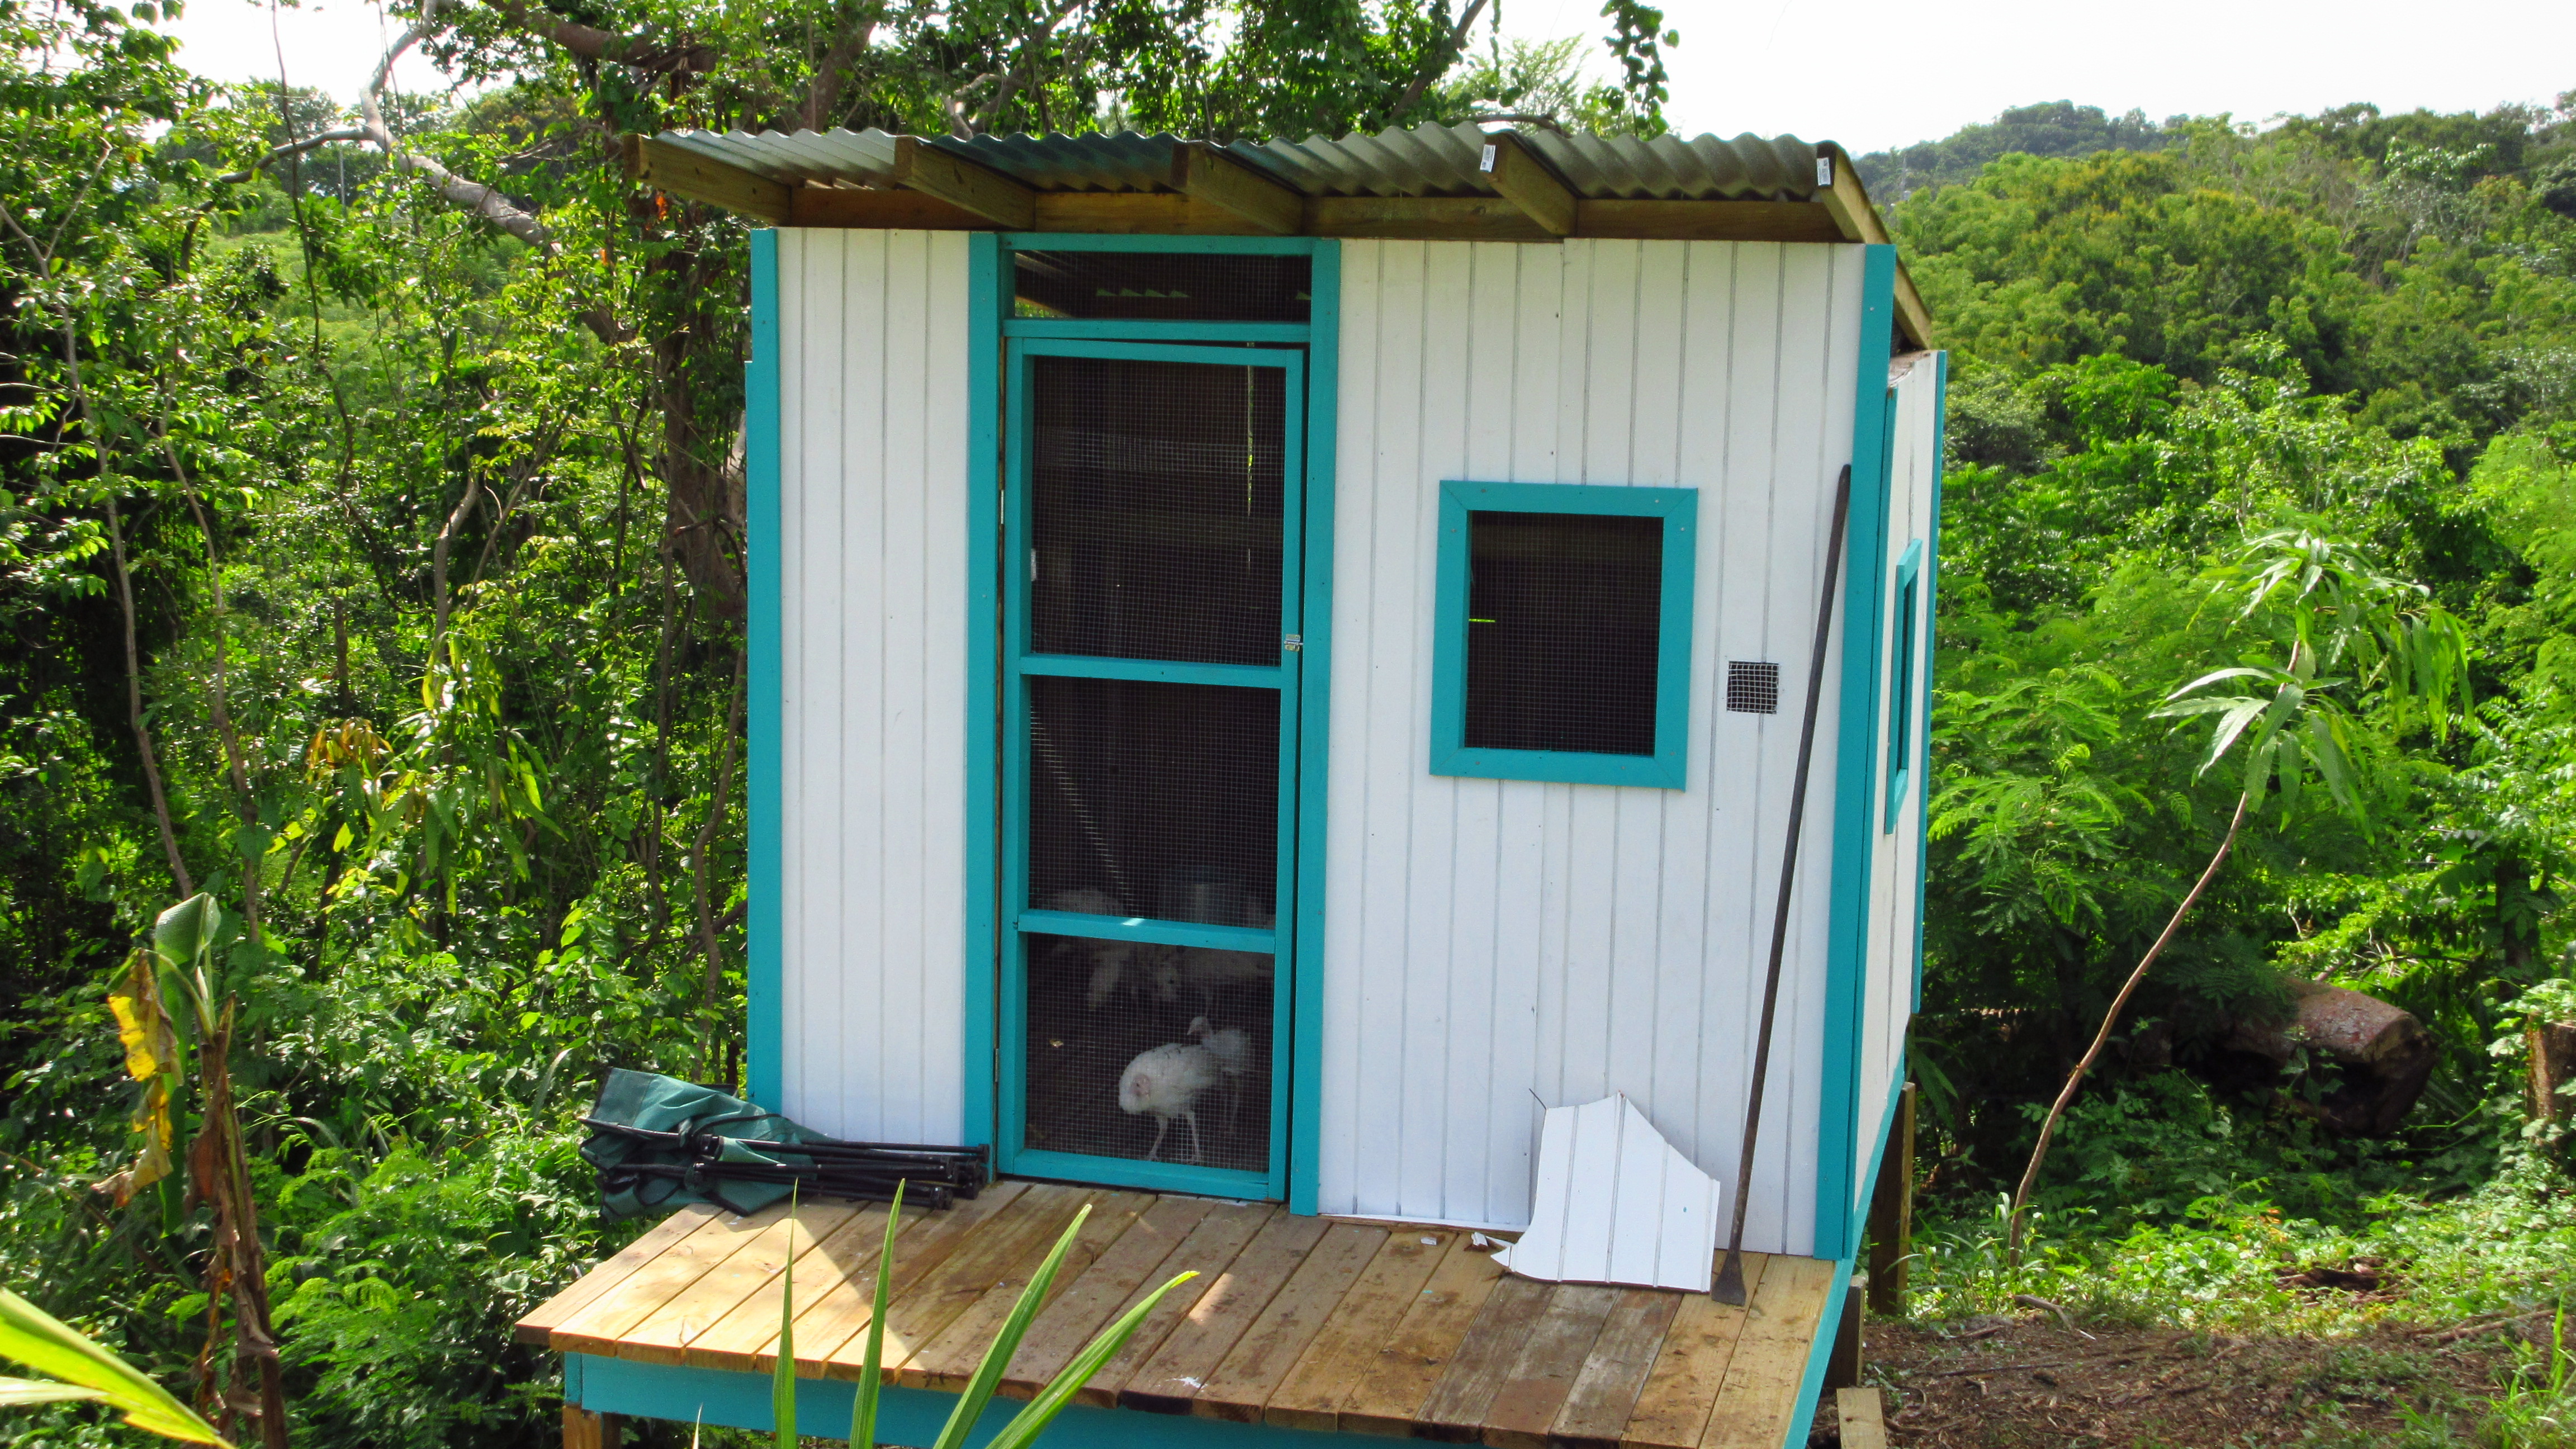
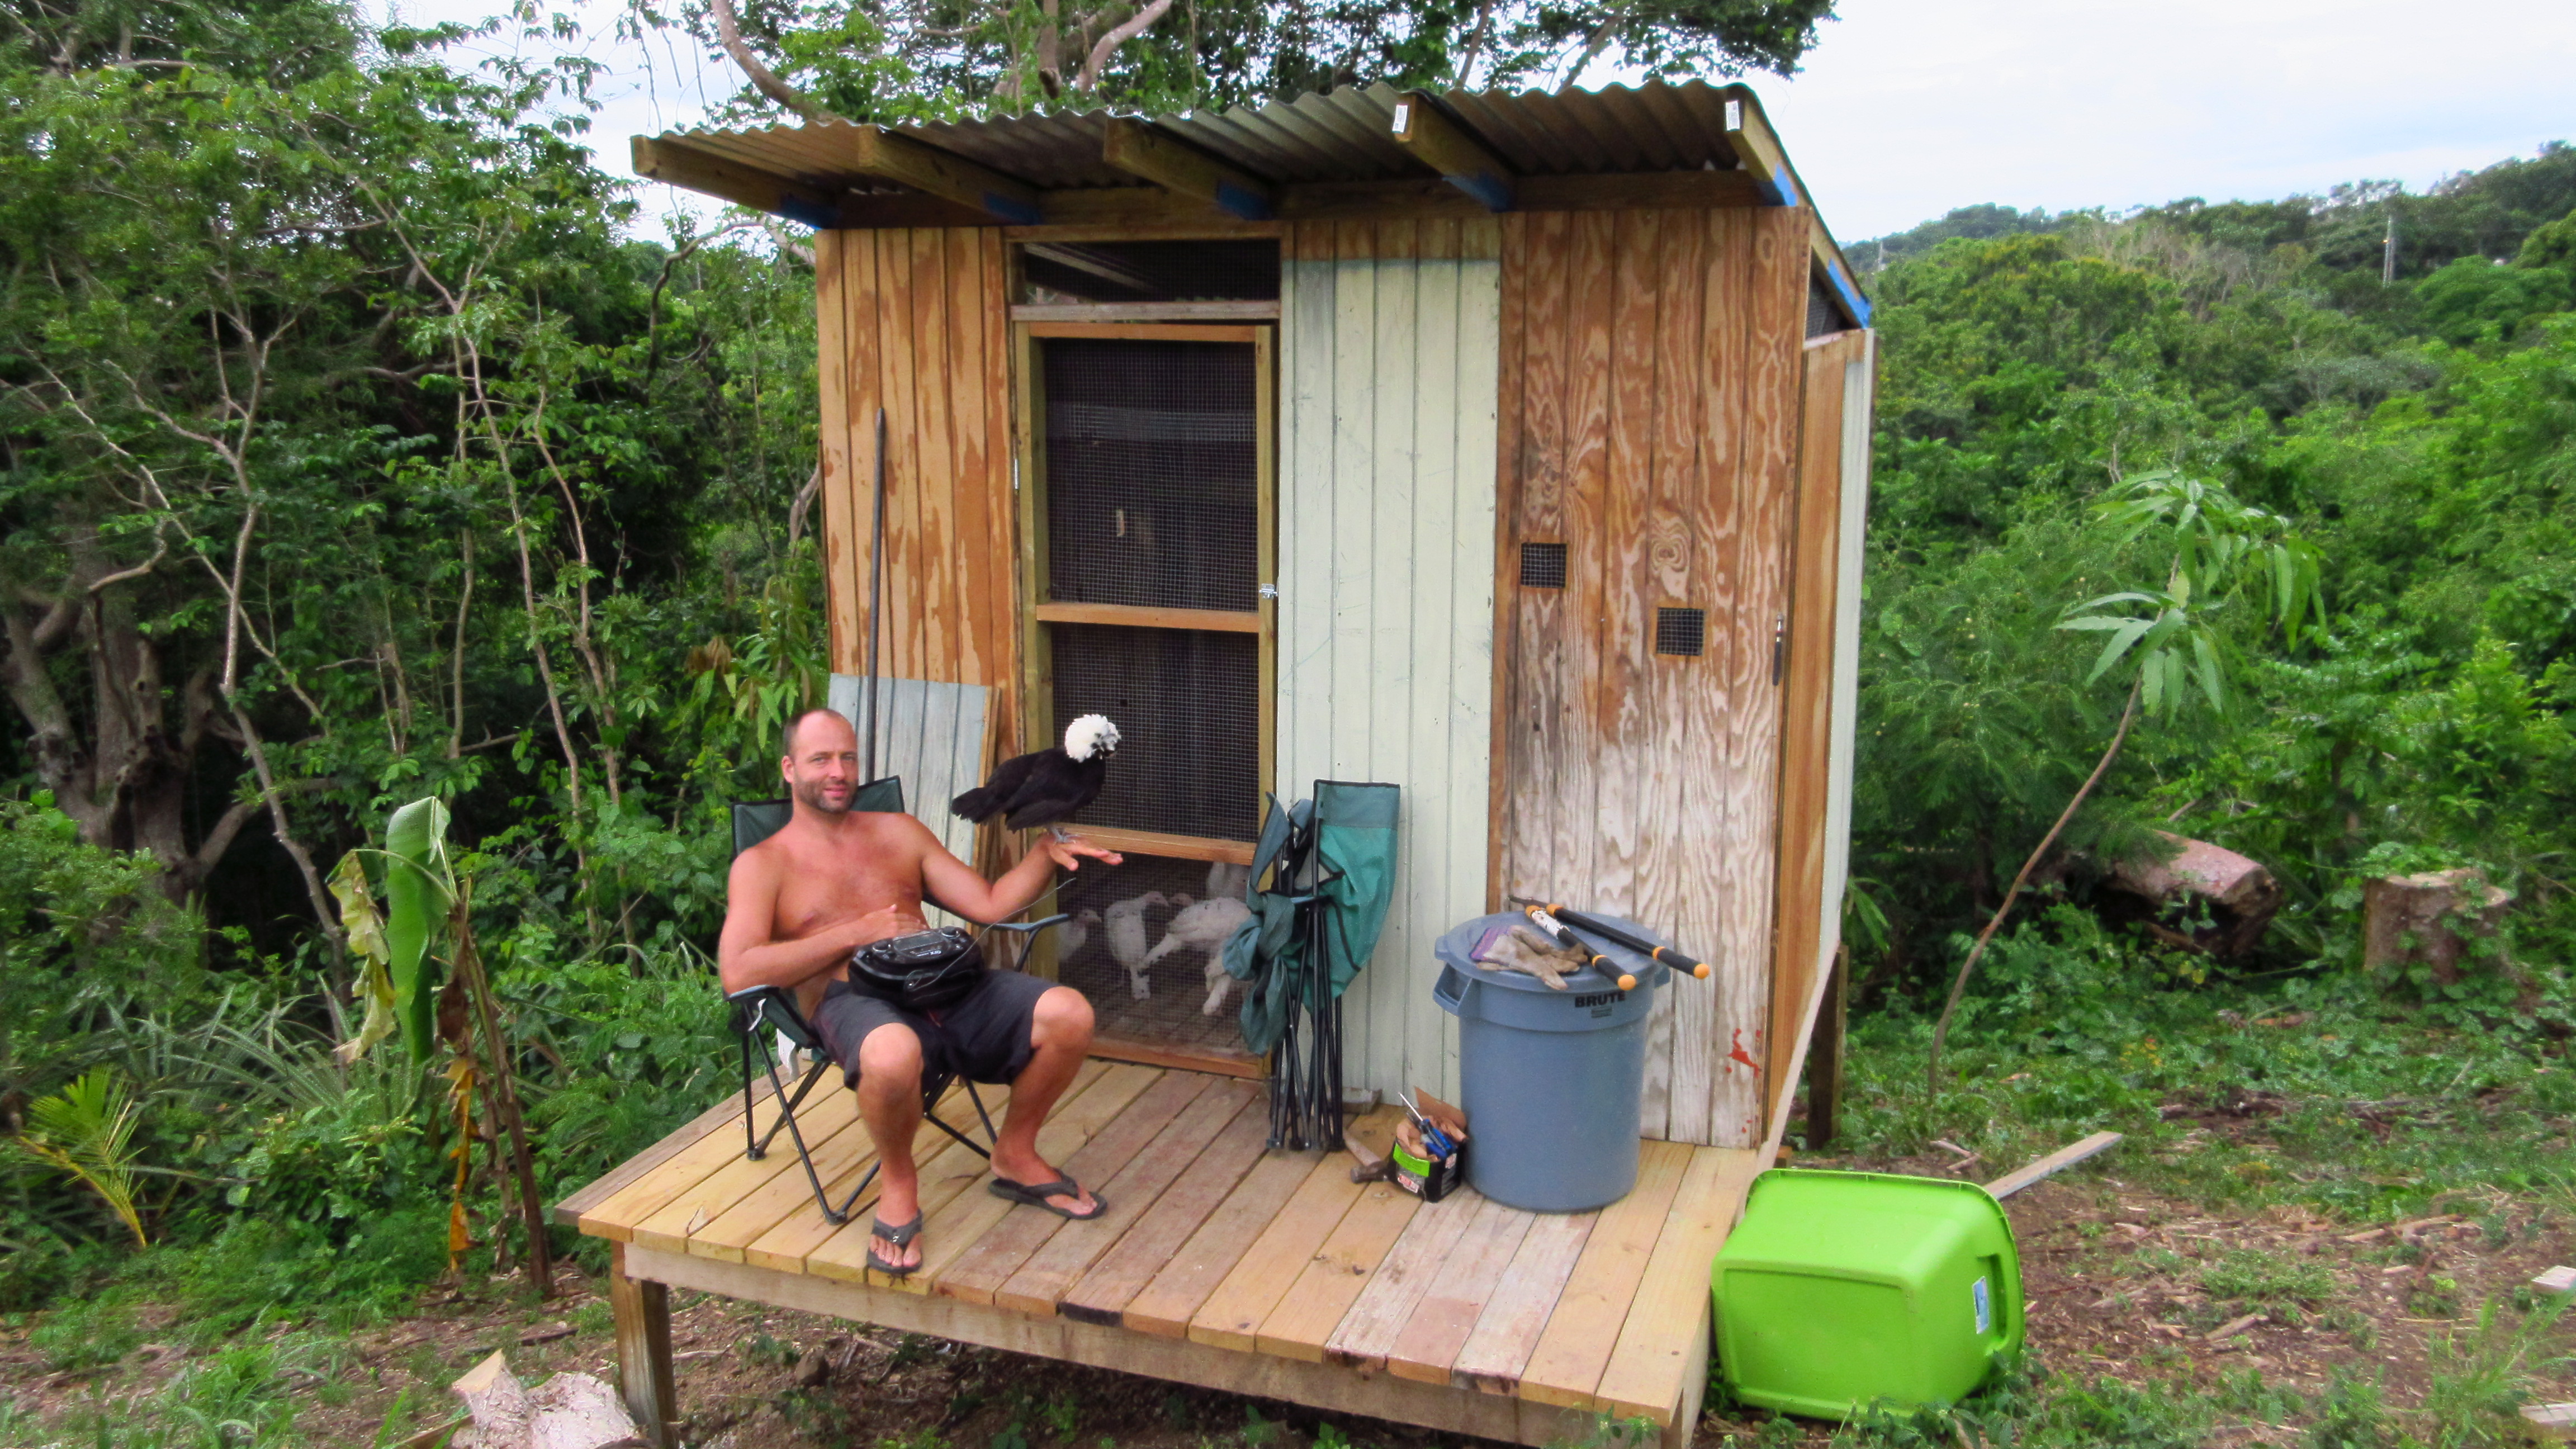
The large traveler palm from the driveway is now visible from down below (with turkeys of course)

What do you think of this post?
  • WOW (4)
  • Awesome (4)
  • Interesting (1)
  • Useful (0)
  • Bummer (0)
  • Whoa (0)

Back to Work: Cabana Bridge

Britton slowly has been recovering from his recent illness and so we wanted to take it easy on our next project around the property. We decided it was time to work on the cabana bridge. This was a relatively small project and almost completely done under shade, a definite plus in the heat of this time of year.

Bridge 2
The bridge before (with a little help from our feathered turkey friends)

The cabana bridge connects to the roof of the cabana that we live in and is accessed near the gate of the property under the big mango tree. The wood boards that were on the bridge were starting to decay at the nail head area and some of the wood in other areas as well.

Because we have been doing some deconstruction on the wood house, we have quite a bit of extra nice treated wood lying around. So we counted and cut some of the pieces and then set about waterproofing them with sealant.

Cassie and Boards

Then Britton peeled up most of the boards leaving just a few to stand on while he painted the lower beams.

BK spray

Finally he nailed in the “new” non-rotted boards and waterproofed the long hand railing board as well.

Bridge 1 after

I think it turned out really nice and will be much sturdier to cross. The turkeys had fun crossing the bridge and playing on the cabana while we were up there working. They like to follow us wherever we go. They climbed to the top railing of the cabana (another future project) and took turns jumping and flapping down. It was pretty funny.

Turkey on the cabana roof
The turkeys are always our companions on outdoor projects

What do you think of this post?
  • WOW (0)
  • Awesome (5)
  • Interesting (1)
  • Useful (1)
  • Bummer (0)
  • Whoa (0)

Gutting the Wood House

We have made some major progress on the deconstruction/cleaning/gutting of the wooden house. We hired our friend Dave again, who had helped us remove the deck bathroom and he is a champ! I know we wouldn’t be nearly as far as we are now without his help and knowledgeable advice.

BK and Dave 1
Lots of stuff to remove

Britton worked with him about half the time, and they managed to tear down all the walls and floors of the upstairs bedroom as well as the whole kitchen area. Then they cleaned out the wall cavities which was a dirty job.

stairway
Stairwell

IMG_0674
Kitchen/Living area during deconstruction

The upstairs bedroom had at one point in time been inhabited by bats (though there were no living ones that we could find) and so the wall cavities were filled with about 4 trash bags worth of bat guano! There had also been five huge bee hives in the walls too, and while we had earlier had those removed, there was still some old dirty honeycomb left as well. I guess when no one lives in a house for 10+ years, nature starts to reclaim it!

IMG_0676
Upstairs bedroom with the bathroom removed and all the wall paneling

There is now a huge pile of wood that we have to sort and stack and we still have some major decisions to make about the wooden house. We haven’t put any money into its renovation yet, and so many choices still float out there.

IMG_0673

But it is moving along finally, and we love to see progress. The house is clearing out and feeling much better.

(And in case you were wondering, this- in and of itself, is not the teaser creative project though it is a part of it…)

What do you think of this post?
  • WOW (0)
  • Awesome (1)
  • Interesting (1)
  • Useful (1)
  • Bummer (0)
  • Whoa (2)

Completion of a Turkey Coop!

Cassie and I worked all day yesterday to get the turkey coop painted using up the existing paint we had on hand, framing/cutting out the windows and putting up the final touches including the trim.  It was a pretty long day, we started working ~9am and didn’t finish until around 4 in the afternoon.

Again, a lot of time working on the coop has been spent reusing old materials which adds a lot of work but saves a lot of money.  In the end it is worth it to us.

Turkey Coop Finished (2)

We built this coop to have a similar design to our chicken coop as that design has worked out well.  This coop has a screen door to add a bit more airflow and we didn’t have an extra door laying around. There is also a trap door on the floor of this coop so that we can someday enclose the base with chicken wire and have the turkeys raise their poults underneath without fear of the hawks.  They will still need to sleep in the coop due to rats, but they will have space to dust bathe in and peck around.

We used materials from the wood house’s deck as that deck will be replaced with new lumber, and I even grabbed T-111 sheets from the upstairs bedroom.  The paint for the turkey coop was leftover from painting our cabana and the blue trim leftover from the chicken coop.  All in all we spent less than $100 on the new coop.  In new materials we estimate it would have cost close to $1000 which would have been waaayyy too much for us to spend on a coop.

Paint makes such a difference.  We know this as we have done many a remodel project but yet it still amazes us.  Before painting the coop it looked like a true to life hillbilly shack complete with a hillbilly.
BK Turkey Coop

The Turkeys are now moved in which is great because they are growing fast and have outgrown the turkey cage/tractor we had them in.  They were having to crouch to get around and there wasn’t adequate space to keep a full size feeder and waterer so we were having to check on them multiple times a day.  The coop will not only make the turkeys happier but also will be less work.

Turkey Coop Chicken Coop
Space Between (click to enlarge)

We left quite a bit of tree nursery space between the two coops.  We haven’t ever raised turkeys so we actually weren’t too sure how much space if any was needed.  It is possible to have them co-exist in the same coop but there are chicken to turkey diseases that can be transmitted.

We are happy with the results and figure for a turkey coop, the turkeys have a pretty nice crib.
Turkey Coop Finished

What do you think of this post?
  • WOW (2)
  • Awesome (5)
  • Interesting (1)
  • Useful (0)
  • Bummer (0)
  • Whoa (0)