Category Archives: Building

Swiss Family Jungle Internet

Internet is one of those modern conveniences that is just….. so nice to have. Checking in on Facebook, paying bills or looking how to do things on youtube. We haven’t “hooked” up internet service here yet, but we’ve always had some signal of some sort to utilize.  It is probably more of a personal challenge to find alternate ways of connecting than any actual reason.  In the process you can learn all kinds of new things about networking and radios.

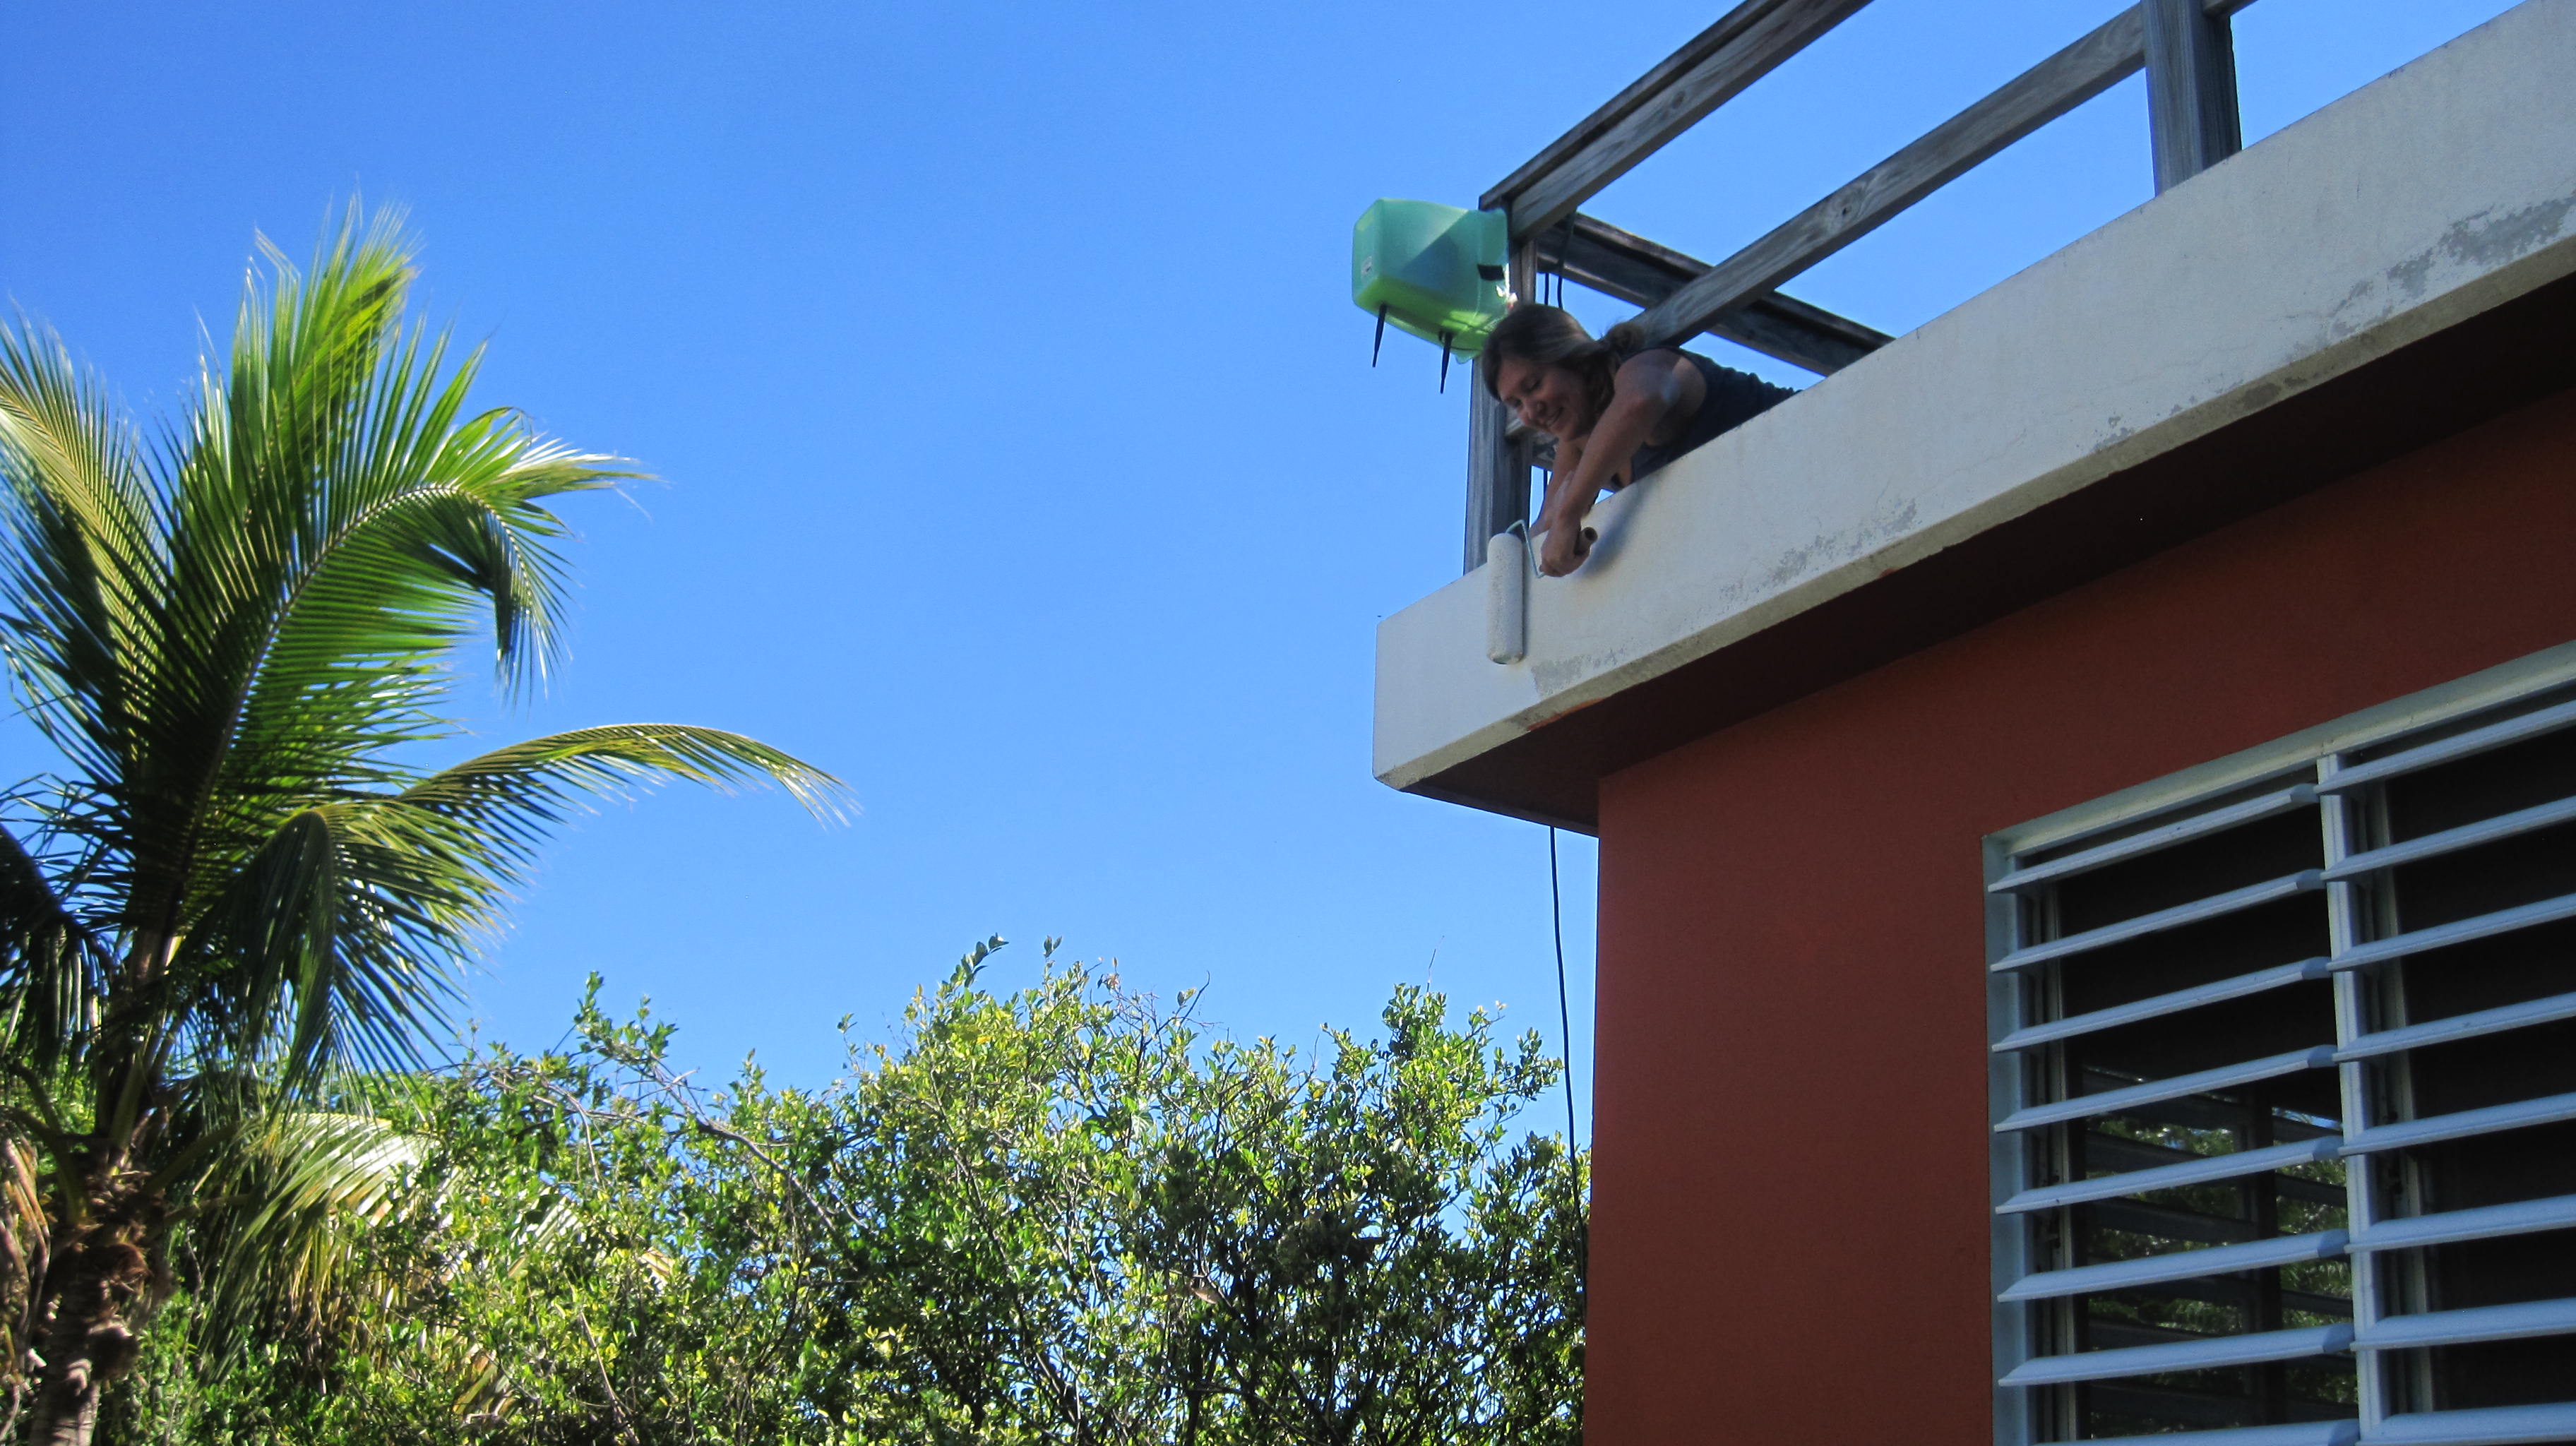
When we first arrived the only way to get an open signal was to be on top of the cabana on the corner of the house. Usually this was in the sun or rain! This is what I will consider internet v1.0. It was much easier than packing up and going to a cafe, plus we didn’t have to buy coffee or sit outside some place and look like moochers. We could mooch from our own home!
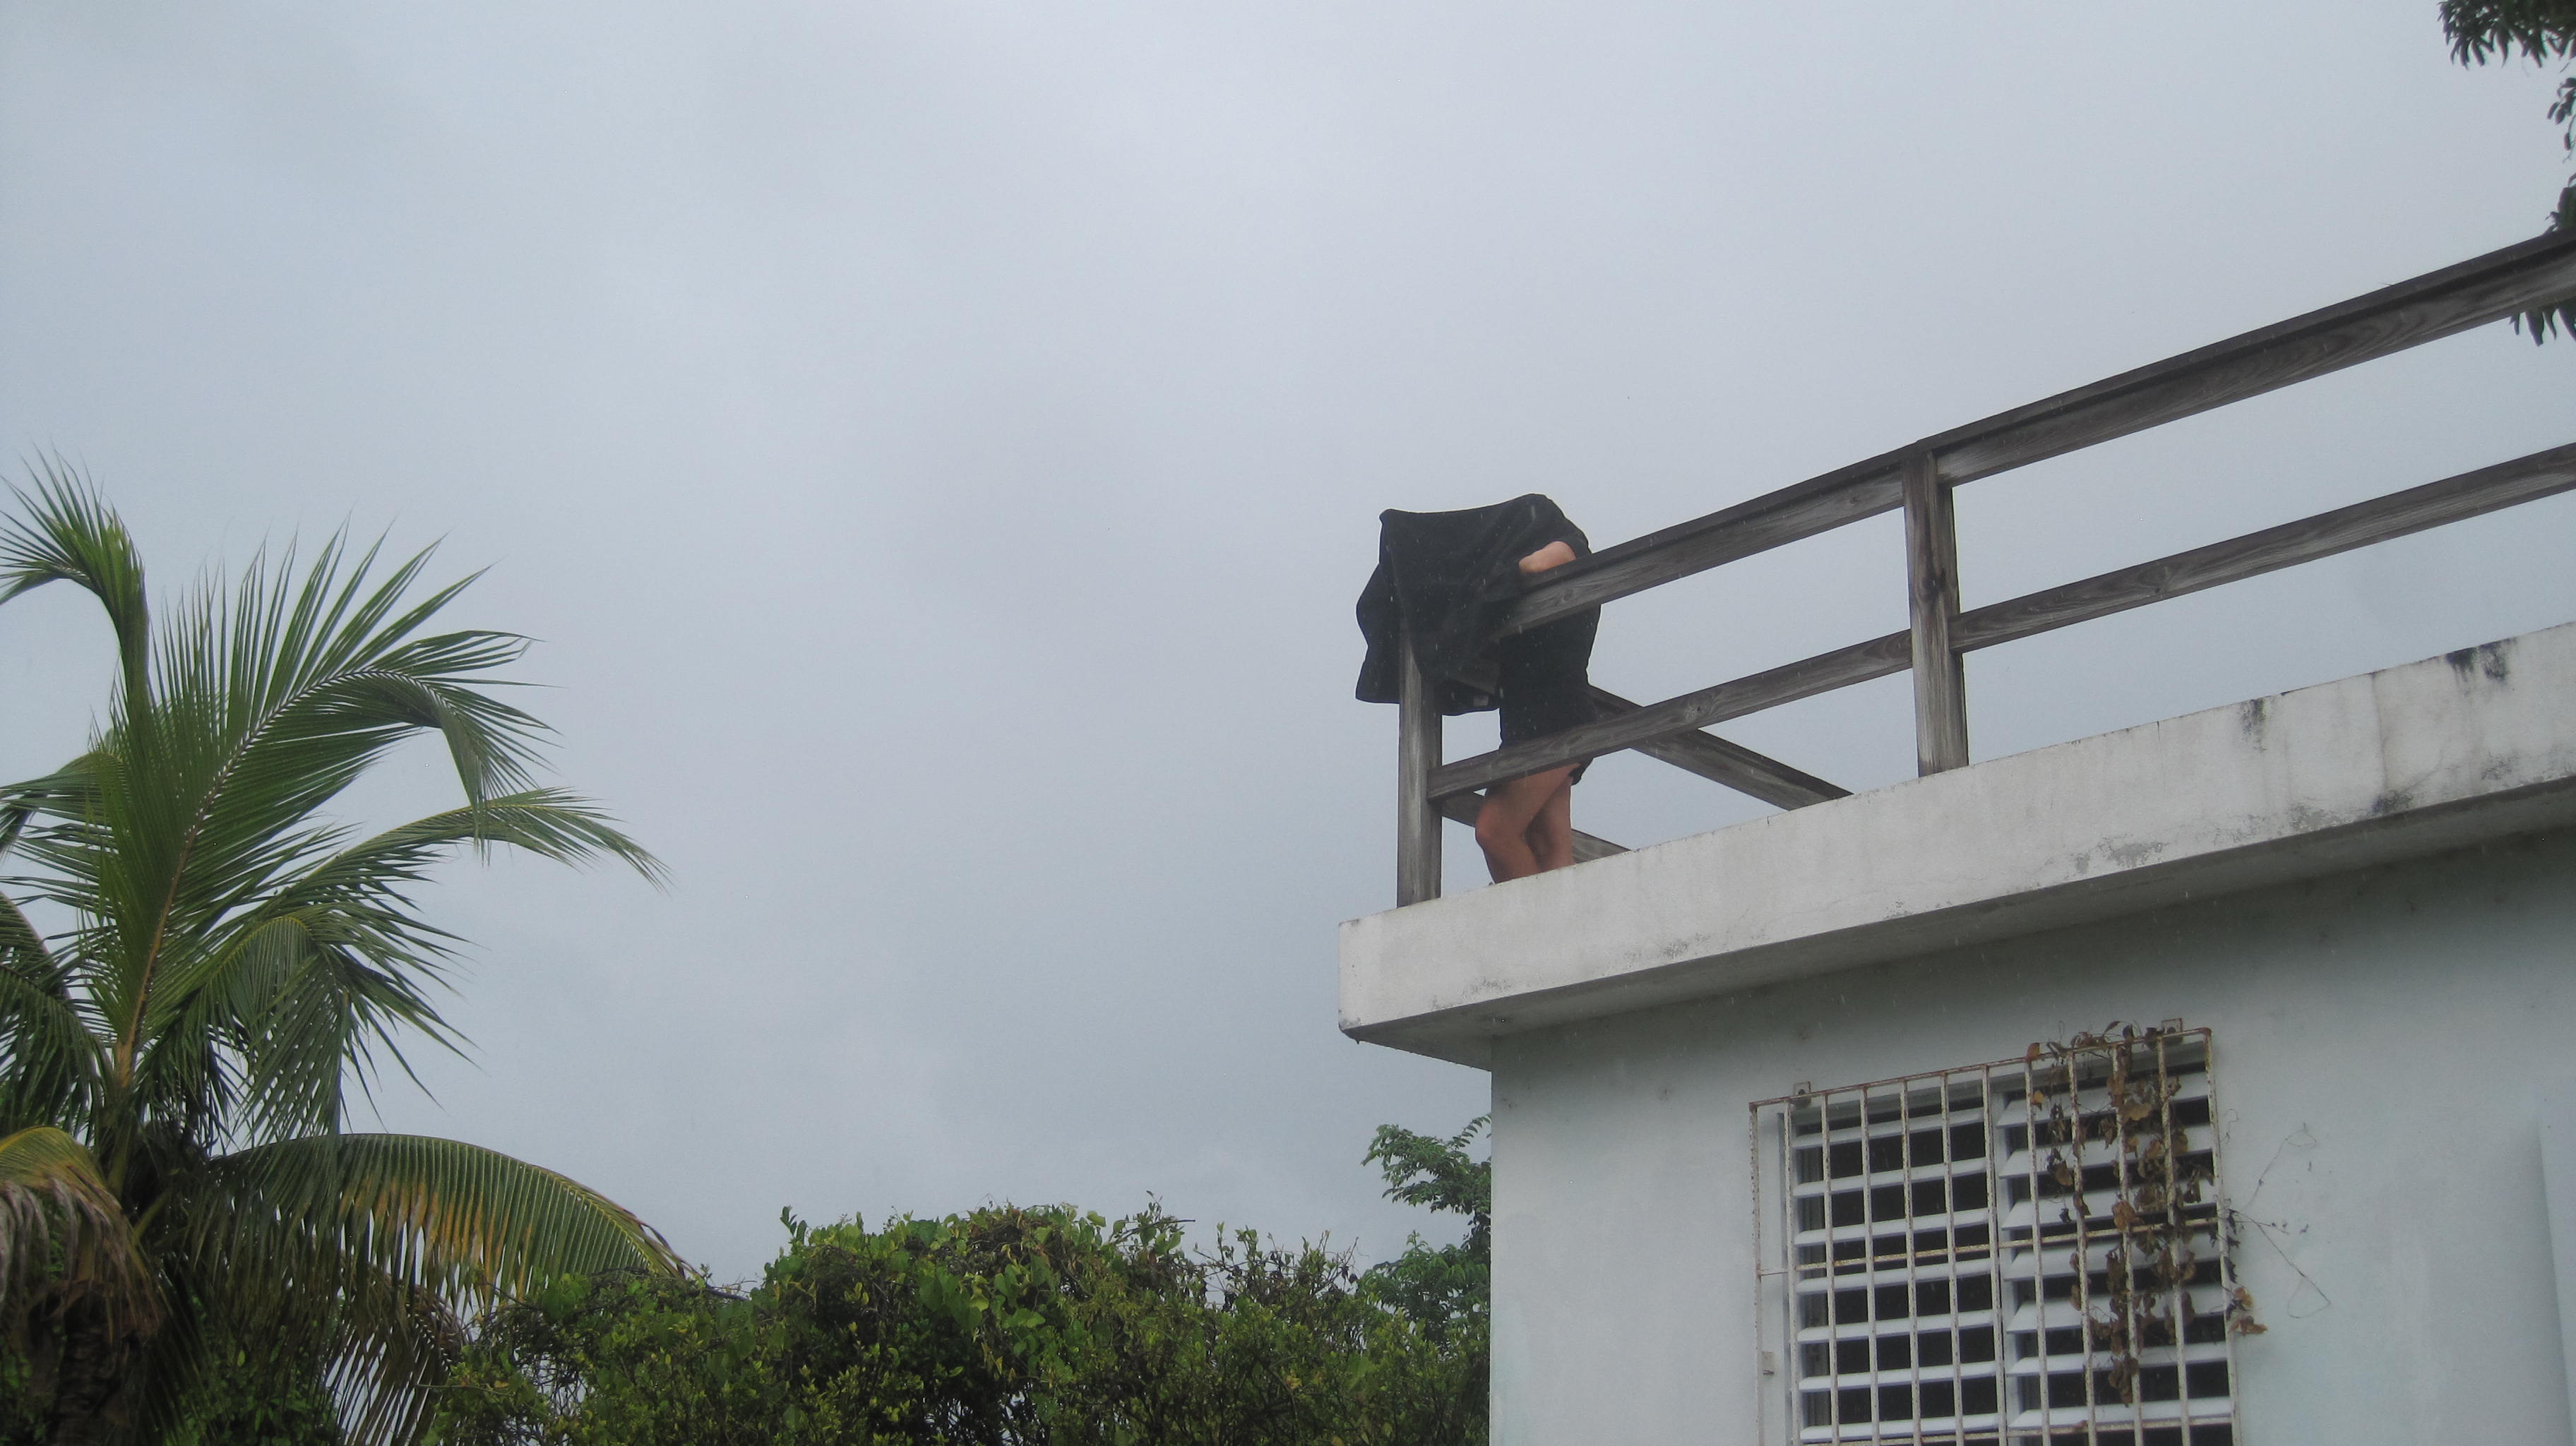
Rainy Internet
Version 1.0

I then figured out how to setup a repeater bridge by installing a Linux variant DD-WRT on a Linksys router.  The bridge would take the internet signal from yonder and repeat it so that we had wireless access from within the cabana!  It needed to be waterproof so I bought a plastic trashcan from the dollar store, drilled holes for the antennas and hung it upside down.  I had to hang it upside down to keep the rain from draining into the antenna holes.

Painting the cabana
Version 2.0

Version 2.0 worked really well, it was nice to sit inside the cabana and have access.  Of course with both 1.0 and 2.0 the speeds were pretty much dialup.  The Access Point we were using was pretty far away.  Eventually the trees grew tall enough to block our access.  We had to find another source!

We had been talking to our neighbor about the idea of paying for a share of his internet and in return he would put his wireless router in his window nearest our property to get a good line of sight link to our wireless bridge.  Well this worked out really well!  This was version 3.0 and I even made a little wood box for it out of scrap T-111 because the plastic trashcan disintegrated in the sun!!  The speeds were MUCH faster and it worked really well.

Forward to the cabin being built and wanting to have internet over there.  It is easily 500 feet and there is a forest between the router box, so no signal is going to make it over there.  We had already put in an electricity line and I did some research.

Apparently companies have figured out how to make a device that will transmit from an electric outlet to an electric outlet.  This is perfect!  It is called Ethernet over power in case you may want to use it.  One end plugs into the wireless router (Ethernet up-link) and plugs into the power outlet the router is plugged into.   The other end plugs into an outlet at the cabin.  Since they are on the same circuit they can talk.  The device at the cabin also has a wireless router built into it!  So now we have wireless internet at and around the cabin!
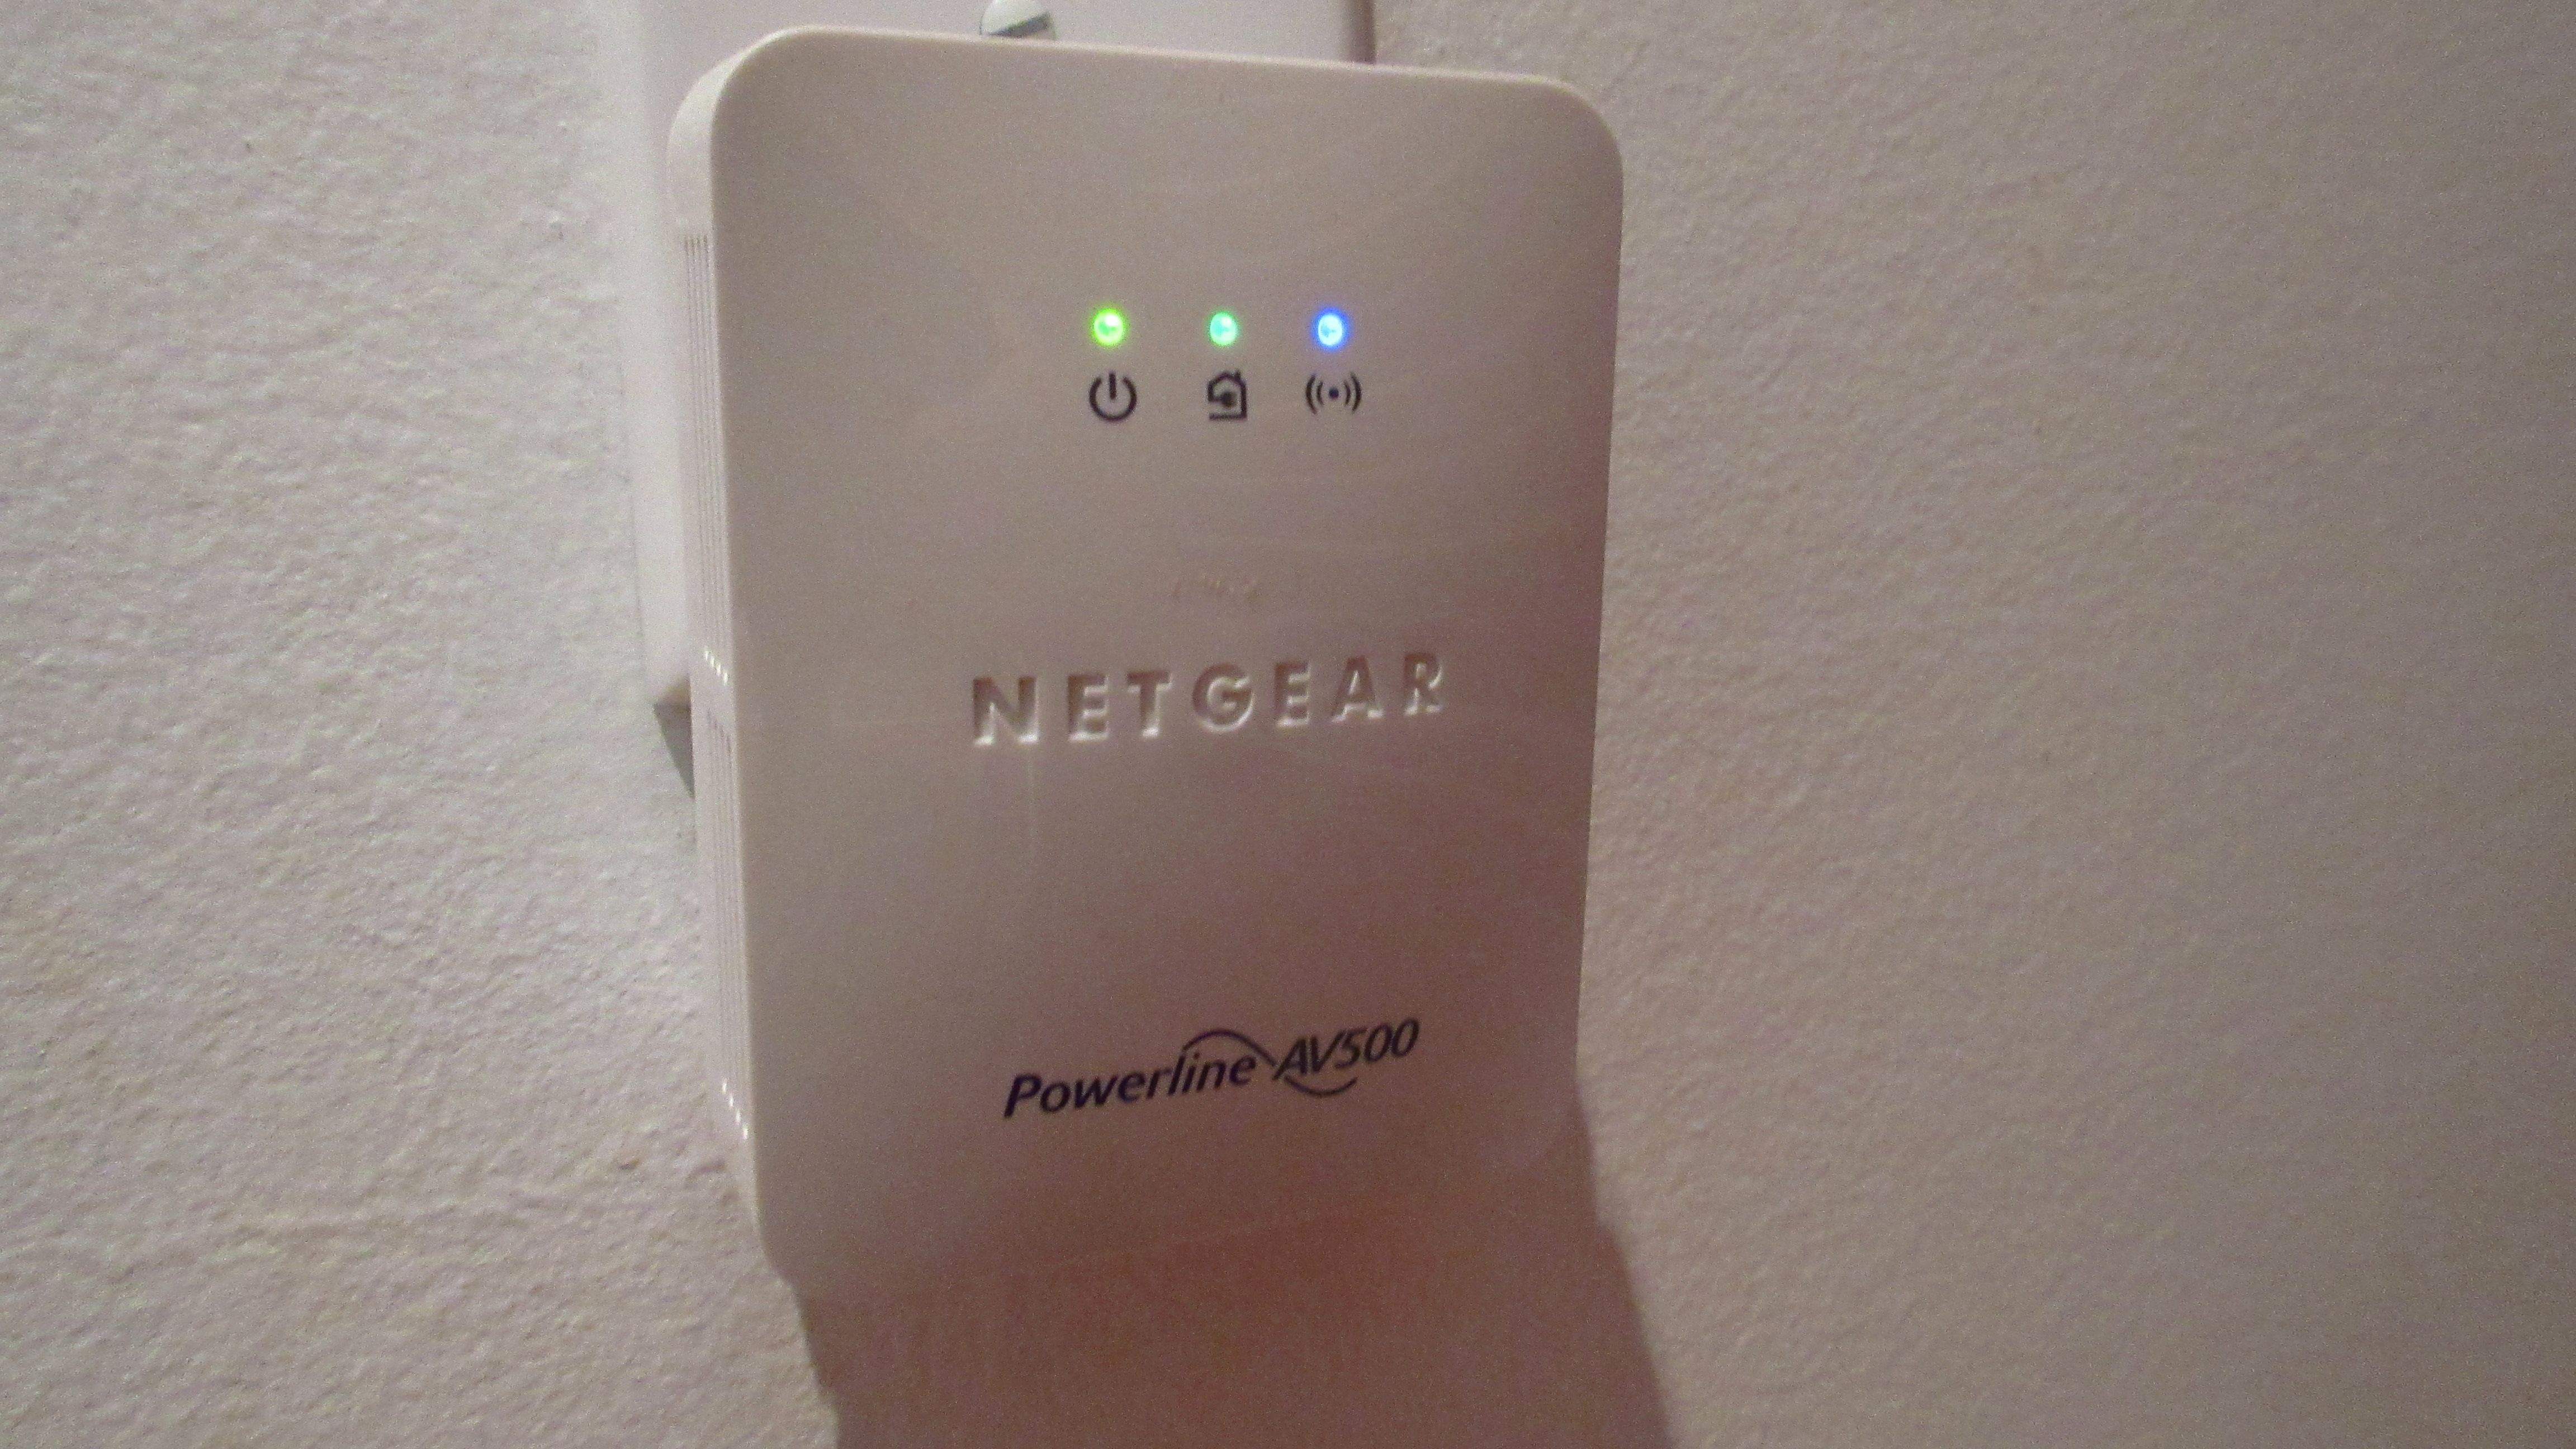
cabin-routergoogle-at-cabin
Version 3.0

The only problem I had now was that apparently wires and cables are fun to chew on.  So rats and iguanas have been chewing up the power and Ethernet cables inside the box and it quits working.

So here comes version 4.0 pictured below.  It is waterproof, chew proof relays a wireless signal from our neighbor to our concrete cabana AND sends a signal thru the electric line to the new cabin.  It isn’t pretty, but hey, maybe nobody will want to steal it?
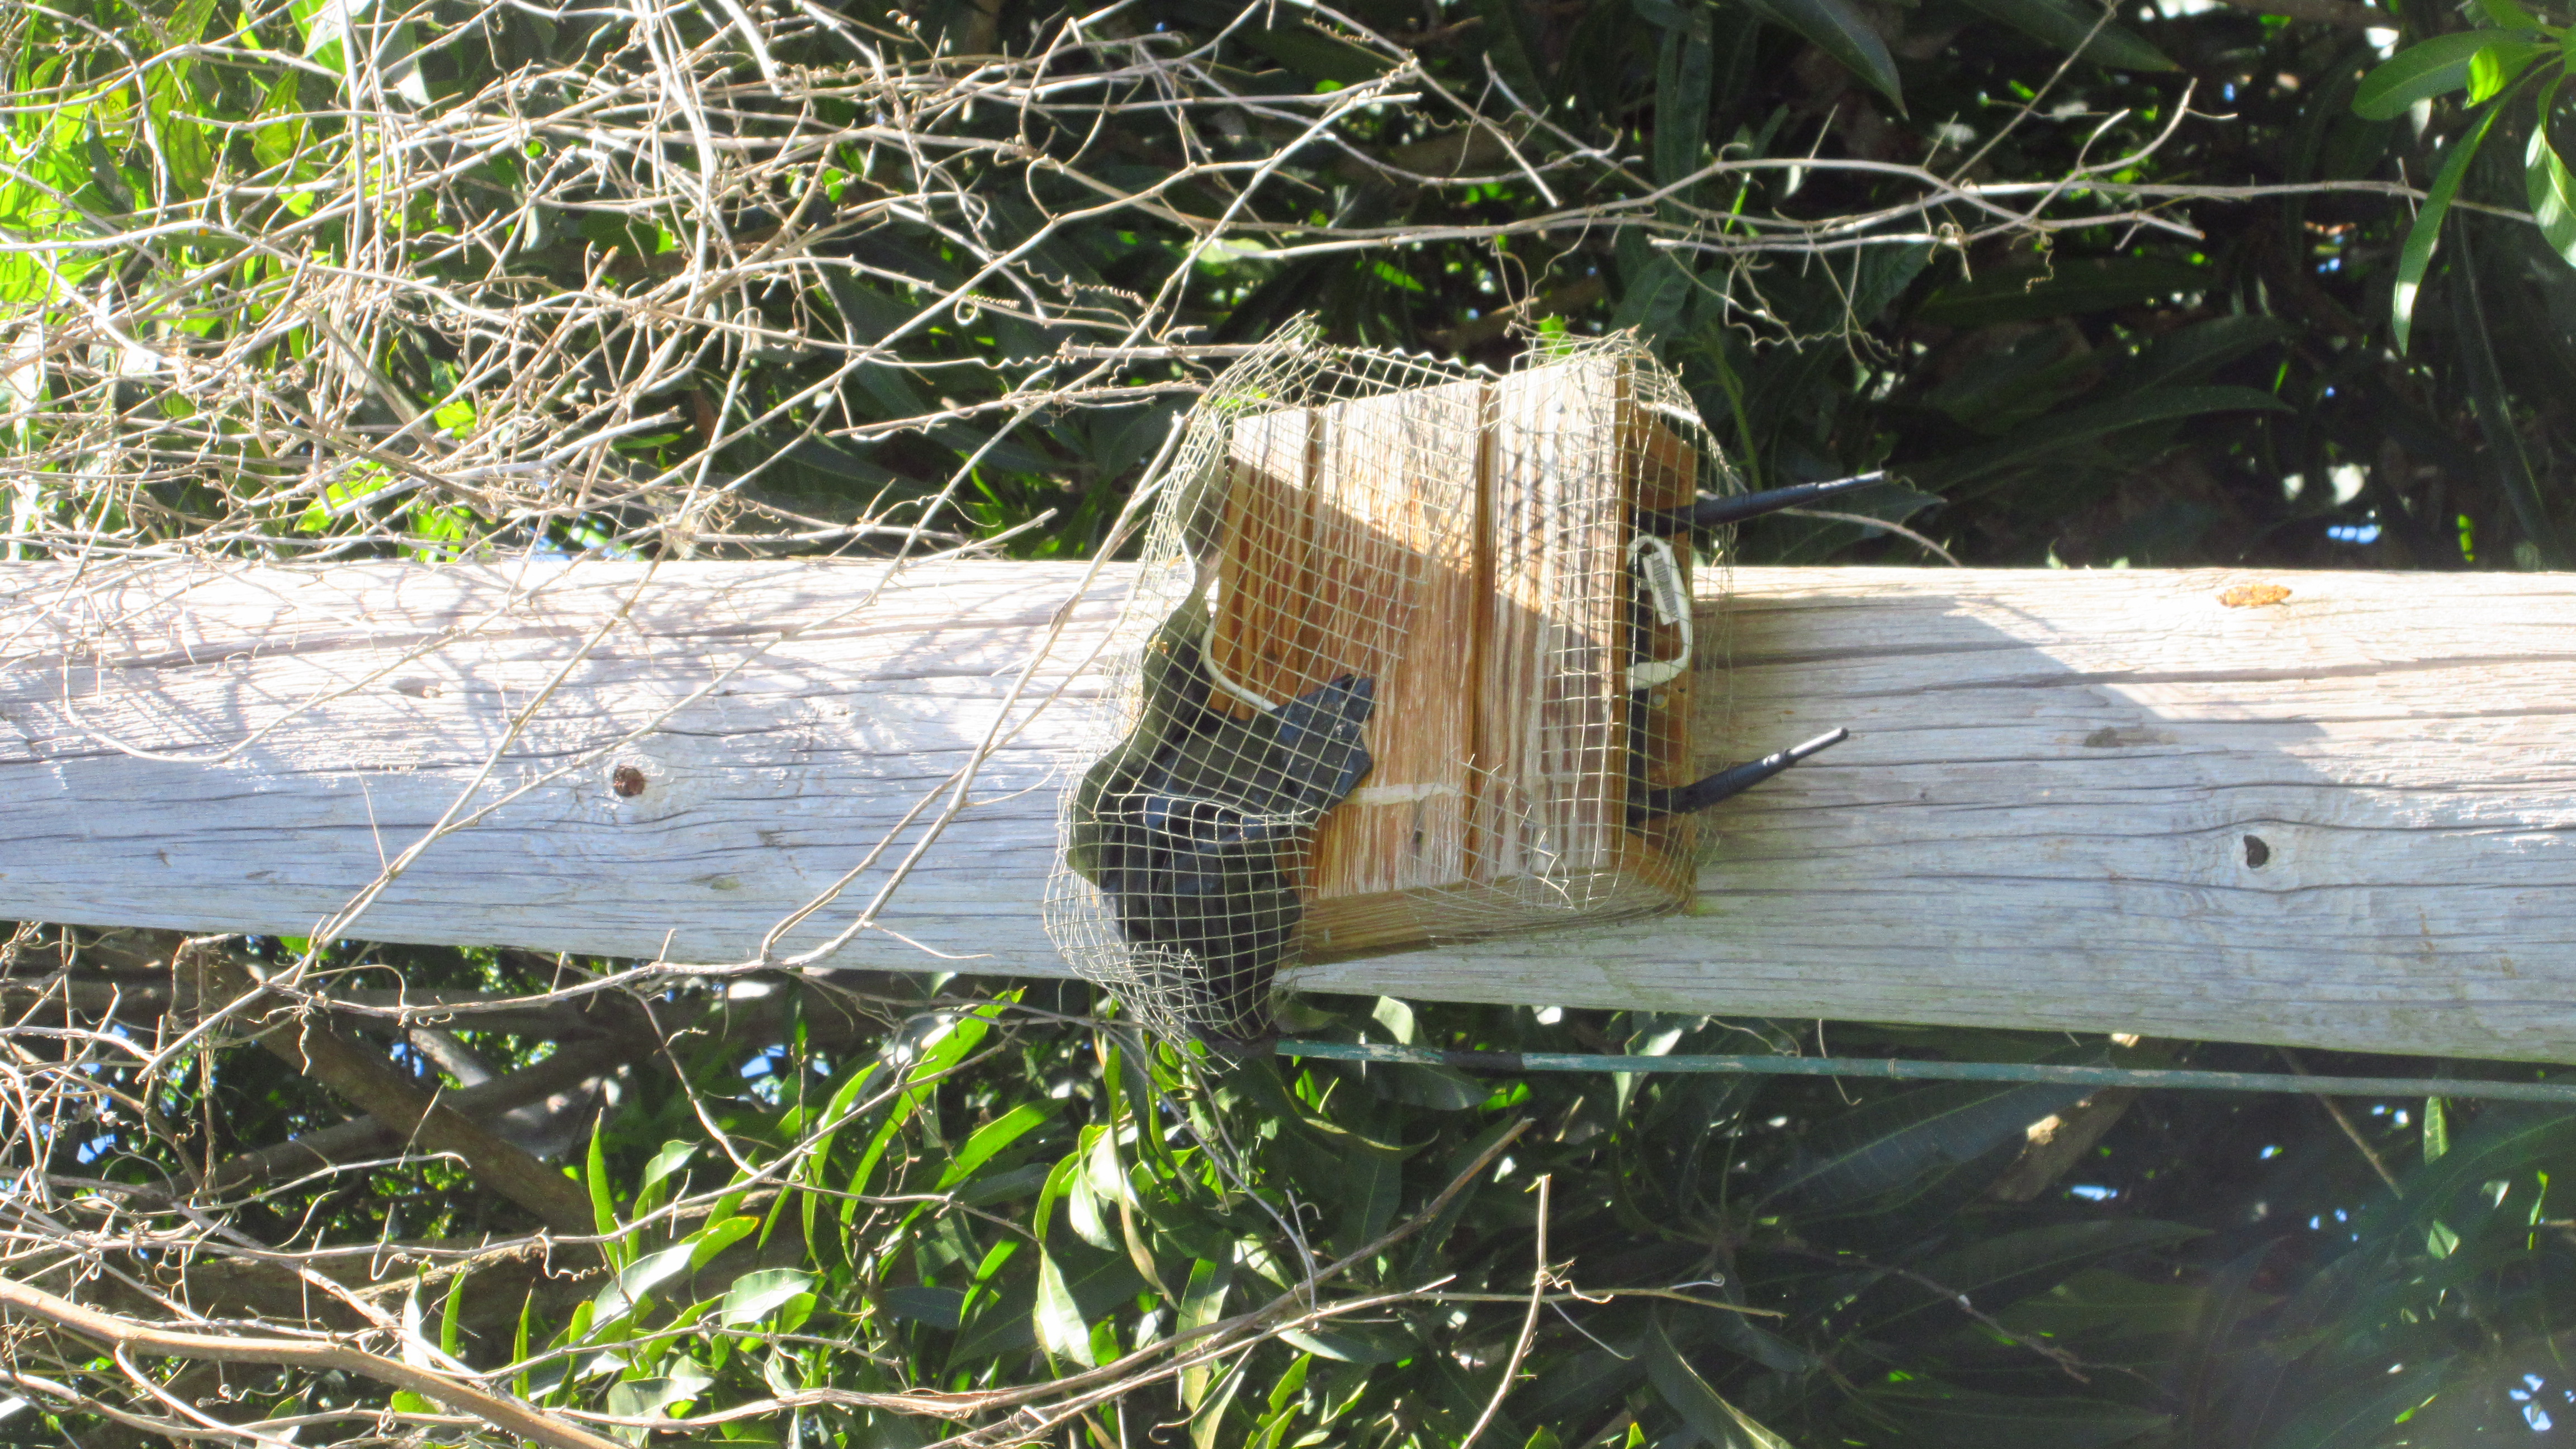
router-v4
4.0 is Ratproof!

It is fun to invent, design, build and test.  That is what we have been doing the entire time we have lived here in Rincón!  What can I say?  I’m a geek.

What do you think of this post?
  • WOW (2)
  • Awesome (2)
  • Interesting (2)
  • Useful (2)
  • Bummer (0)
  • Whoa (0)

Tile Floors are Installed!

We just accomplished a major milestone in building the cabin! We have just finished installing the tile floors! This was quite a process not the least of which was just simply bringing over the supplies. Before they could even start on the tiles they had to bring over almost 30 sheets of plycem (concrete backer board). Each one of them weighed over 130 pounds! Then they had to move over all the boxes of tiles as well!

Britton and Waldemar floors
Installing each of the concrete backer sheets!

Cassie and Waldemar
Preparing the tile with Waldemar starting with the center piece

Tile Line
Beginning the tile from the center out

One special touch we added was a tile mosaic in the center of the room under the large ceiling fan. It complicated things a little but I think it is pretty cool. We bought the last one in the tile store and so we had to cut some parts special for it, but it turned out very nice.

Design
Mosaic design

Lechada Grout
Installing the grout

Floors
Shortly after installation

Doorway
After the first mopping

For a more in-depth how-to on this tile installation you can watch this video; there’s some pretty funny bloopers at the end too:

Once we finished with the tiles we were able to accomplish something else that we are super excited about: bringing over the full-sized fridge and stove! These were very tough to move over because they, like everything in the cabin, had to be brought over by hand. No dolly was used.

Fridge loading
First they loaded it from the shed into the truck and drove it half-way down

Trail
Then they carried it through the jungle

Britton and Waldemar on the bridge with fridge
Across the bridge

Fridge at the house
Up the stairs, and to the house!

And yes, their backs were pretty sore after this! But we are super excited about the floors and what it means. With the floors and the walls basically finished, that means we are nearly ready to move everything else in too! Next up, the toilet and finishing work on the bathroom!

What do you think of this post?
  • WOW (8)
  • Awesome (10)
  • Interesting (0)
  • Useful (1)
  • Bummer (0)
  • Whoa (1)

Construct It: Cabin Floors and Walls

I figured it was maybe time to do a little construction update.  One thing nice about doing things at your own pace is that you can take a step back when you start to feel overwhelmed or don’t have an answer to a “how to” and want to take some time to research.  A lot of building this house has required research because I’ve never done it before.  Like what screws to use for drywall and WHY?  What screws to use for cement board and WHY?  How do you construct a shower basin in a wood framed house?

The company that delivered the drywall delivered screws too.  They were black phosphate coated drywall screws BUT they were fine thread.  When I asked about it they claimed of course “It’s fine to use them in wood!” which isn’t really true.  Wood screws use a coarse thread for holding power.  Fine threads are used for metal studs.  Just an example of how a small thing can turn into a small ordeal when you are ready to start a project in the morning.

Using what are considered the “correct” fasteners might not matter to some people, especially if the fasteners are difficult to locate.  I have been called “Mañoso” (picky) a few times which is accurate I guess.

Drywall
Mud, Tape and Ready for Primer/Paint

This past week have been getting the inside ready for paint and flooring.  Since we decided to go with tile, we needed to prep the sub floor.  We got 24 4×8 sheets of 3/4″ thick cement board.  Those weigh 136 pounds each!  It took a whole day just for us to move them over to the house.  It was actually easiest for one person to carry an entire sheet on their back than it was for two people to awkwardly try to move one.  So there was a lot of resting in between trips but we got it done.

While I do a lot of the research myself it is tremendously useful to have Waldemar help with each step. He propels us forward so much more than we can do alone. I really appreciate his help. He brings skills, experience as well as lots of energy and motivation when I just don’t have a whole a lot.

Britton and Waldemar floors
Installing Cement Board

We then cut and installed the cement boards (generically called plycem here).  Those things were ridiculously heavy.  The floors however are SOLID and we shouldn’t have any problems with tiles popping or cracking.  Under the cement boards we used thinset to fill any space between the 3/4″ inch plywood.  There are a few write ups about this online.  The professionals who sold me the cement board told me I didn’t need to use thinset, but again for me it comes down to the “why” and the write ups did a good job of convincing me that it should be done.

Waldemar and Cassie 2
Cassie brings over lunch for us and helps where she can

Our tile is on order and should be here in a week or so.  We wanted to get a natural feel instead of using ceramic printed tiles and went with a red clay tile almost like terracotta.  Again, Mañoso but what can you do?  If you want something, sometimes you have to wait.

Waldermar and Britton
¿Tu quiereme? Waldemar and I work together a lot and have gotten to know each other well, even with the language barrier.

We also used cement board for the shower stall.  Over top of the cement board I used aqua defense, it is a paintable rubber membrane that adheres well to thinset when dry so you can tile over it.  The paintable membrane will keep any moisture from seeping past the grout/tiles and cement board into the wood below.  One thing I have learned is that cement is porous and should be sealed if you want to keep water out.  There is also a 3 piece drain.

Blue bathroom
Green Water-proof Membrane

Soon we should receive some tiles.  Until then we will be painting the walls.
Cassie Painting
Cassie Priming the Drywall for Paint

So as you can see, we haven’t JUST been chinchorreando and having fun…We are making really good progress on the cabin too. Now that we can see the walls and floors taking shape we are super stoked to move in!

What do you think of this post?
  • WOW (2)
  • Awesome (15)
  • Interesting (1)
  • Useful (1)
  • Bummer (0)
  • Whoa (0)

Cabin Drywall Installation

The drywall installation is really going well at the cabin. It has been quite the job for just Britton and Waldemar to do alone, but we’re gettin’ ‘er done. Before we got started we needed to fill any little cavities or crevices that a bee or bat could enter in the walls. We were thinking of using insulation but were having a hard time finding any. Since we won’t have air conditioning or heating at the cabin it wasn’t actually needed for the purpose of keeping in heat or cold, but rather just for keeping the critters out. So we went around and filled each little crevice, crack and hole with expanding foam.

Filling with foam
Filling crevices with foam

The next task was to order and then move over the drywall. We can drive the truck about half-way to the cabin. It is definitely a good thing we have 4 wheel drive. In Puerto Rico there is often an opportunity or need to use it. Here at our finca we drive on our grass at least 3 or 4 times a week.

Truck halfwayTruck halfway down loaded with drywall

Waldermar and Britton on bridge

Next, Britton and Waldemar carried over each 2-pack of drywall. That means 30 trips up and down through the jungle from the truck and back, through the tropical gardens, across the sky bridge, up the curving stairs, onto the deck and into the house. That took all of one day.

Stacked drywall
Just a portion of the drywall

Waldemar hanging drywall

Next was the actual install. This is where you could really start to see the house take shape and what the rooms will really look like. It made the house feel a little smaller but much brighter.

Drywall LivingLiving room

Drywall kitchen
Kitchen

Nothing is ever as simple or easy as you would like. The order came with the wrong screws and we ran out of tape. So that meant more trips back to Mayaguez. We bought a lot of the materials at a drywall place, but we also made many a stop at Home Depot.

Horses in parking lotYou never know where you will see horses around here. In the Home Depot parking lot

We are getting closer and closer. They are now mudding and taping and then we will paint the walls. After that comes the subfloor! Though there is always something to think about, things are coming together beautifully.

Ginger flower
When we’re not working on the house, we have to keep up with the gardening! This is a new white torch ginger

What do you think of this post?
  • WOW (2)
  • Awesome (11)
  • Interesting (1)
  • Useful (0)
  • Bummer (0)
  • Whoa (0)