Internet is one of those modern conveniences that is just….. so nice to have. Checking in on Facebook, paying bills or looking how to do things on youtube. We haven’t “hooked” up internet service here yet, but we’ve always had some signal of some sort to utilize. It is probably more of a personal challenge to find alternate ways of connecting than any actual reason. In the process you can learn all kinds of new things about networking and radios.
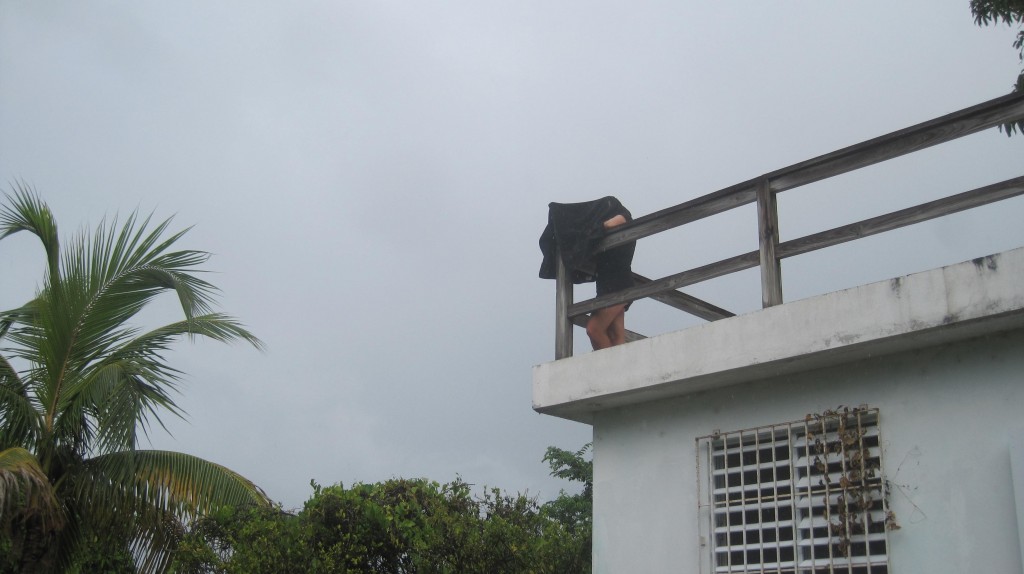
When we first arrived the only way to get an open signal was to be on top of the cabana on the corner of the house. Usually this was in the sun or rain! This is what I will consider internet v1.0. It was much easier than packing up and going to a cafe, plus we didn’t have to buy coffee or sit outside some place and look like moochers. We could mooch from our own home!
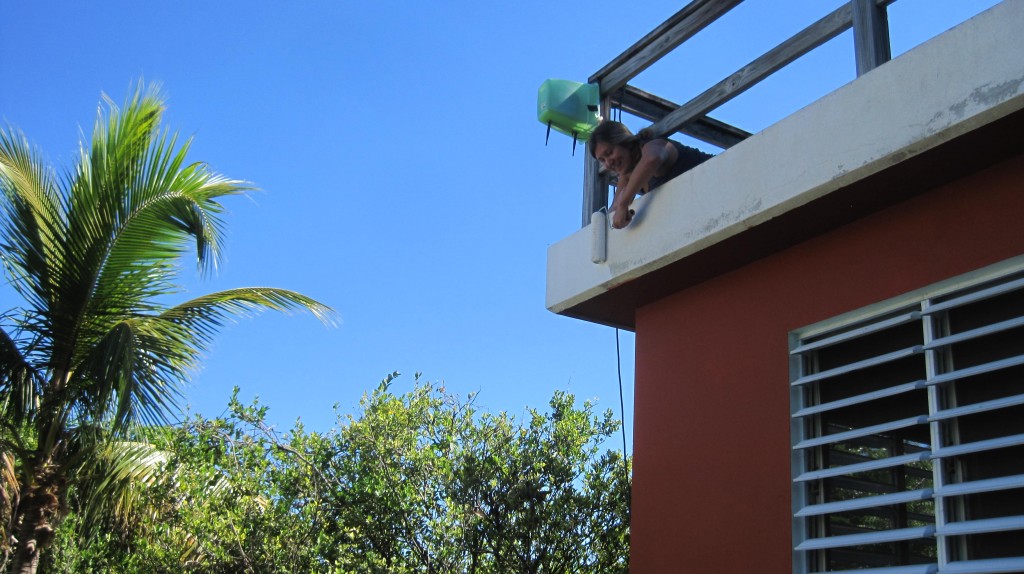
I then figured out how to setup a repeater bridge by installing a Linux variant DD-WRT on a Linksys router. The bridge would take the internet signal from yonder and repeat it so that we had wireless access from within the cabana! It needed to be waterproof so I bought a plastic trashcan from the dollar store, drilled holes for the antennas and hung it upside down. I had to hang it upside down to keep the rain from draining into the antenna holes.
Version 2.0 worked really well, it was nice to sit inside the cabana and have access. Of course with both 1.0 and 2.0 the speeds were pretty much dialup. The Access Point we were using was pretty far away. Eventually the trees grew tall enough to block our access. We had to find another source!
We had been talking to our neighbor about the idea of paying for a share of his internet and in return he would put his wireless router in his window nearest our property to get a good line of sight link to our wireless bridge. Well this worked out really well! This was version 3.0 and I even made a little wood box for it out of scrap T-111 because the plastic trashcan disintegrated in the sun!! The speeds were MUCH faster and it worked really well.
Forward to the cabin being built and wanting to have internet over there. It is easily 500 feet and there is a forest between the router box, so no signal is going to make it over there. We had already put in an electricity line and I did some research.
Apparently companies have figured out how to make a device that will transmit from an electric outlet to an electric outlet. This is perfect! It is called Ethernet over power in case you may want to use it. One end plugs into the wireless router (Ethernet up-link) and plugs into the power outlet the router is plugged into. The other end plugs into an outlet at the cabin. Since they are on the same circuit they can talk. The device at the cabin also has a wireless router built into it! So now we have wireless internet at and around the cabin!
The only problem I had now was that apparently wires and cables are fun to chew on. So rats and iguanas have been chewing up the power and Ethernet cables inside the box and it quits working.
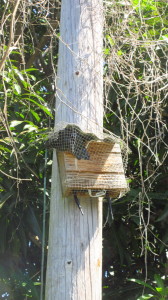
So here comes version 4.0 pictured below. It is waterproof, chew proof relays a wireless signal from our neighbor to our concrete cabana AND sends a signal thru the electric line to the new cabin. It isn’t pretty, but hey, maybe nobody will want to steal it?
It is fun to invent, design, build and test. That is what we have been doing the entire time we have lived here in Rincón! What can I say? I’m a geek.

