Tag Archives: construction

Projects Around the Property

There is always something to do around here. With four acres of land, two small casitas and a couple of bird coops we are always busy maintaining and trying to move forward with new goals. We try to do as much as we can ourselves with occasional outside help. Here are a few of the projects we have been working on recently.

Chainsaw
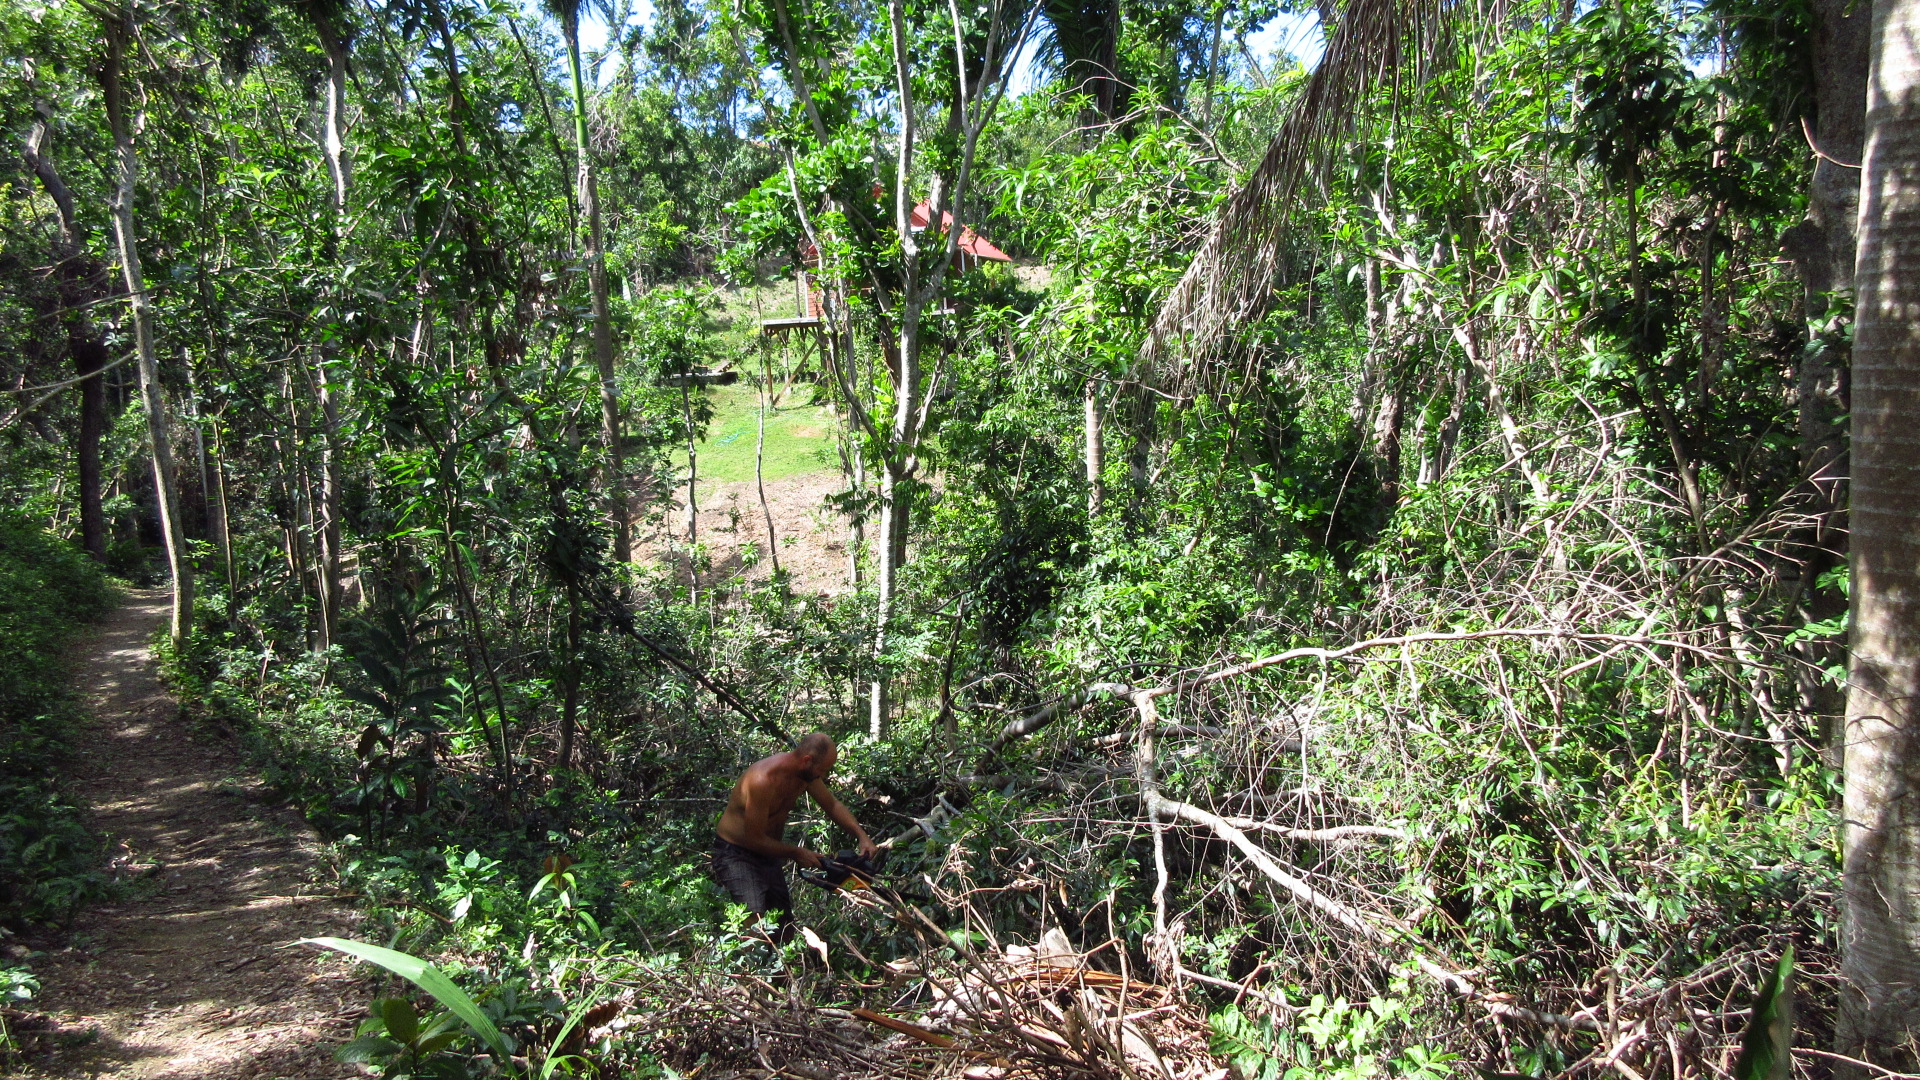
Britton sawing what I think is a fallen Indian bay leaf tree

Chopping up downed trees
Hurricane Maria brought down a lot of trees everywhere and our property was no exception. One of the many things we did right when we built the jungle cabin was to bury the electric line even though it was 500 feet away from the main. Otherwise, we would have been struggling like the electric company to get the poles up and the trees off the lines. We still had (and have) a mess to contend with however. The problem is that there is nowhere to bring all this wood. So we have a huge pile of wood debris in the quebrada.

It does open up our jungle area to a little more light and we have plans to plant more heliconias and gingers here as we expand our flower business. Britton mainly runs the chainsaw because I am a little afraid of the kickback when I’ve used it. I lopper some of the smaller brush around until we have an area that we can replant. We have a whole section of property (about 3/4 acre) by the Magic Mango and Camino de Pobres that we haven’t even touched and is still impossible to cross without scrambling over huge fallen trees that jut every which way.

Flower Truck Load
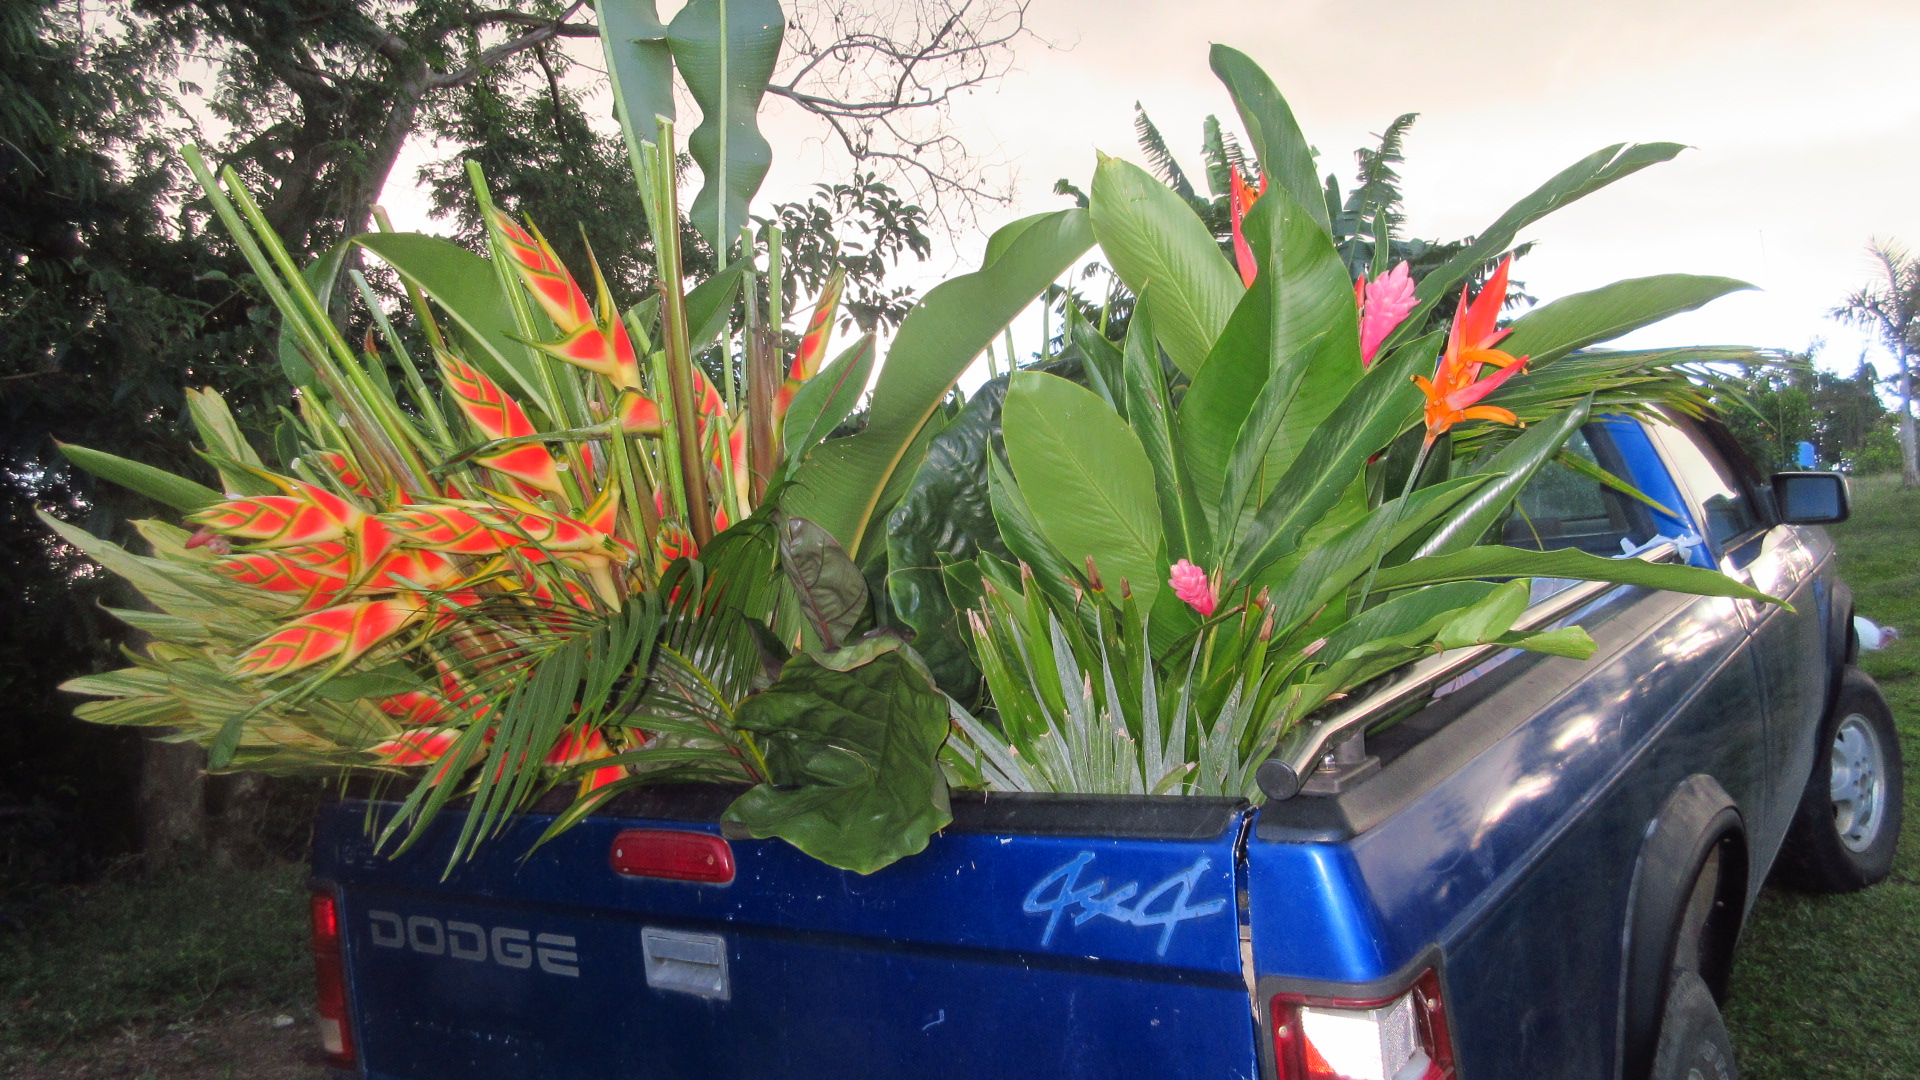
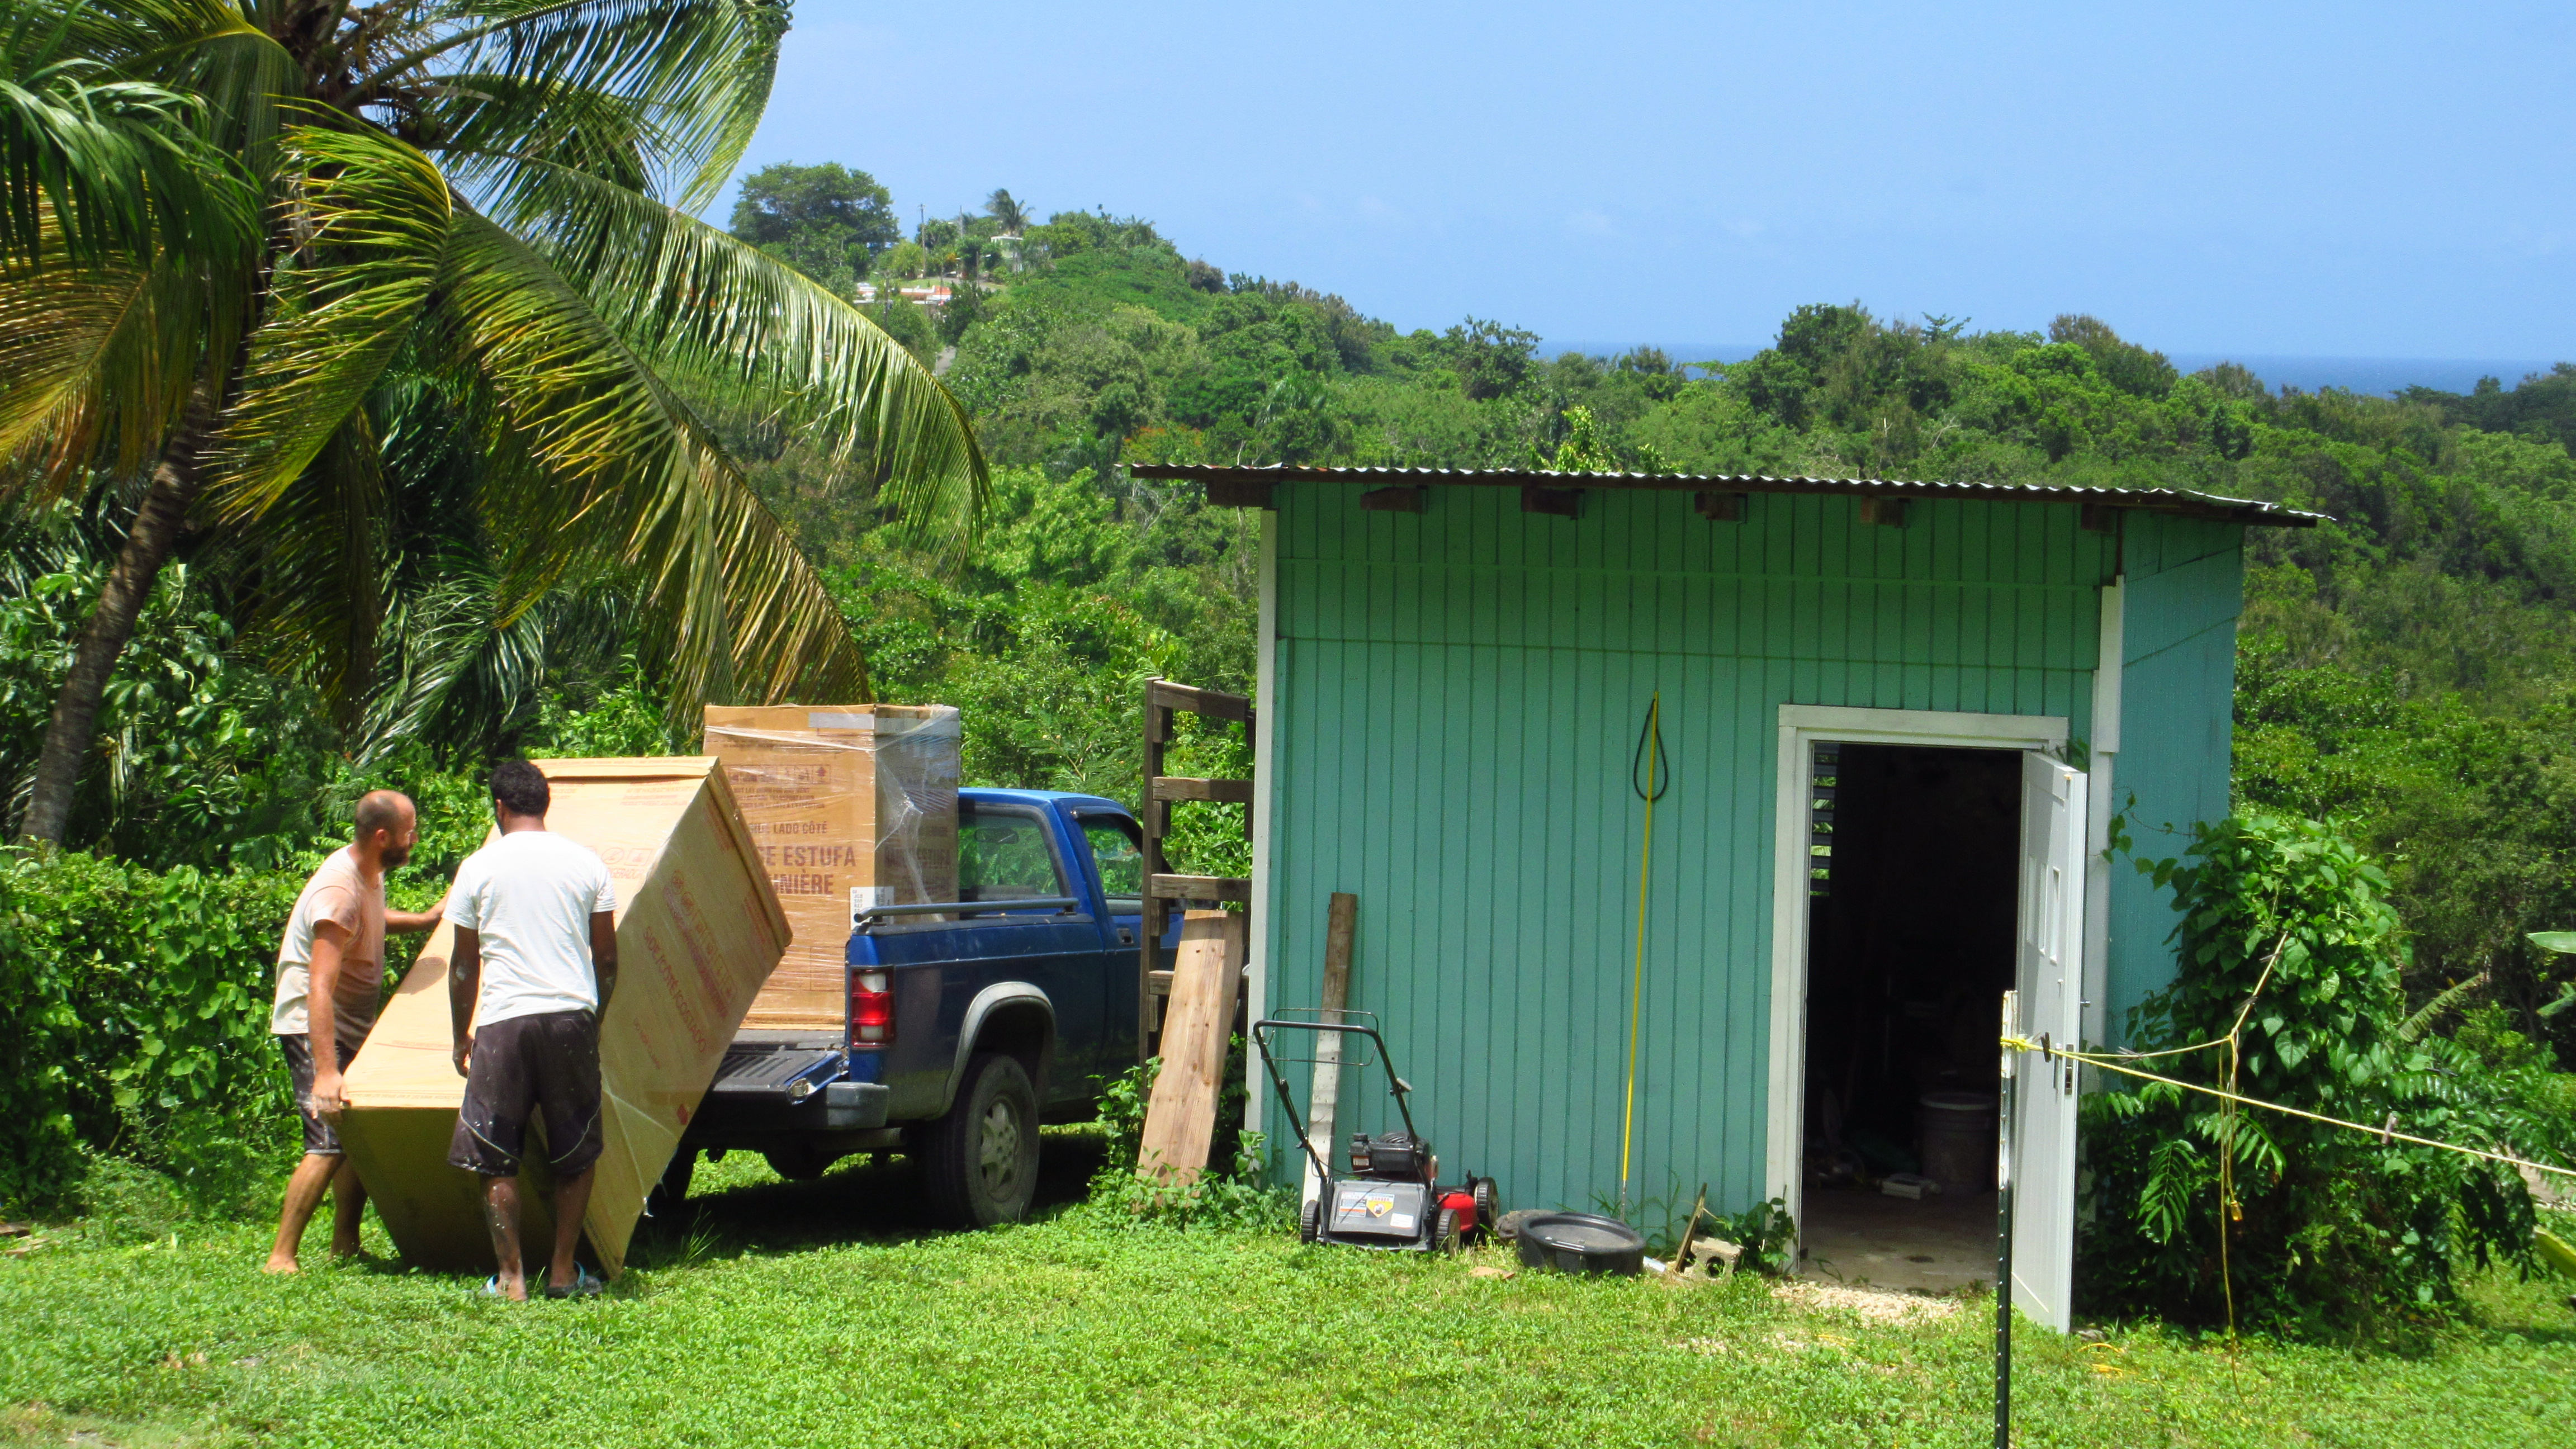
Truck loaded with flowers to bring to the market

Flowers and plants
This is one of the more enjoyable tasks around the farm. We go out and find plants -either dig-ups or at nurseries- and then the next day or so we plant them. When we plant a tree it’s really a tough decision because we know that some of them can grow to be huge and we’d rather not transplant too much. With the other plants that grow from rhizomes like bananas, eleplant ears, heliconias and gingers we’re not so picky because they are easily transplanted.

Cassie and bamboo
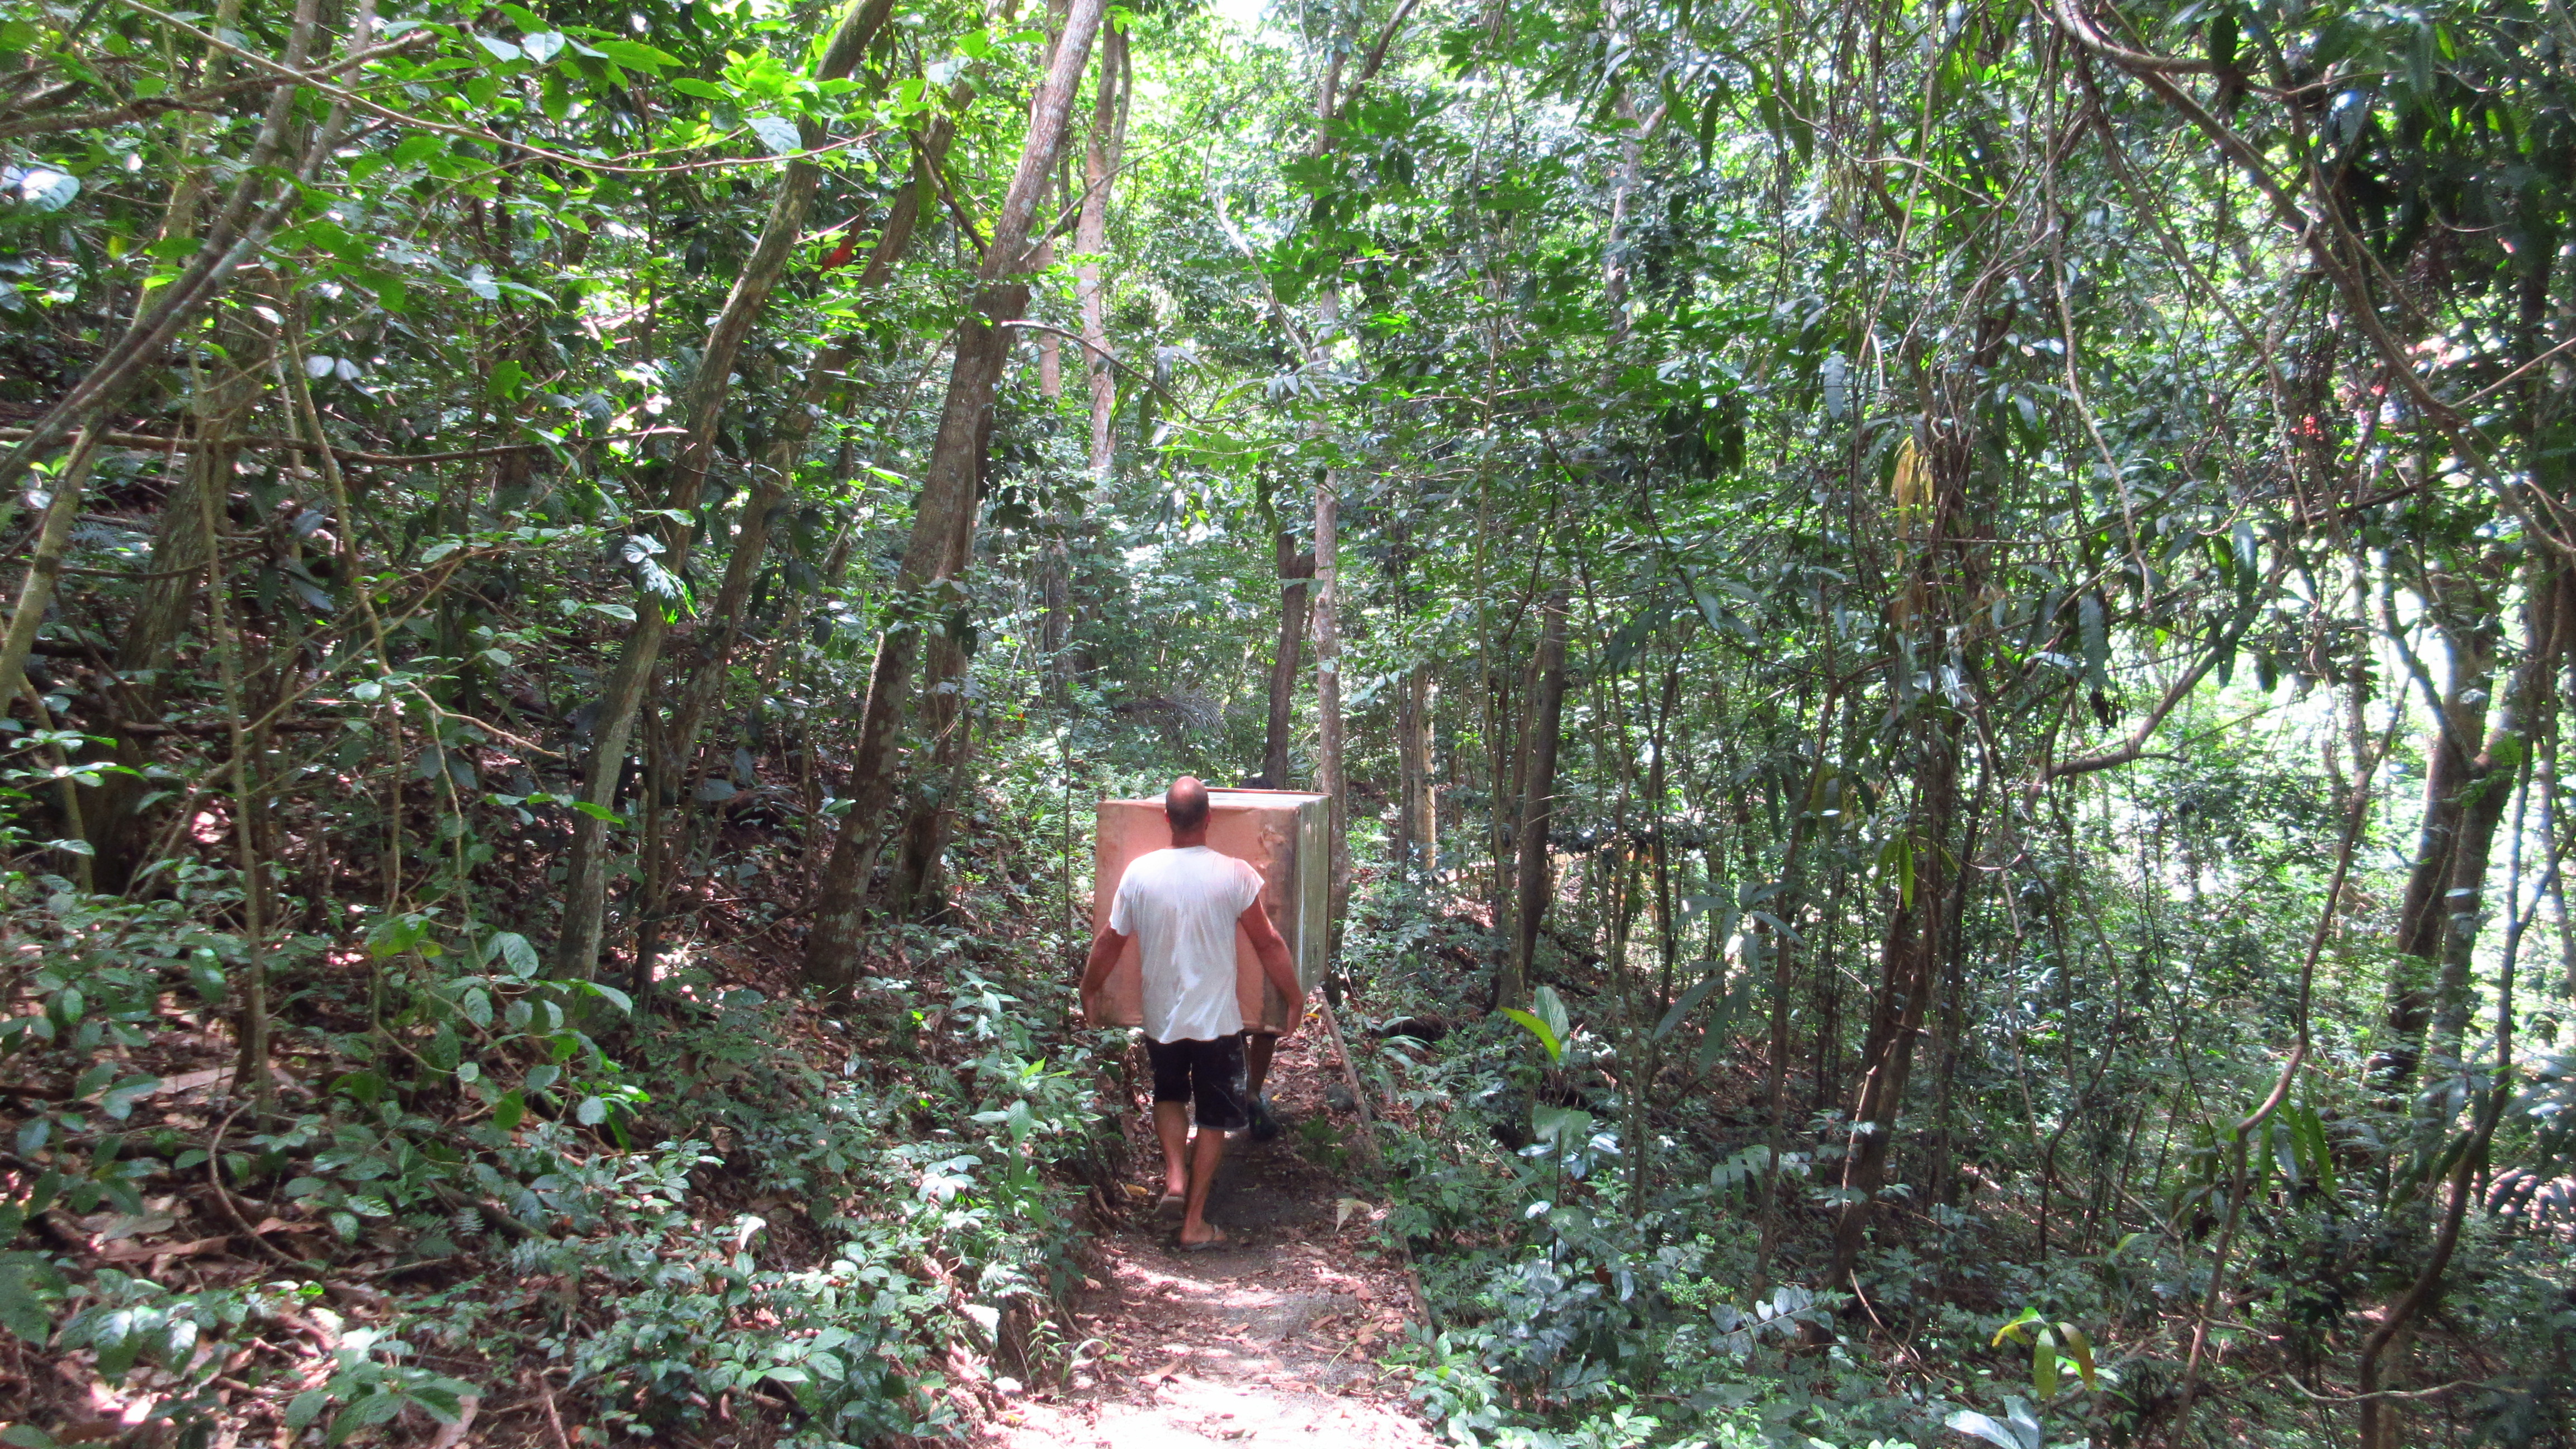
This bamboo is bigger than me and weighed more too!

Monstera
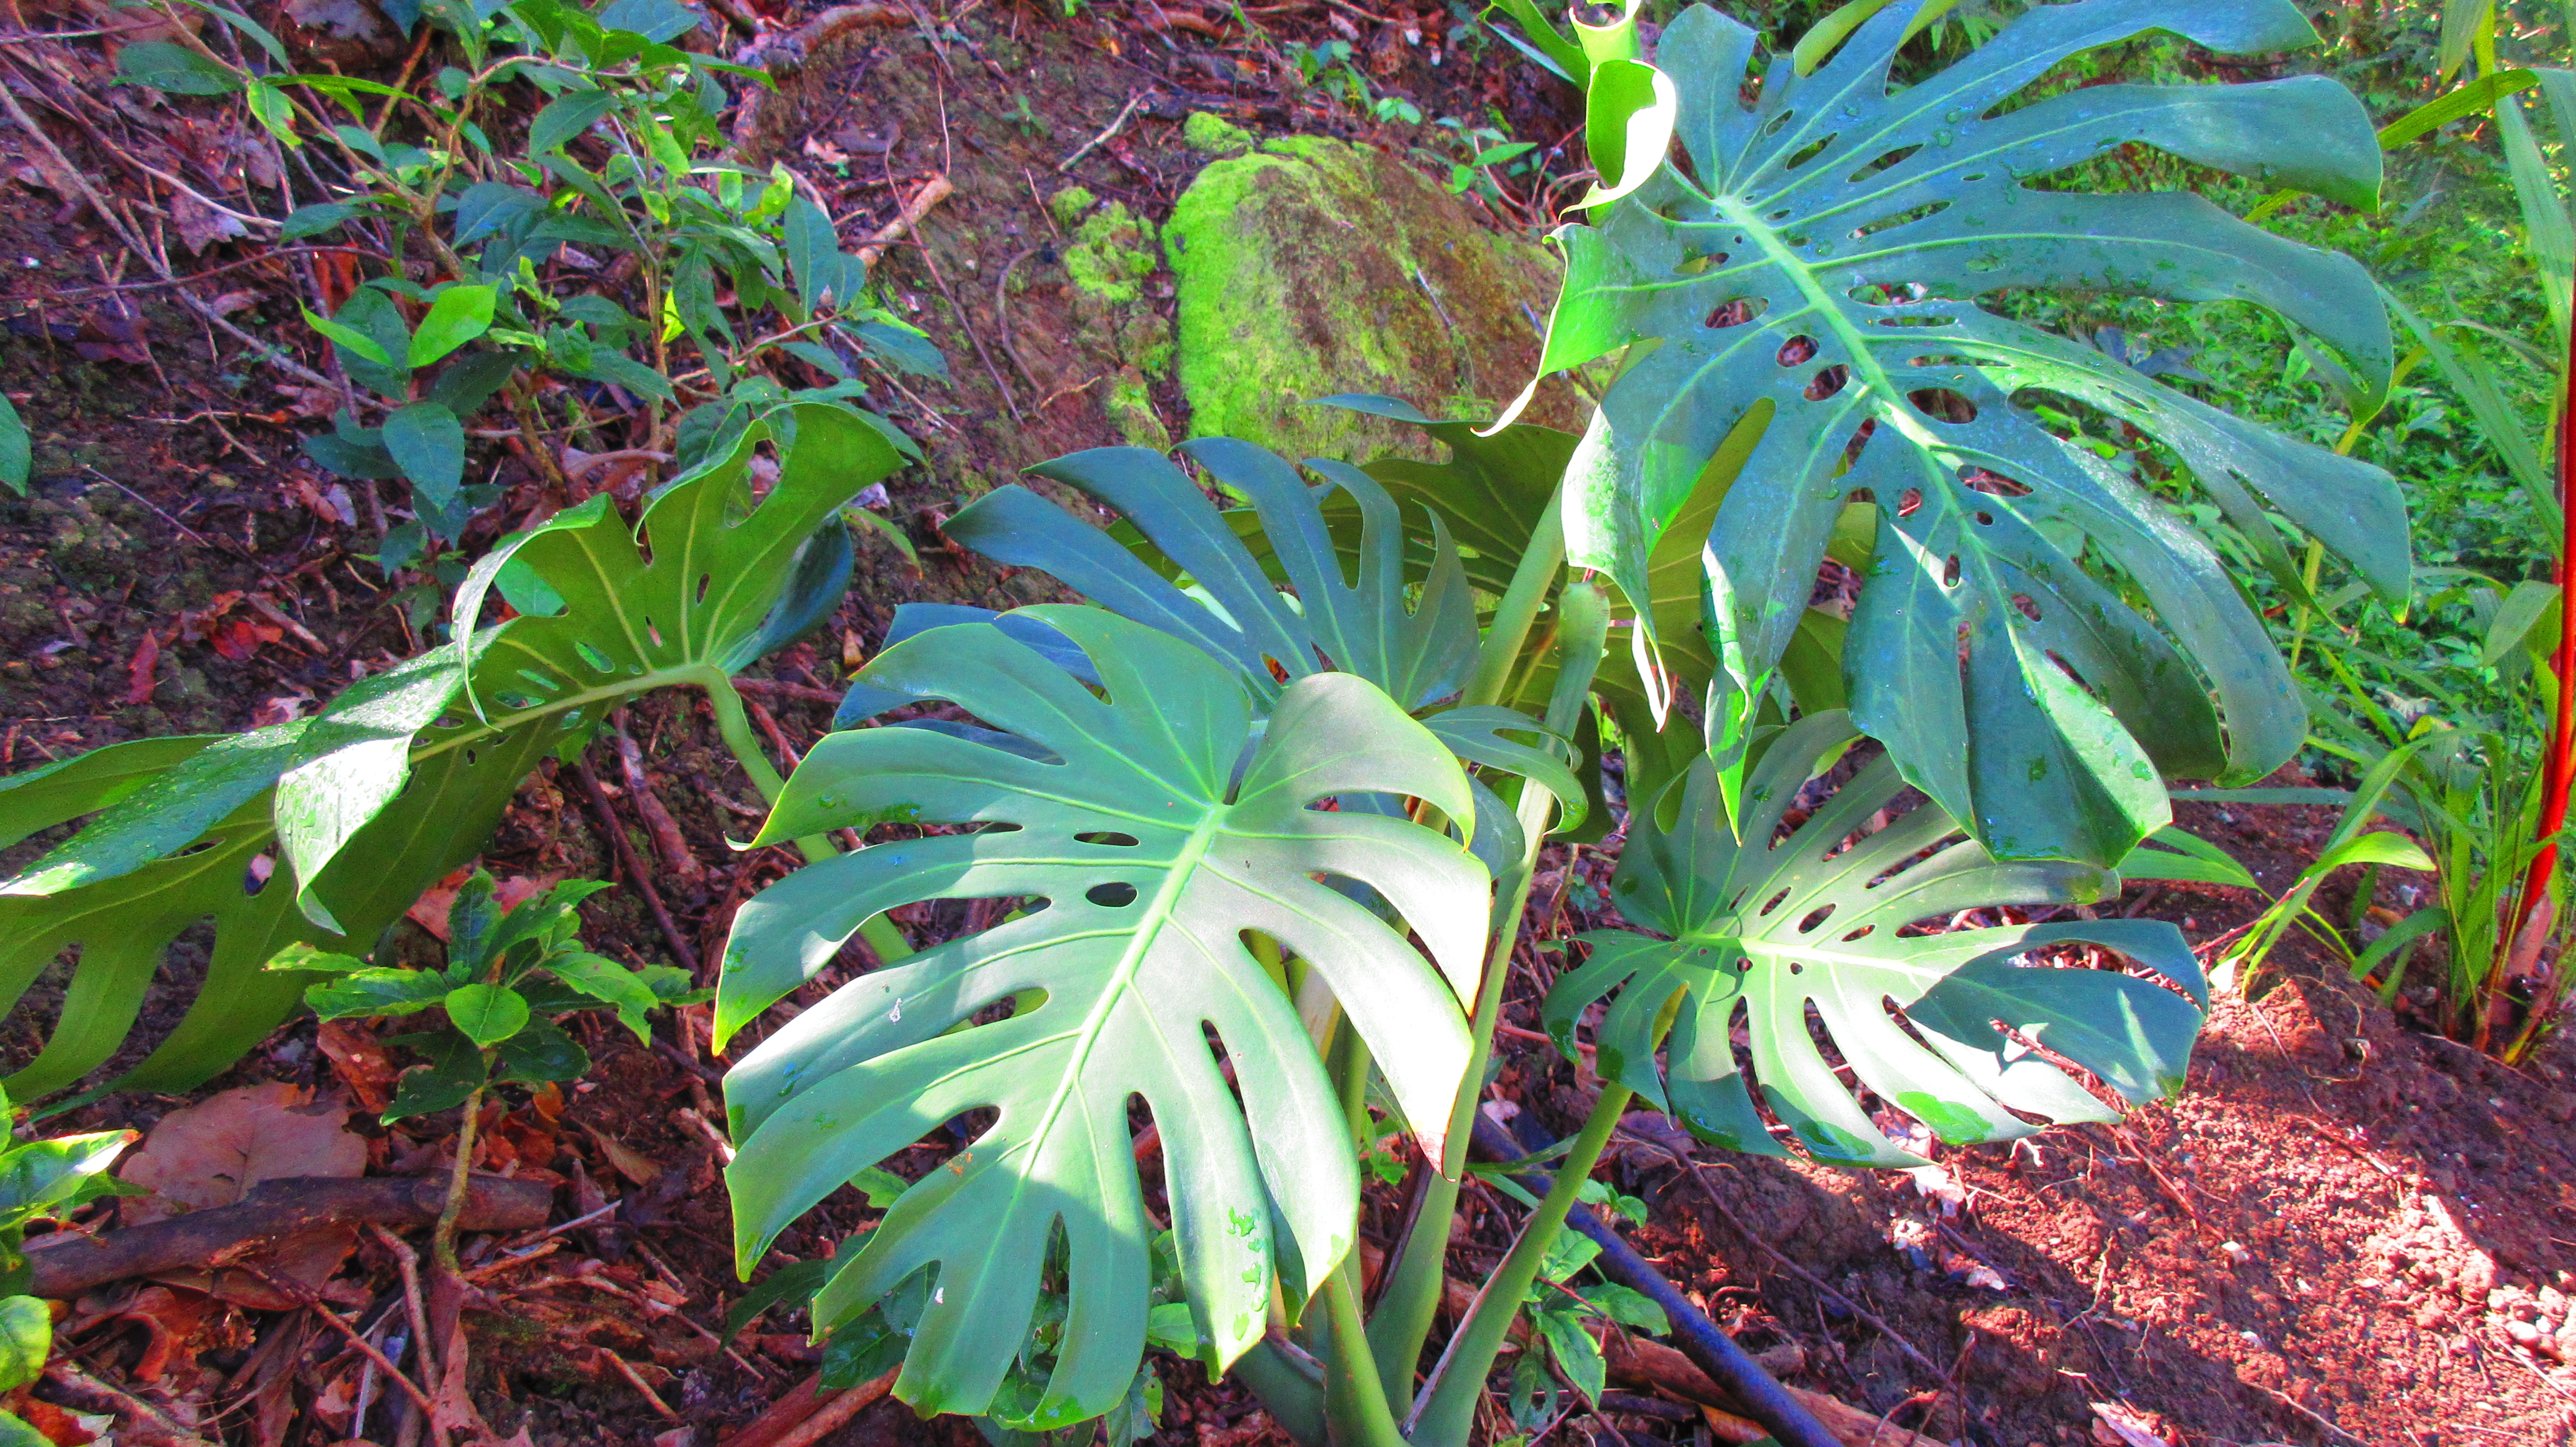
I love monsteras and they look great in the flower bouquets too

Some plants are very difficult to find and/or transplant like the giant bamboo we recently planted. This probably deserves a post of its own because it took 2 days of digging and a full day of moving and transplanting. I love how the plants and flowers transform the place. The jungle is beautiful on its own, but the broad-leafed plants bring a certain classic paradise look that I just love.

Cabin in the woods
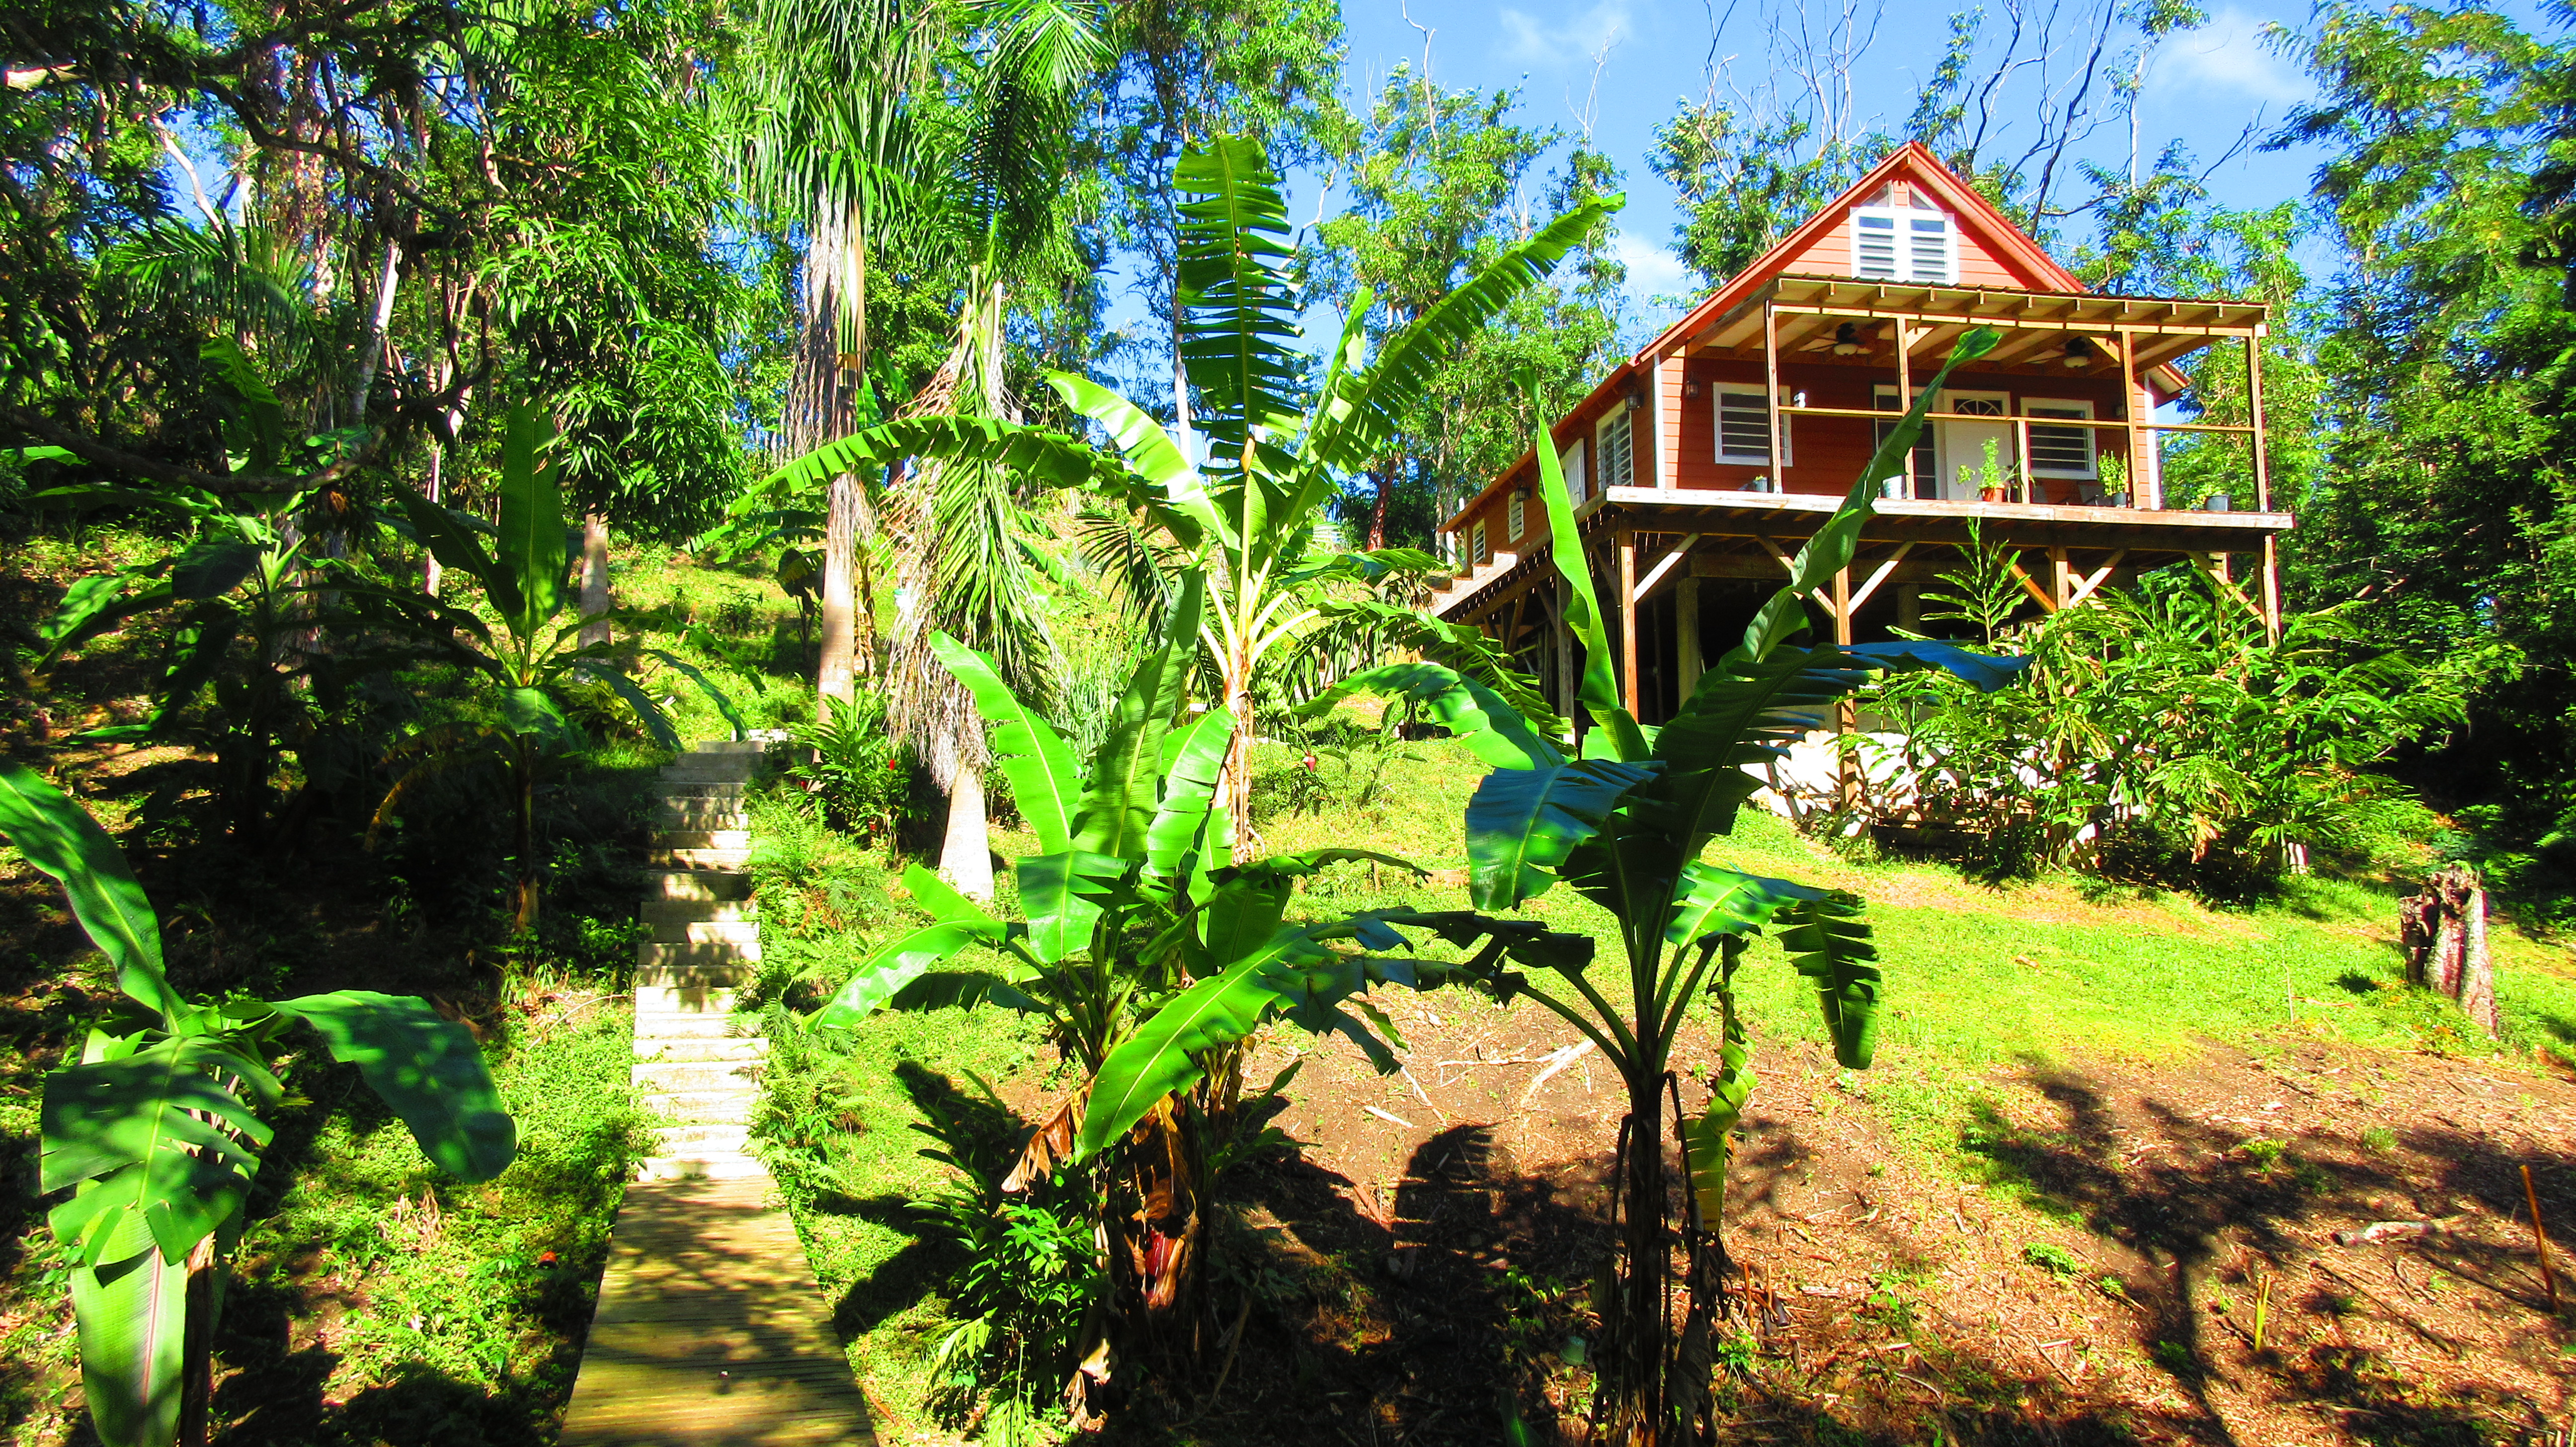
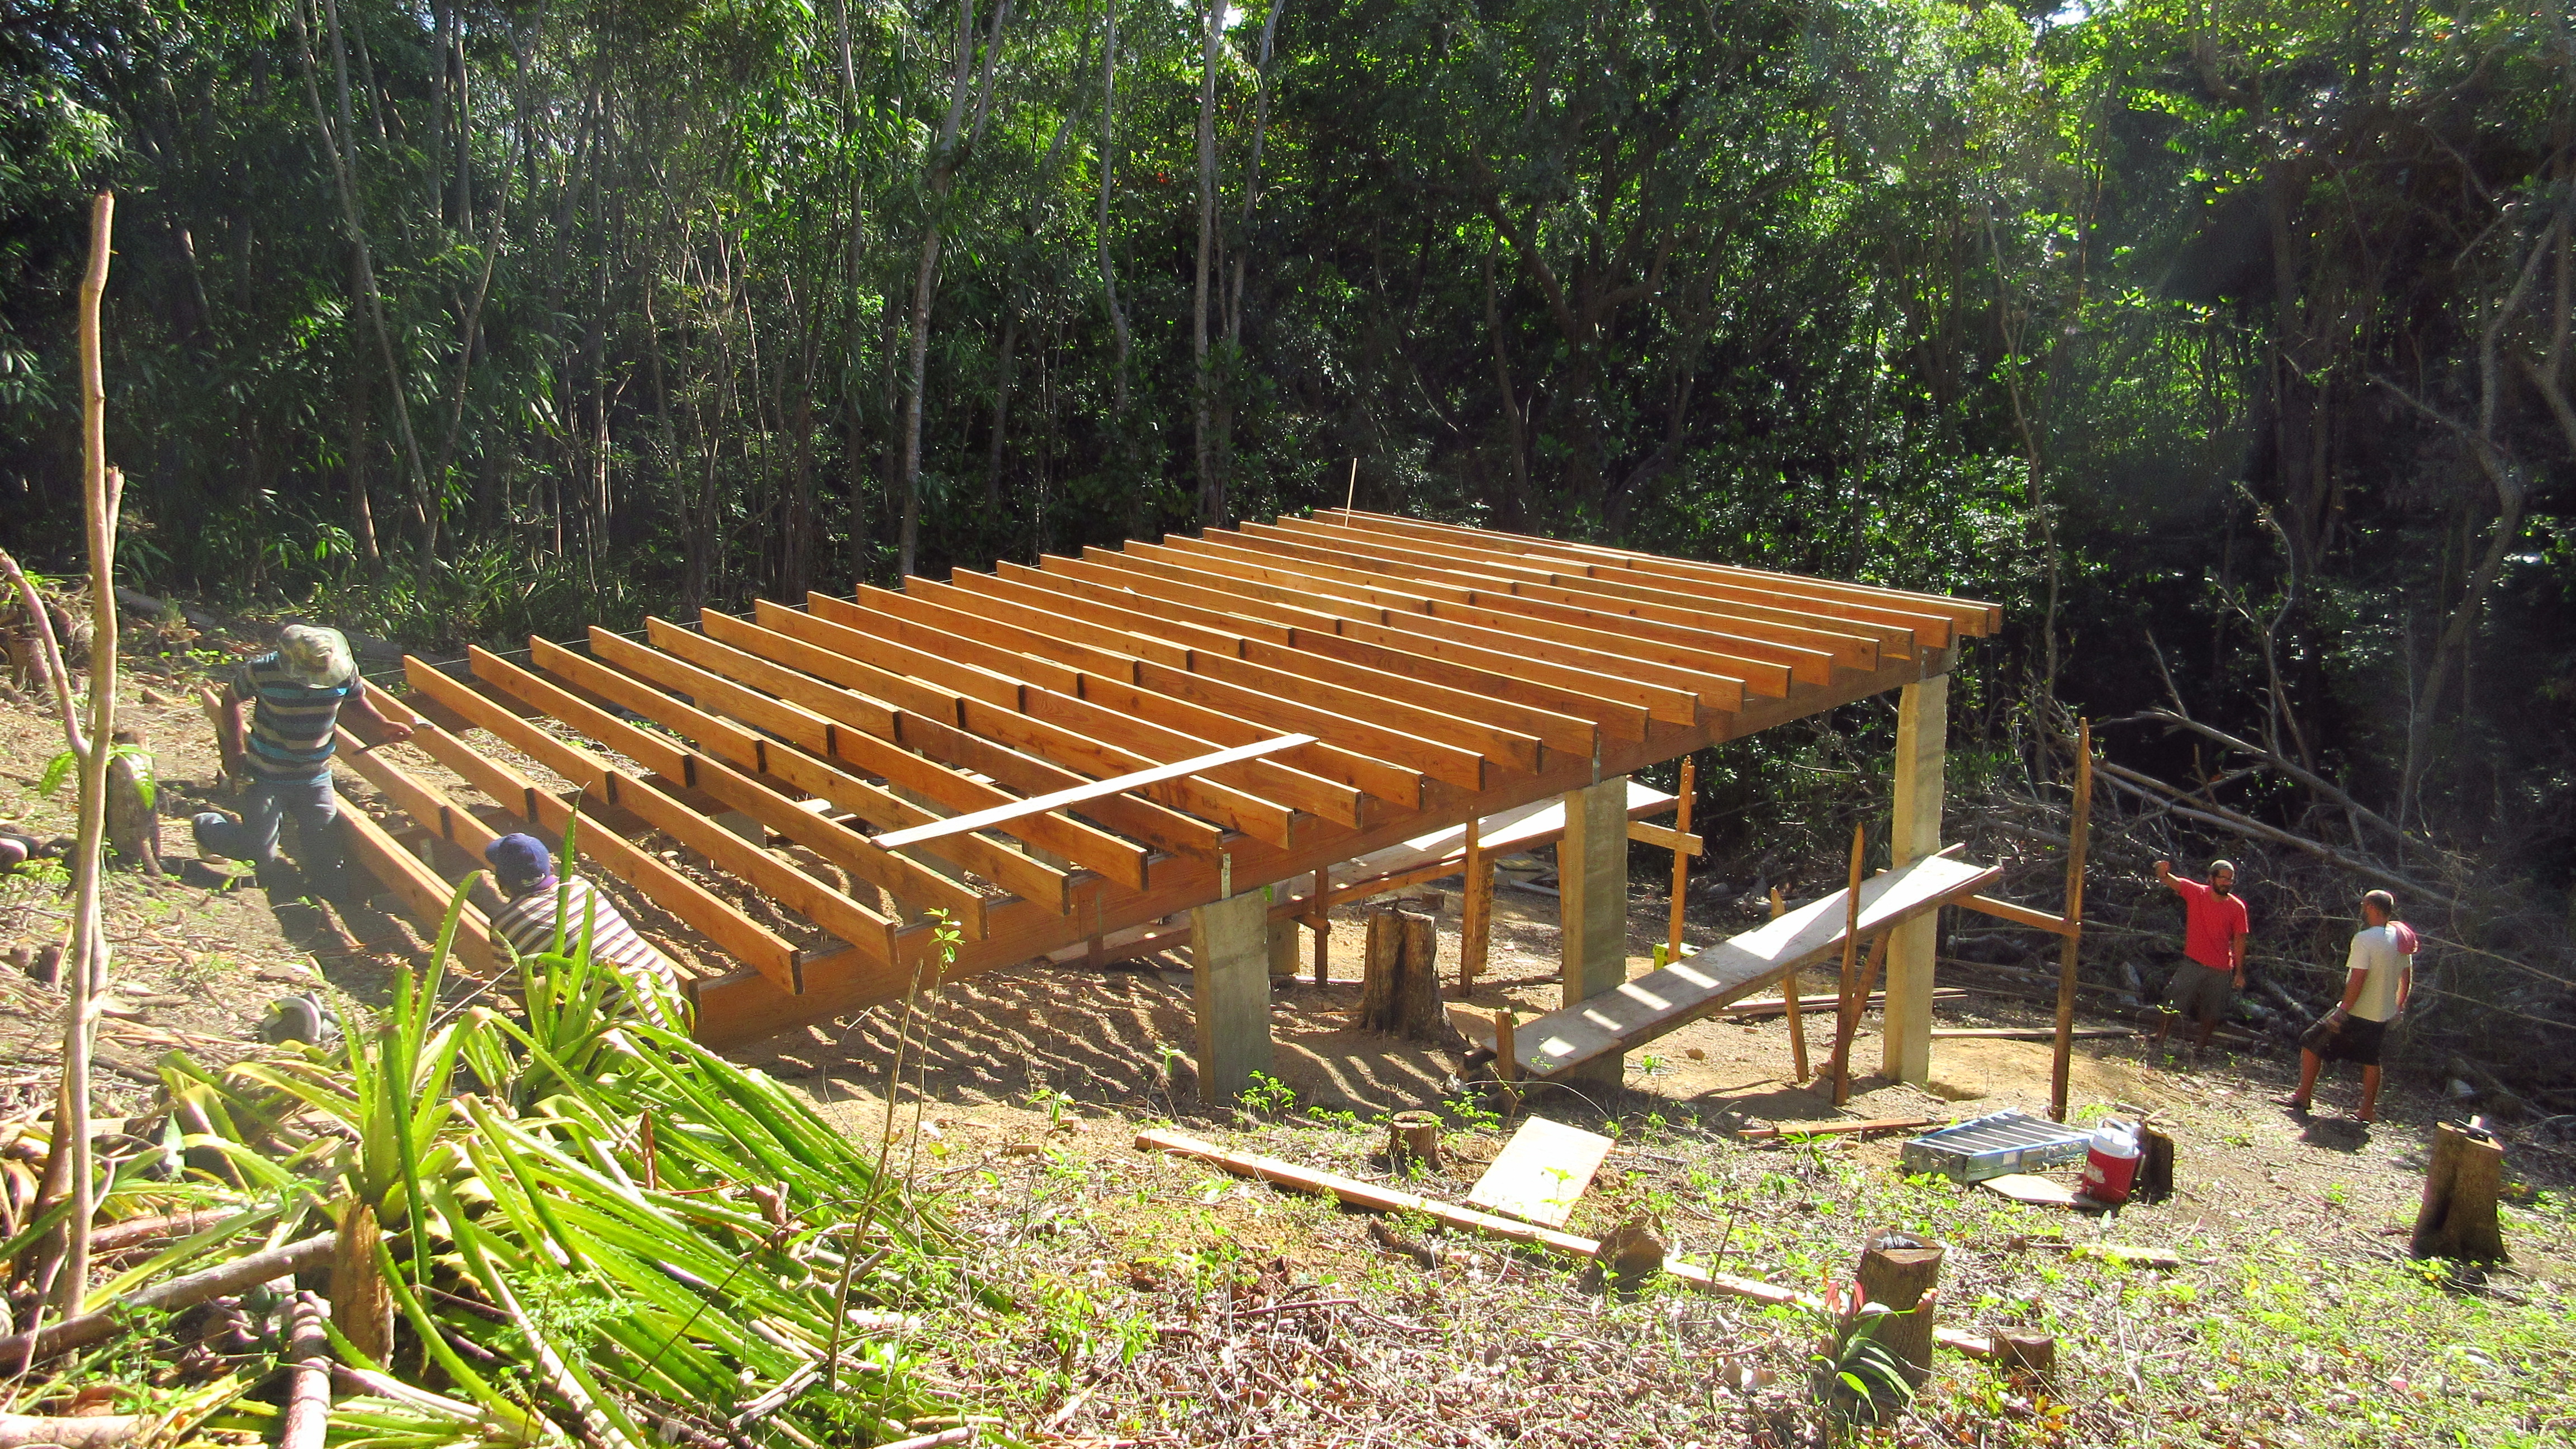
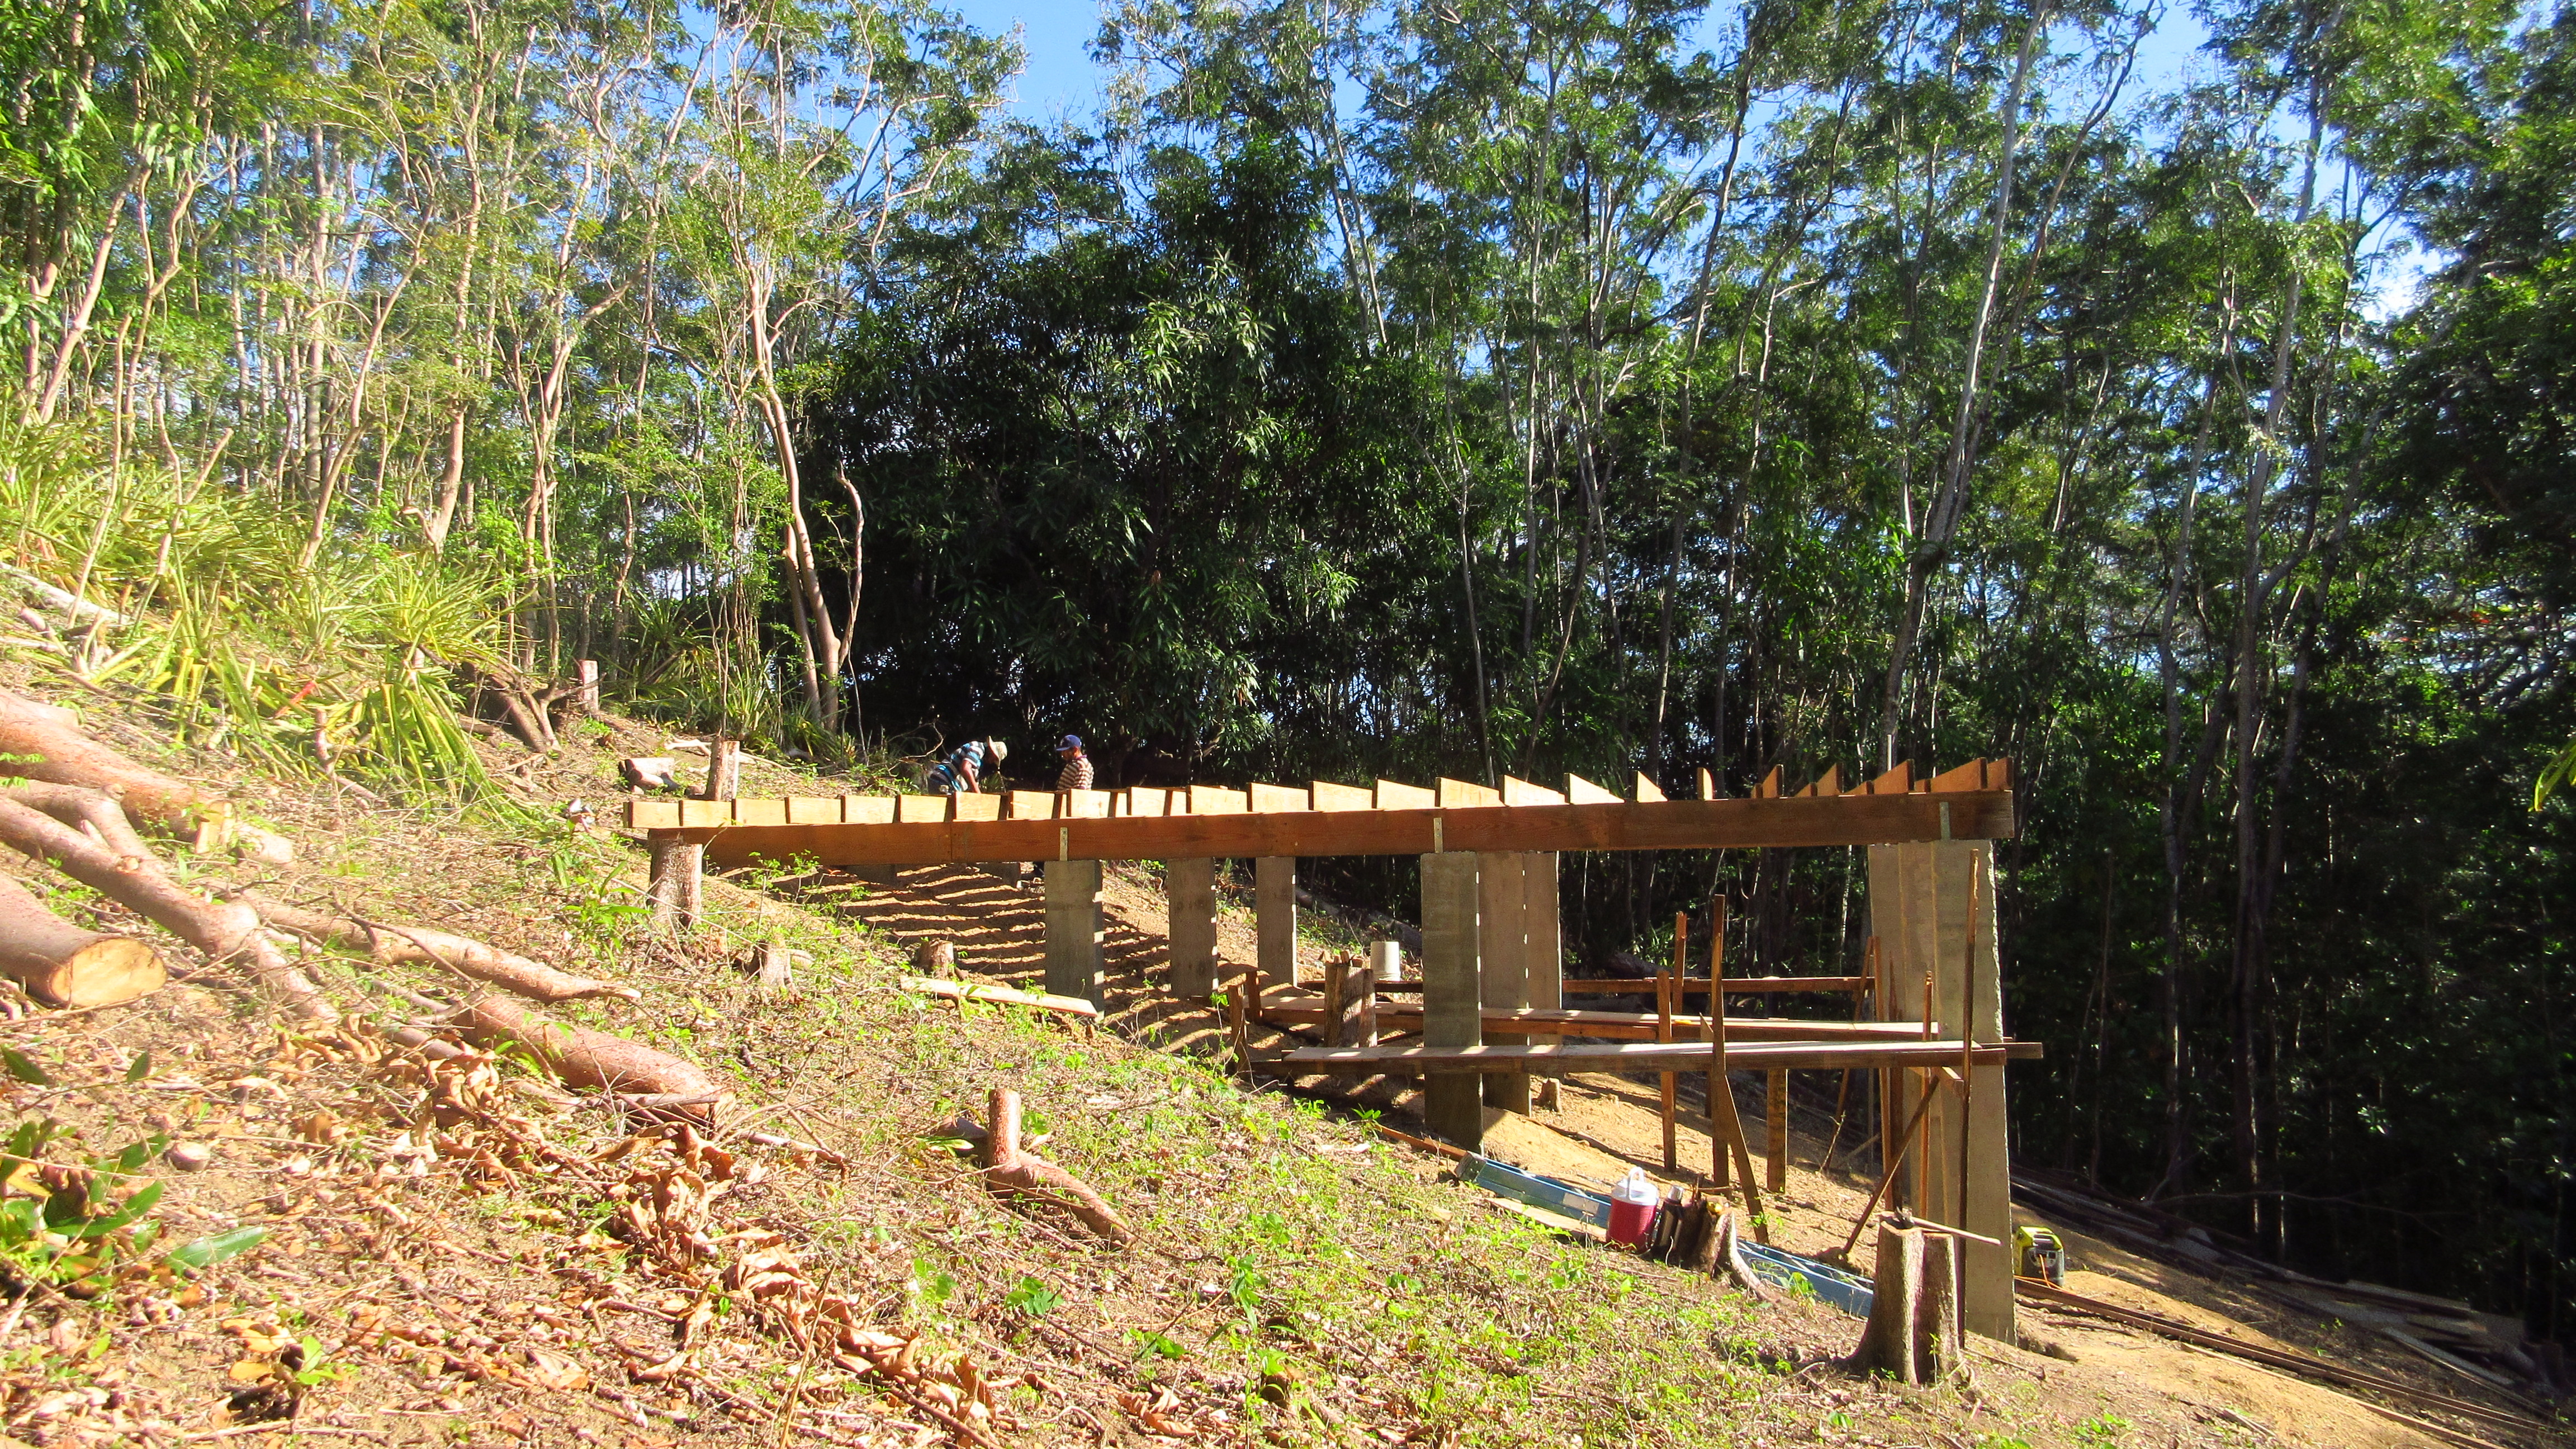
Our cabin in the jungle

The jungle treetop cabin
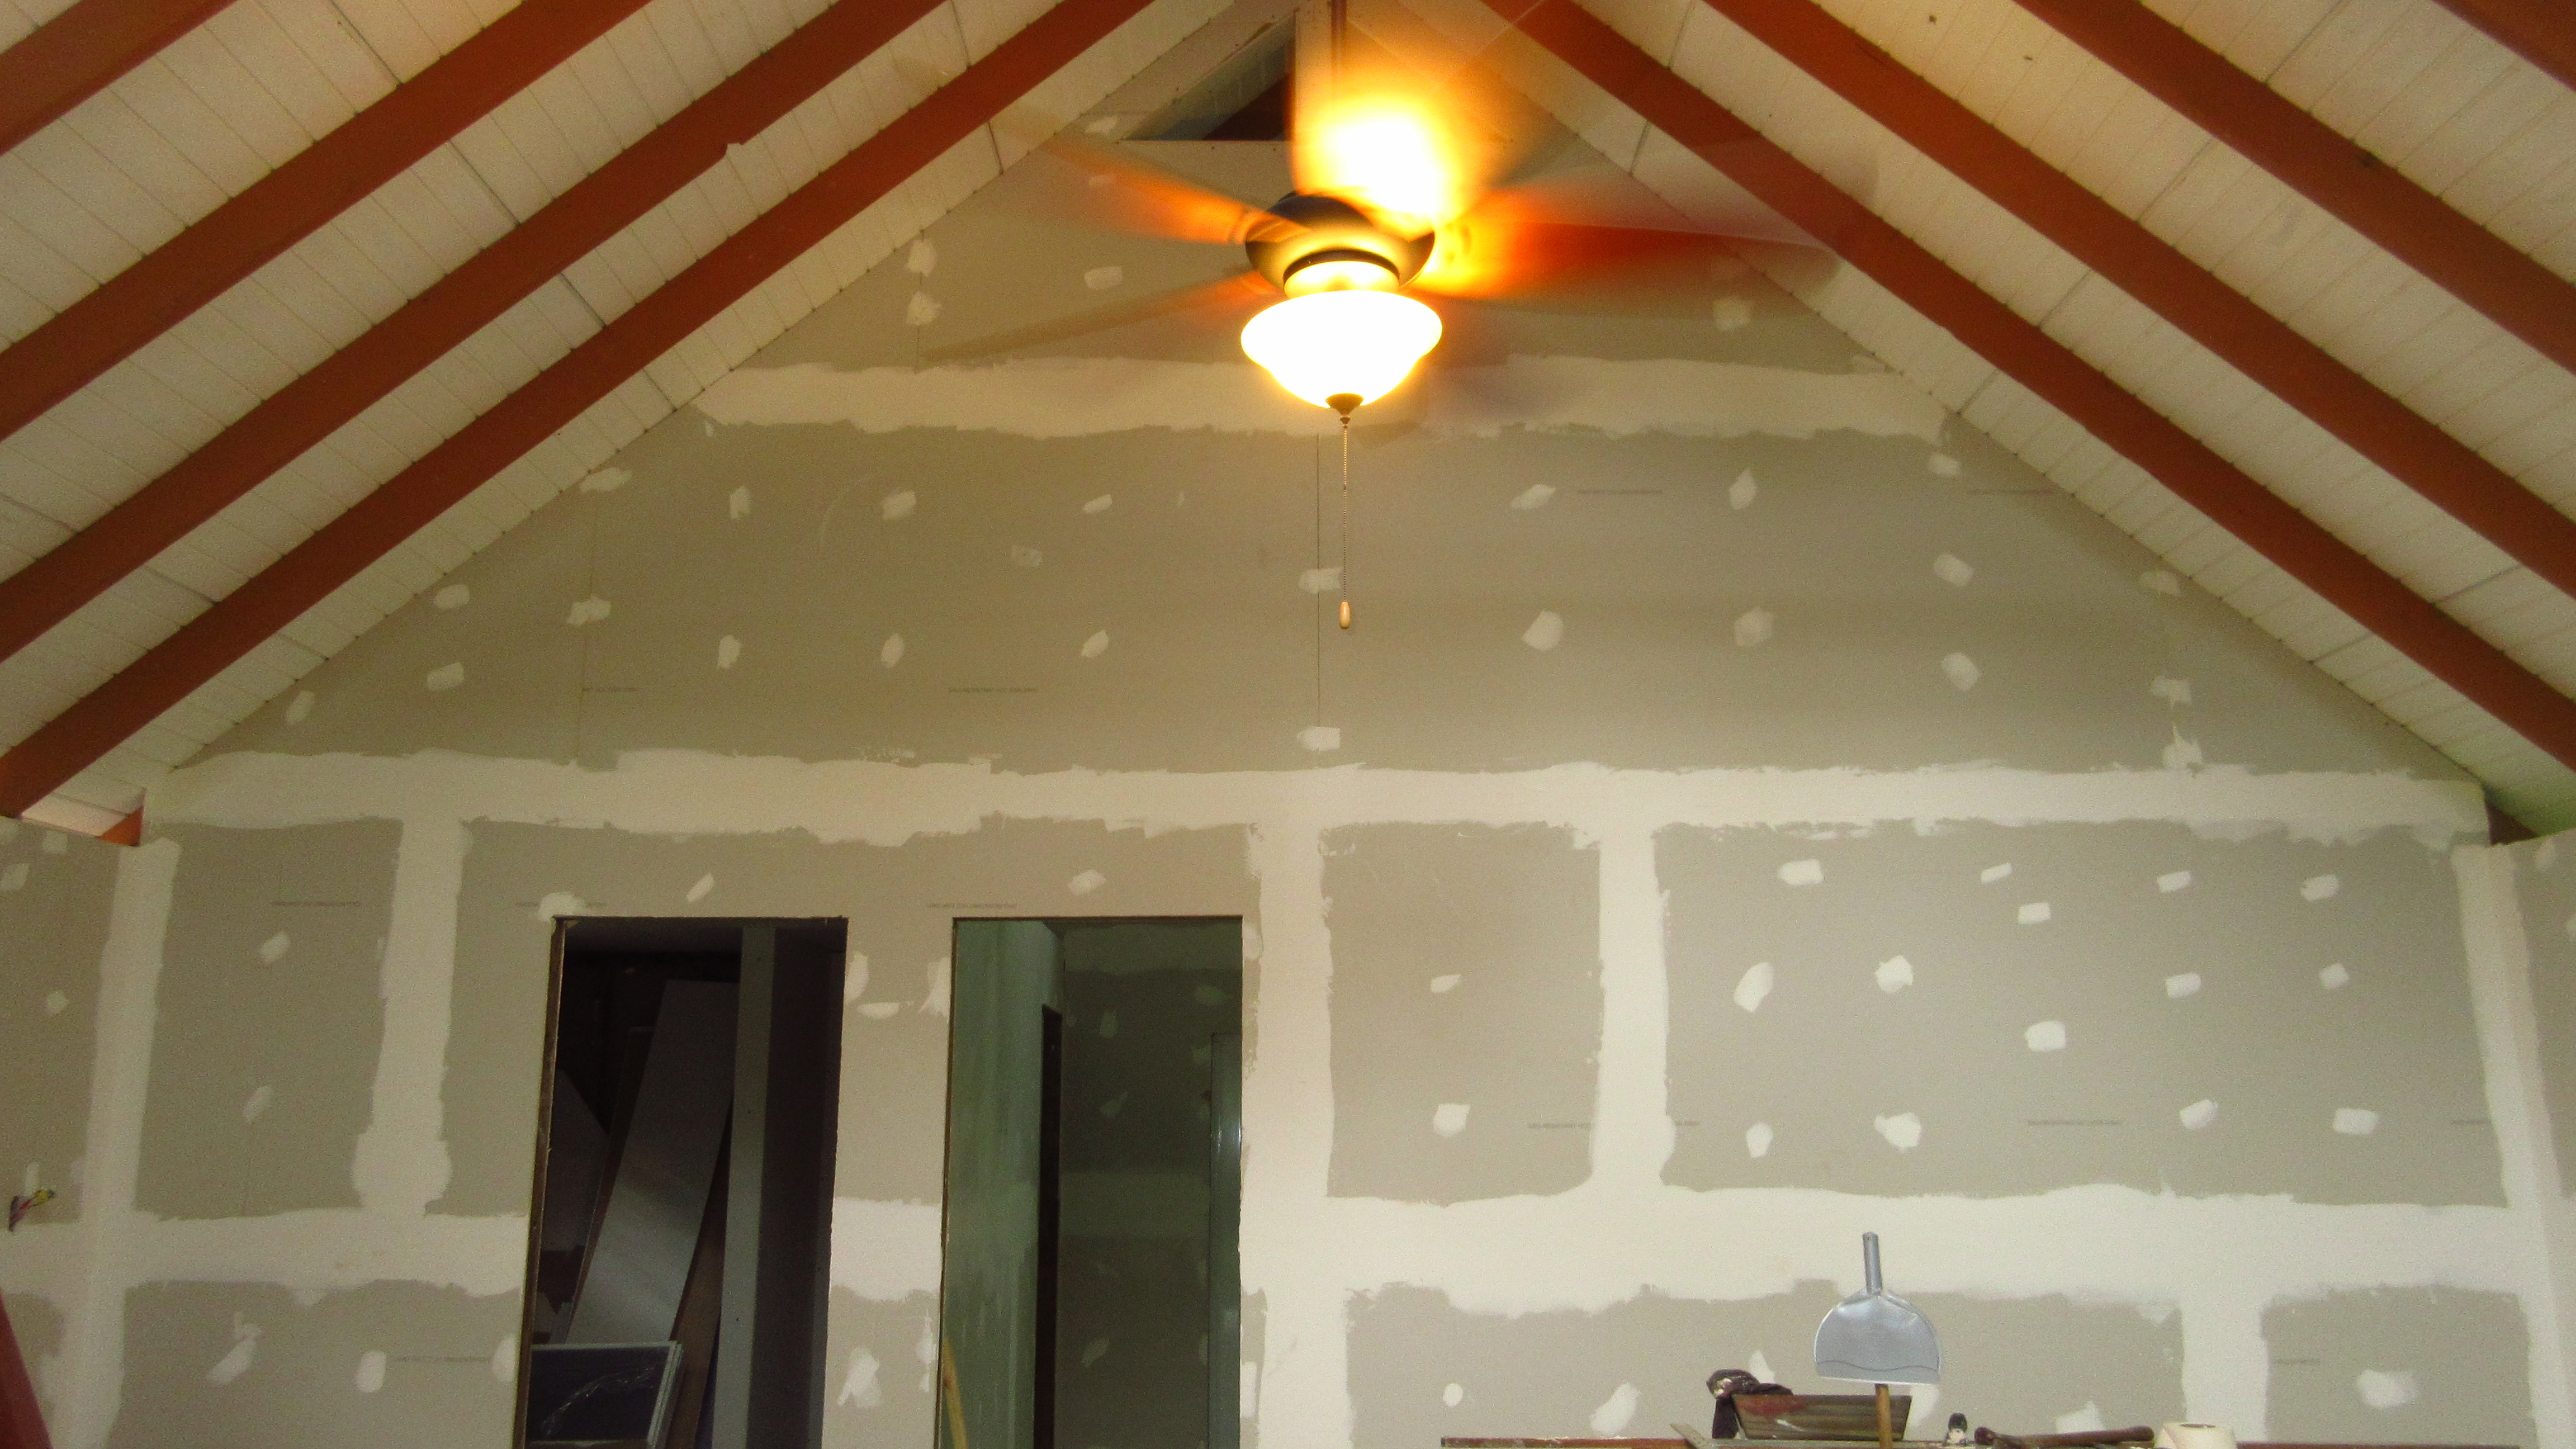
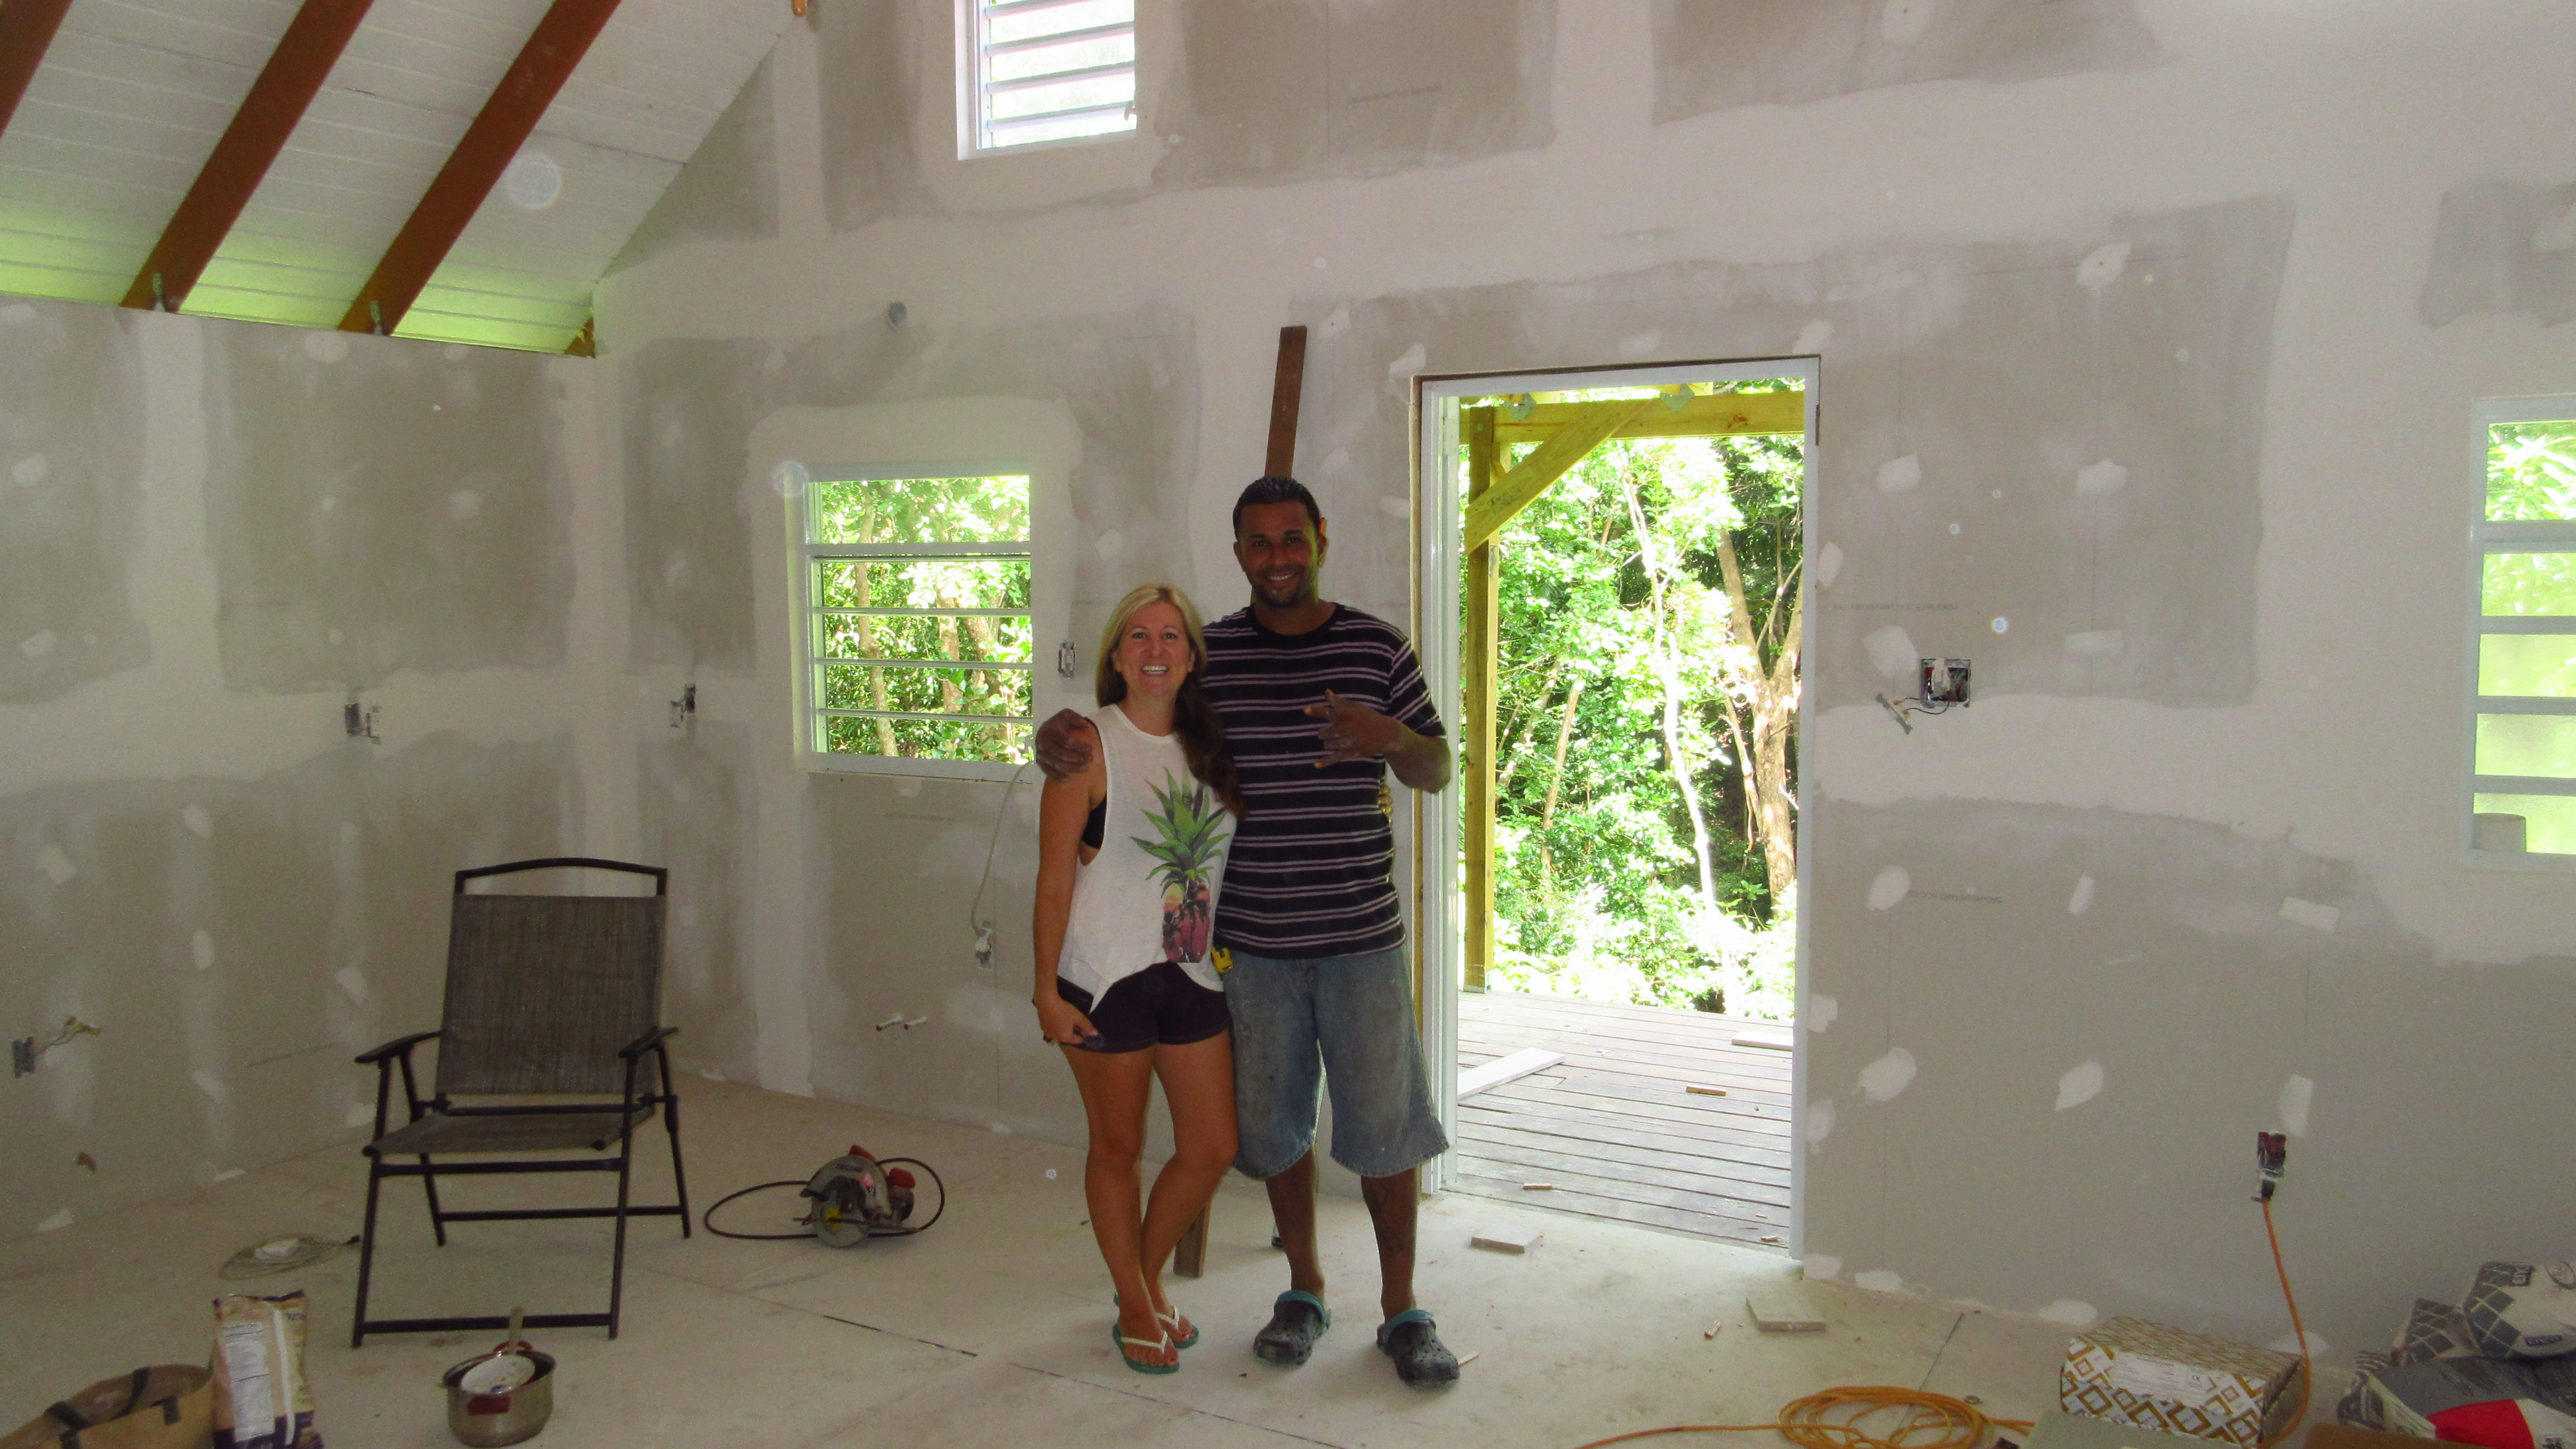
While there is always something to do with a structure, I would say that the inside of the jungle cabin is now complete. We finished the kitchen and our final touch this past month was to have screen doors installed. Now it is so fresh and breezy that I almost always have to have a blanket on at night! We have more plans for the area around it such as finishing the lower area as well as adding some railing.

Trim for doors
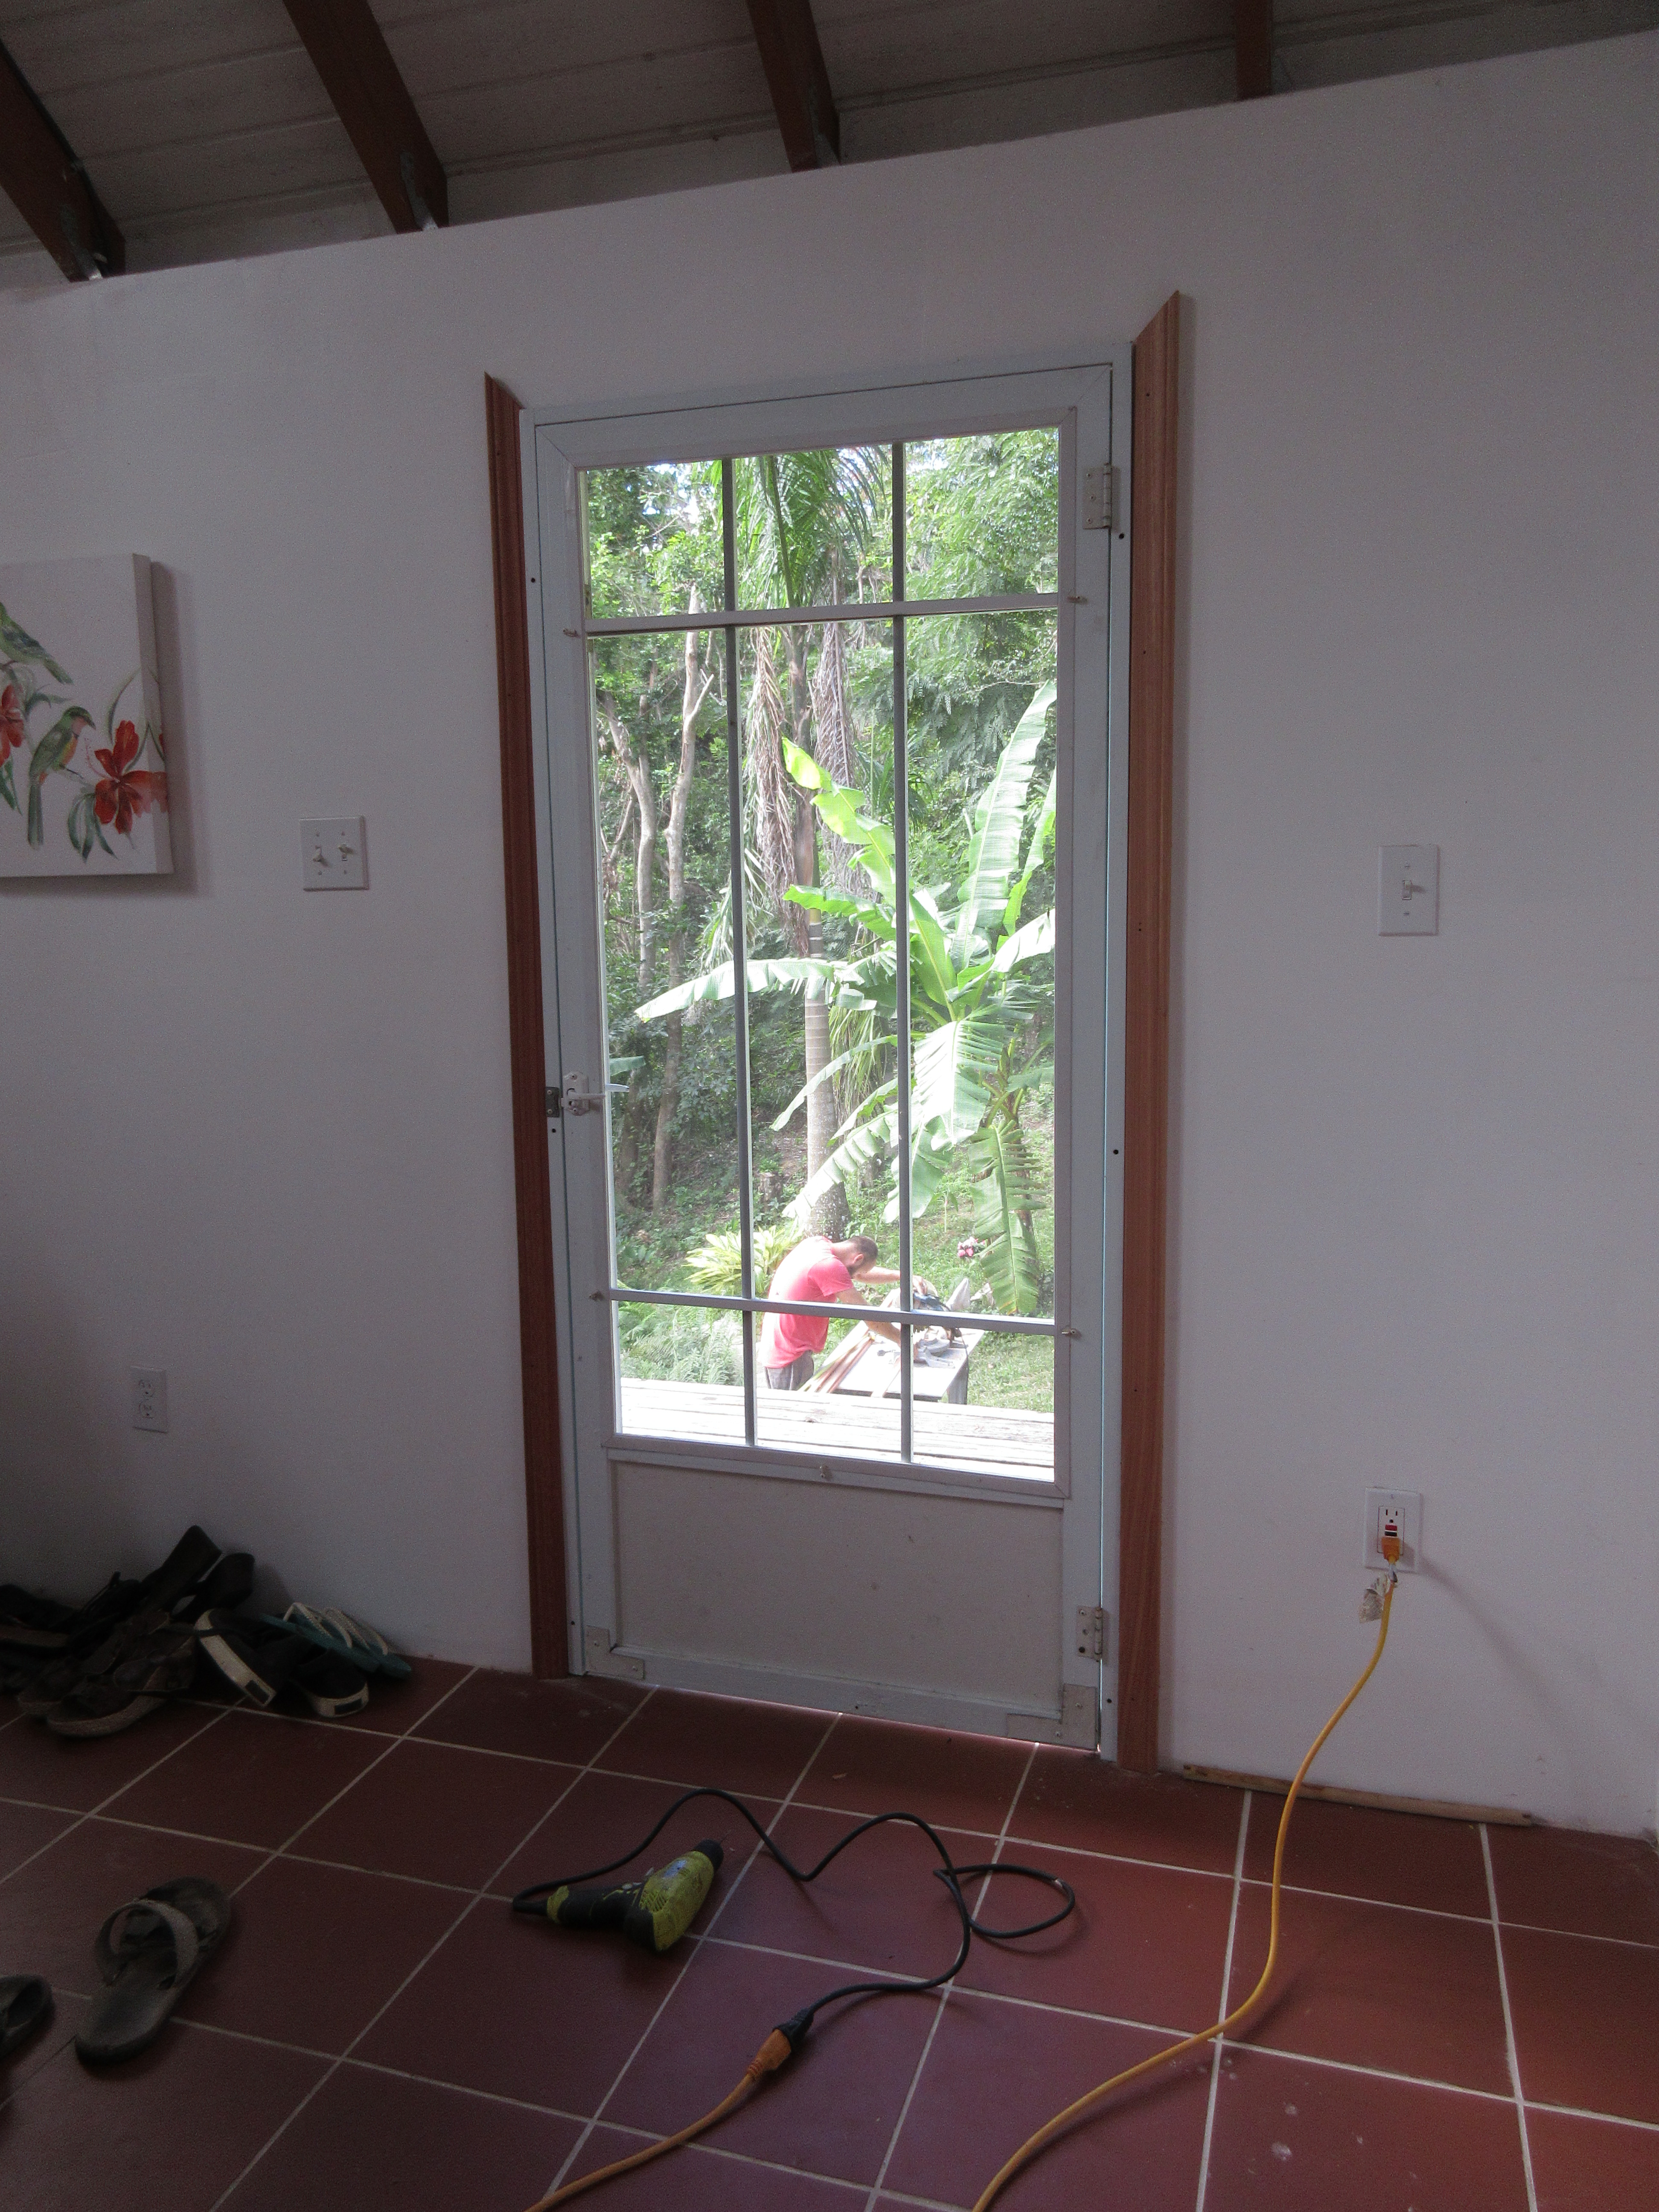
Trimming the screen doors
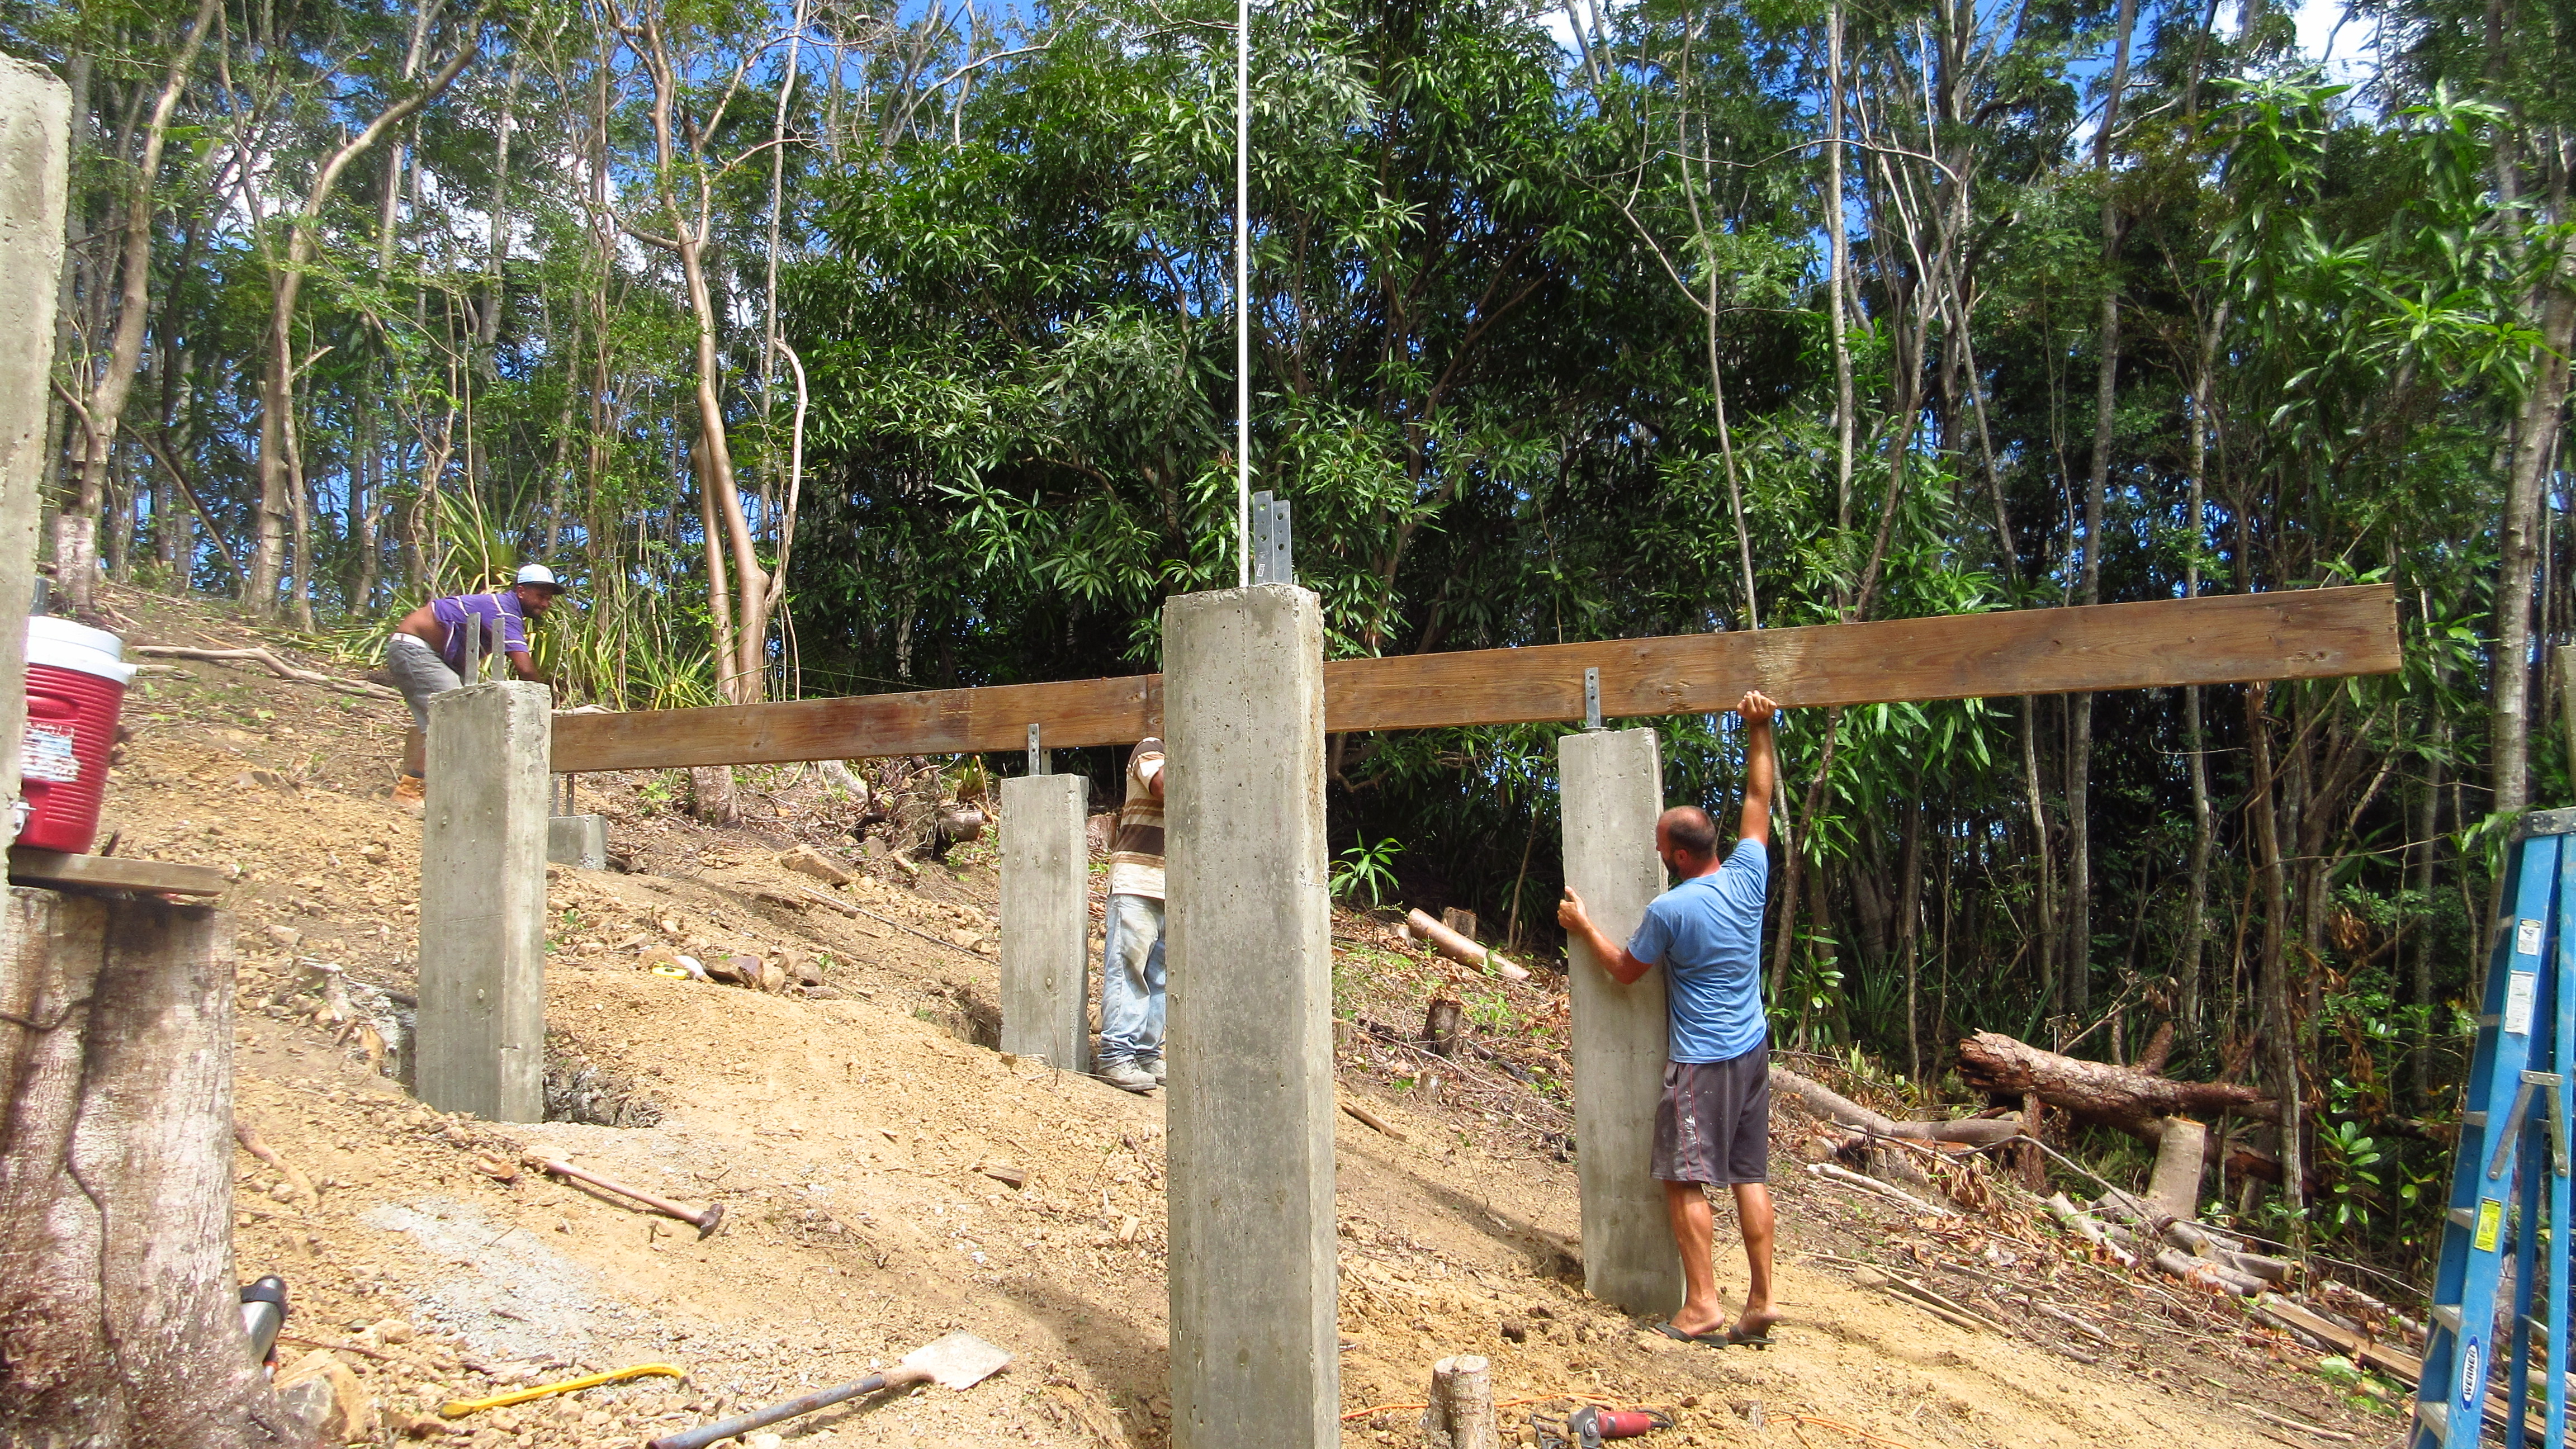
Mango cabana
Cabana
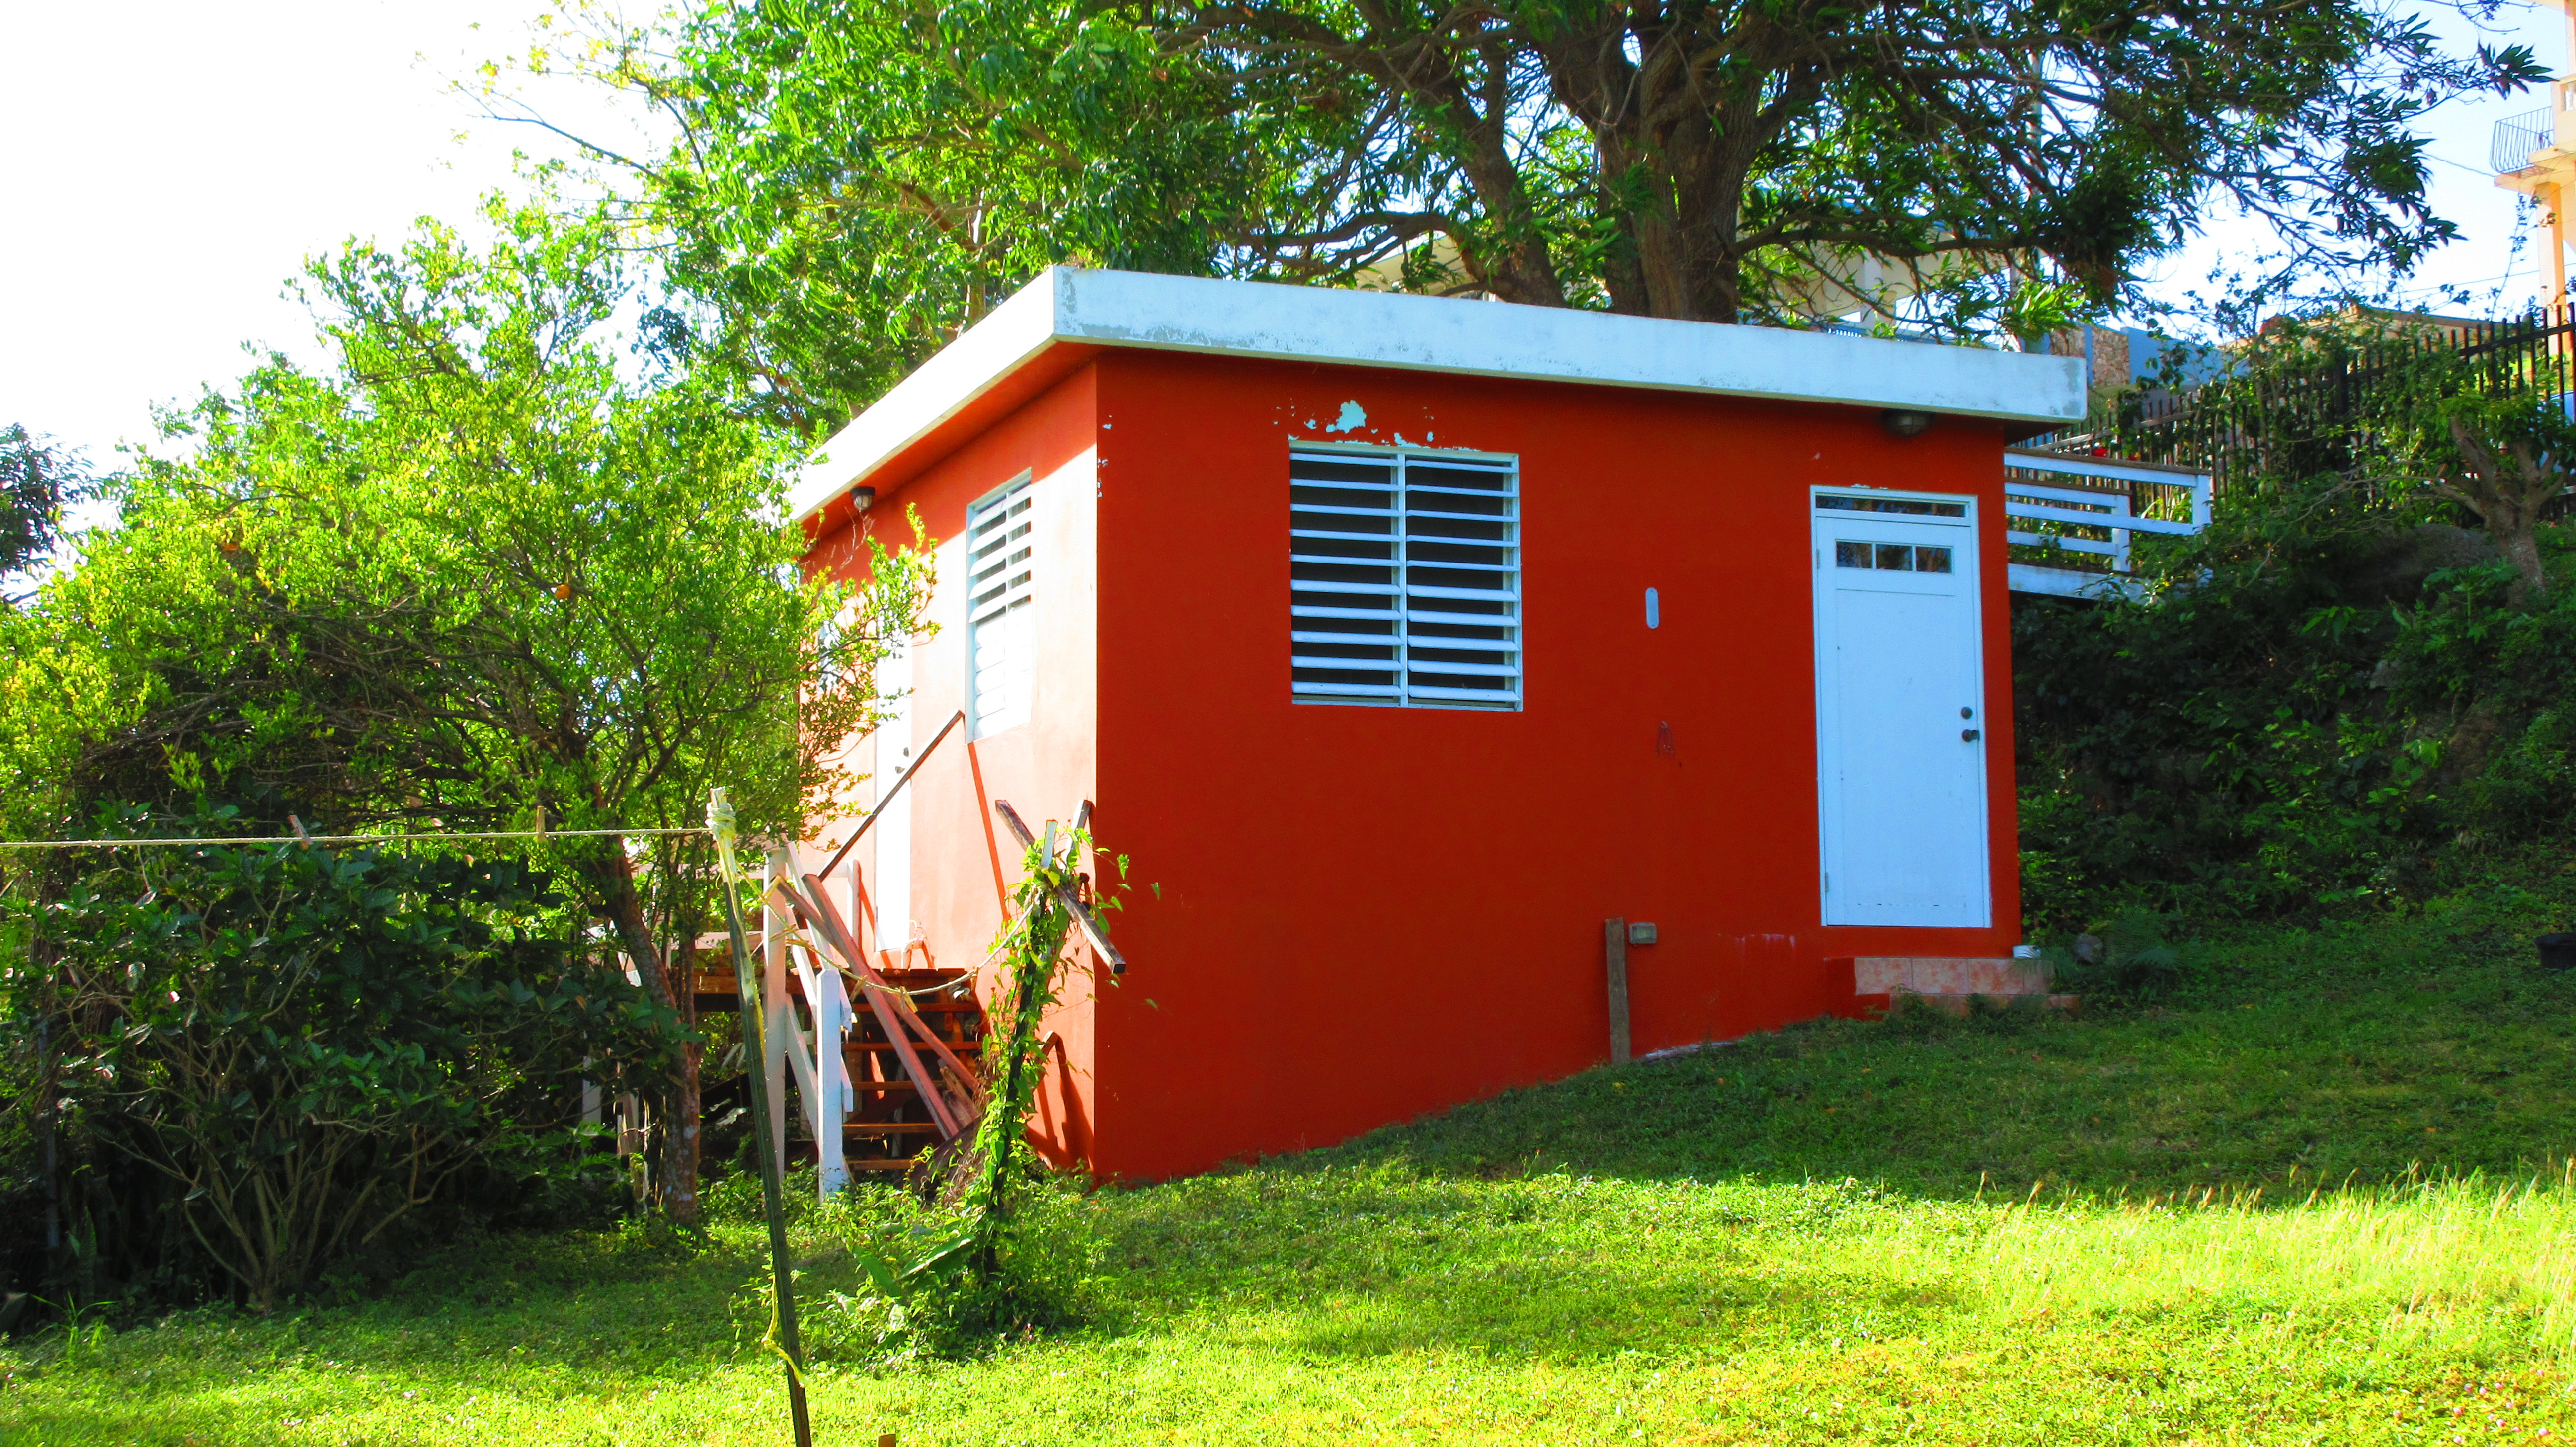
Cabana at the top of the property

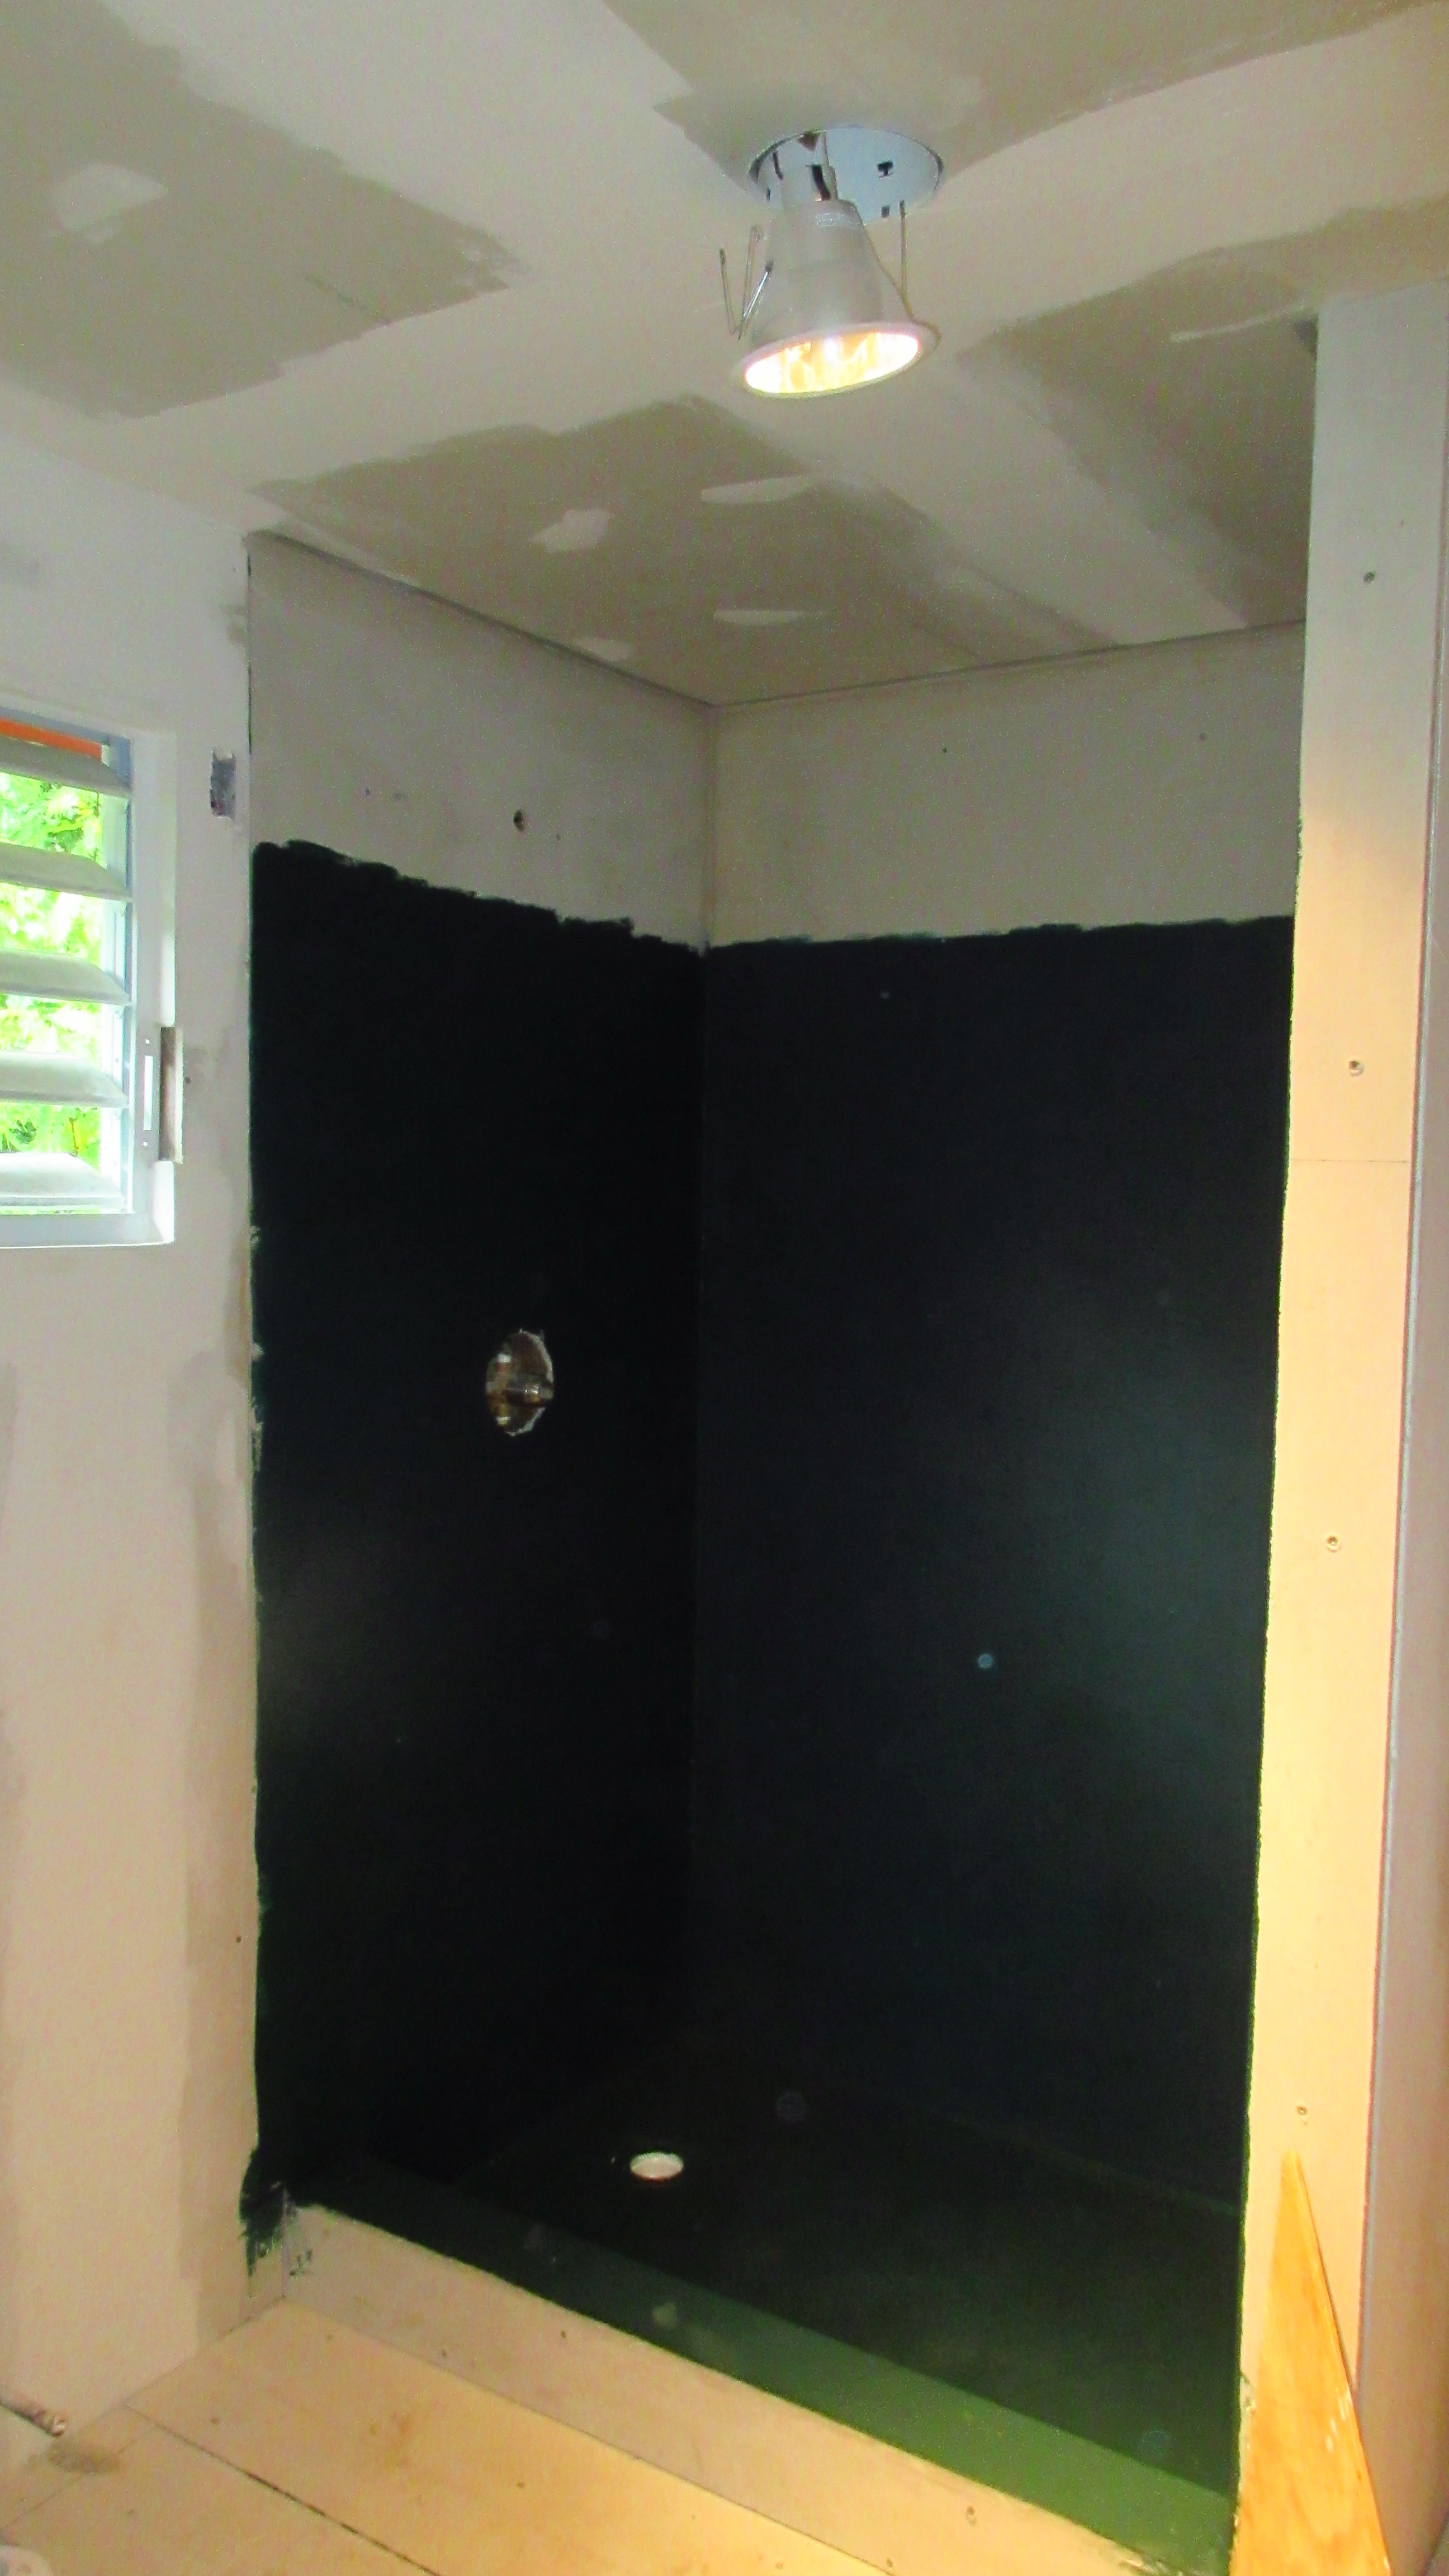
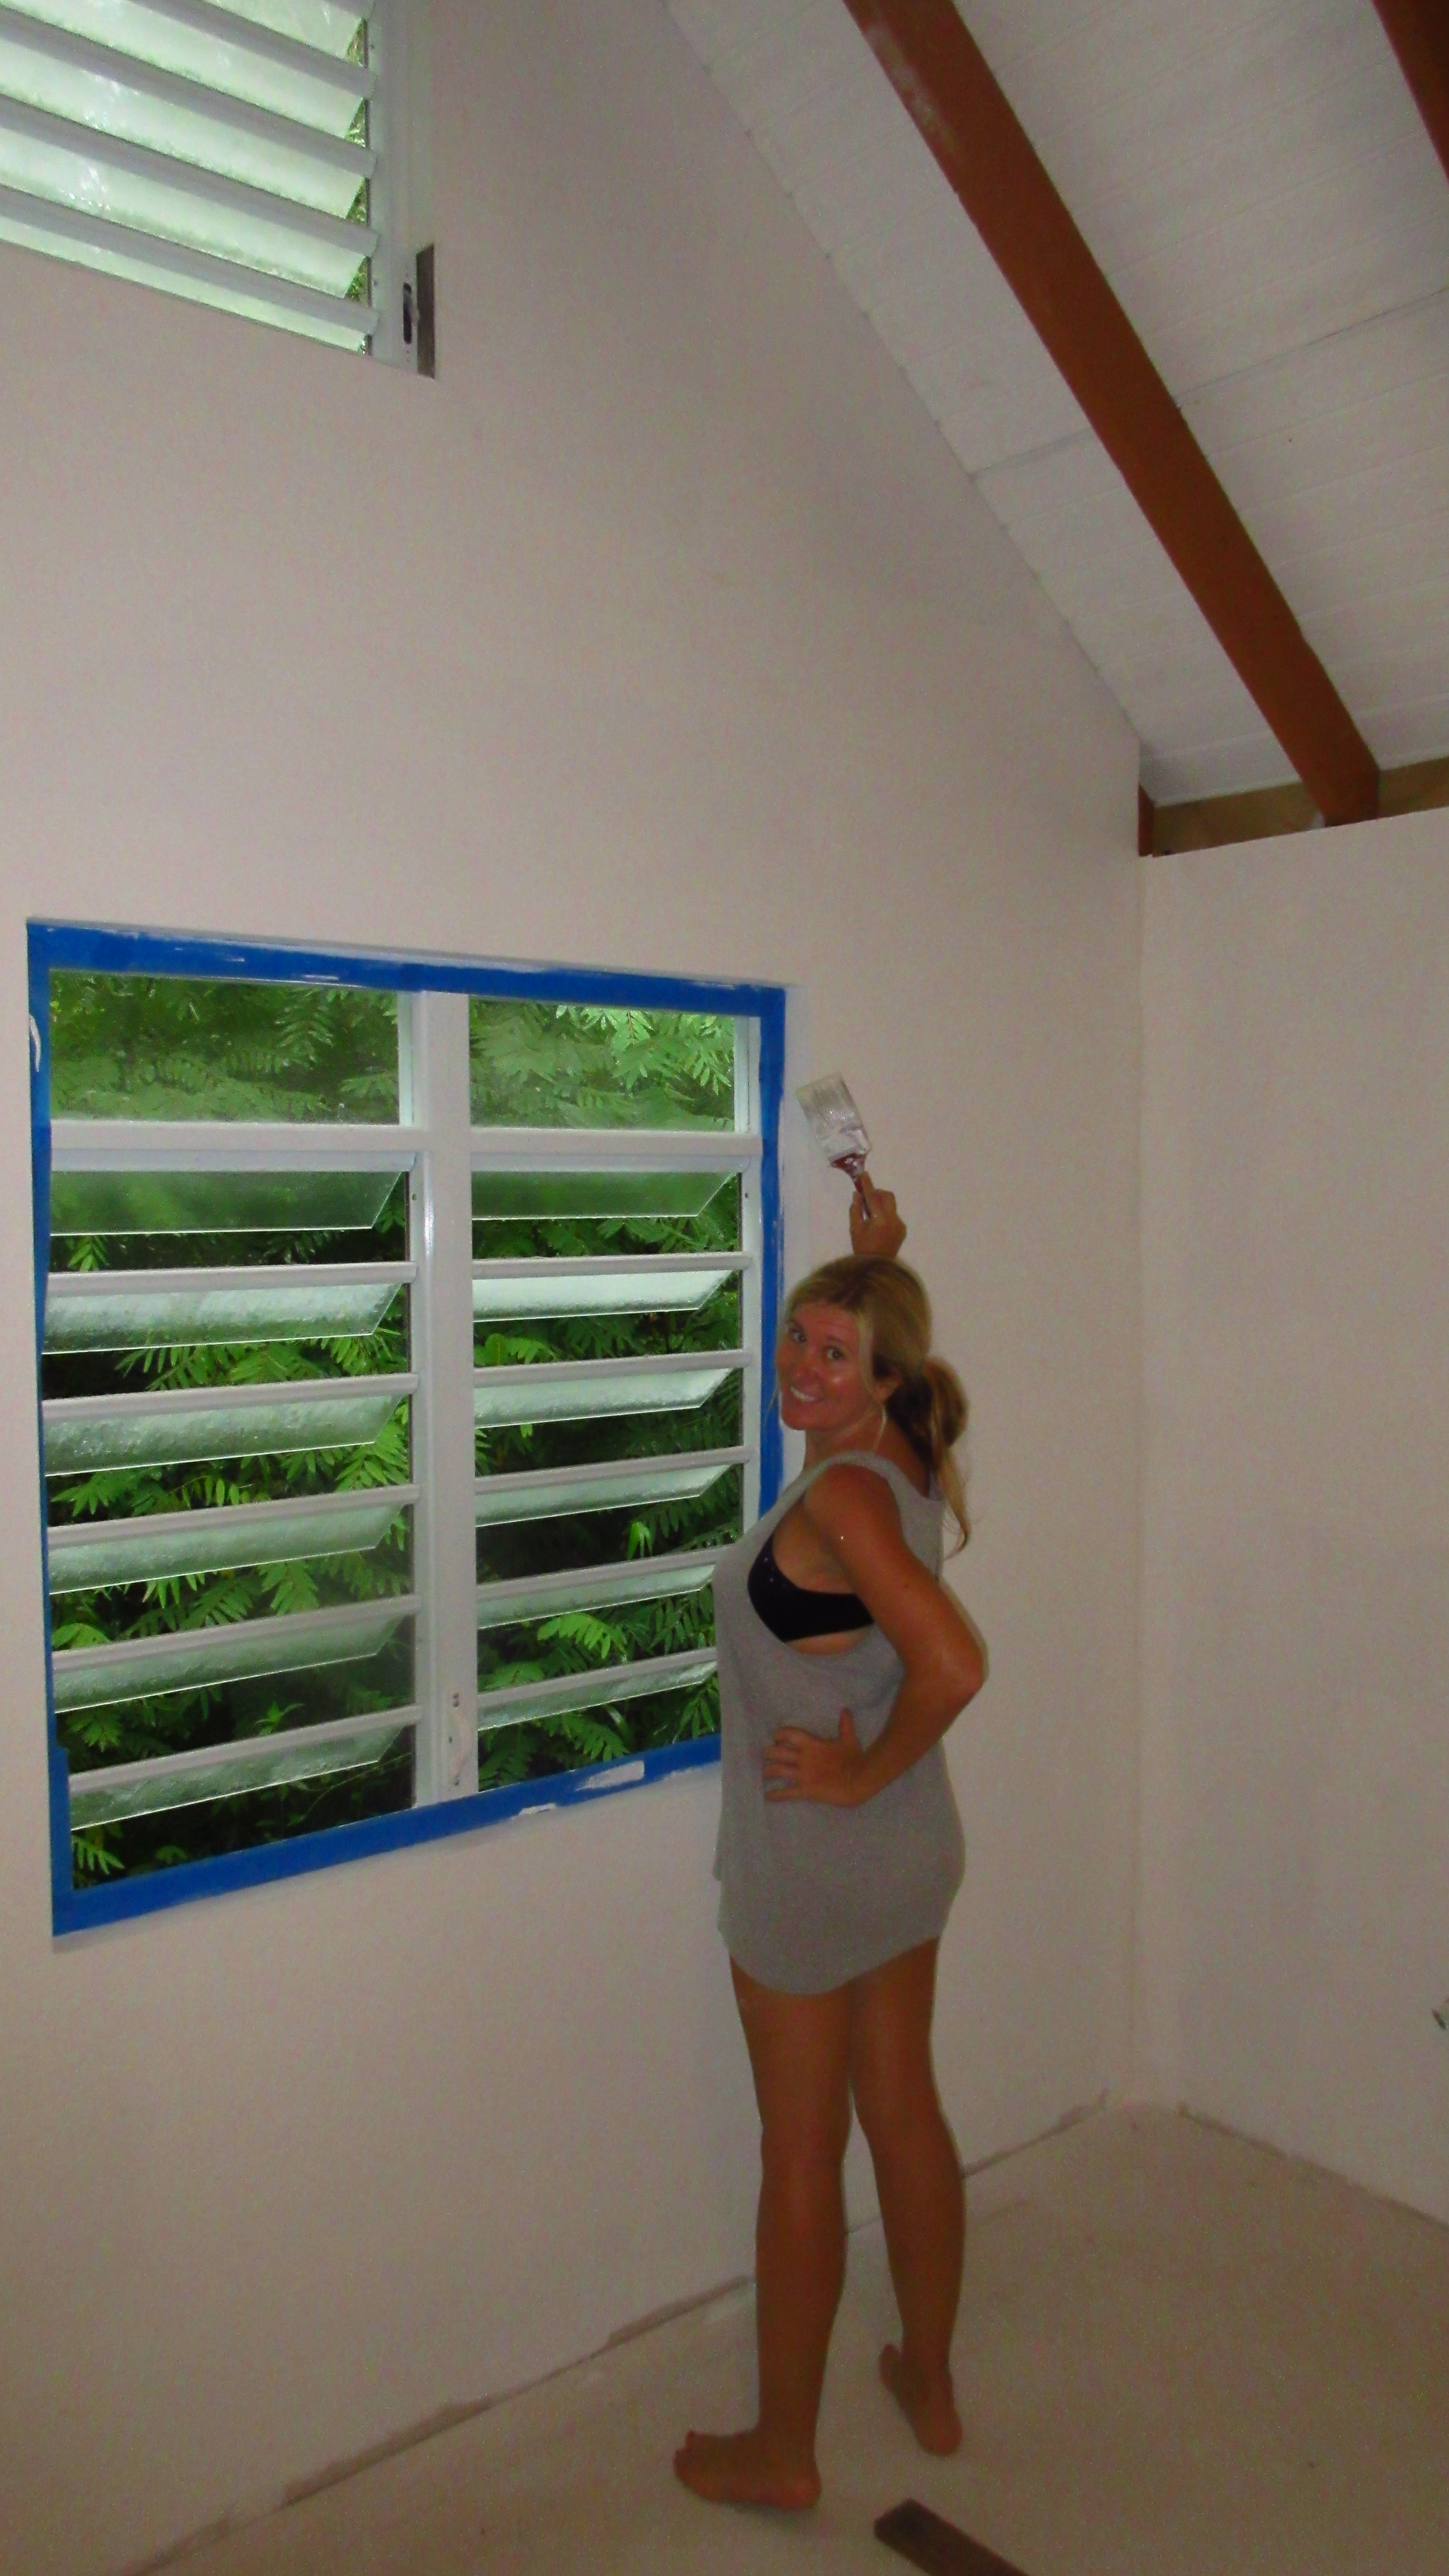
The concrete cabana got hit worse by the hurricane than our jungle wooden cabin because it has the ocean view and therefore the winds are stronger. It lost all of its upper railing on the rooftop and the front of the house got blasted like a water pressure treatment for 24+ hours. So we have some projects for it especially as we are now renting it out to guests. We are planning on repainting the outside areas that got blasted as well as the interior.

We also just recently finished sealing the roof again. This is a product called Crossco that is basically a plastic paint that prevents water from slowly seeping through the concrete into the house. Britton also refortified the small bridge crossing since it doesn’t have the other cabana rails as support for it anymore/currently. And I have a couple of ideas for interior decor.

Powerwashing
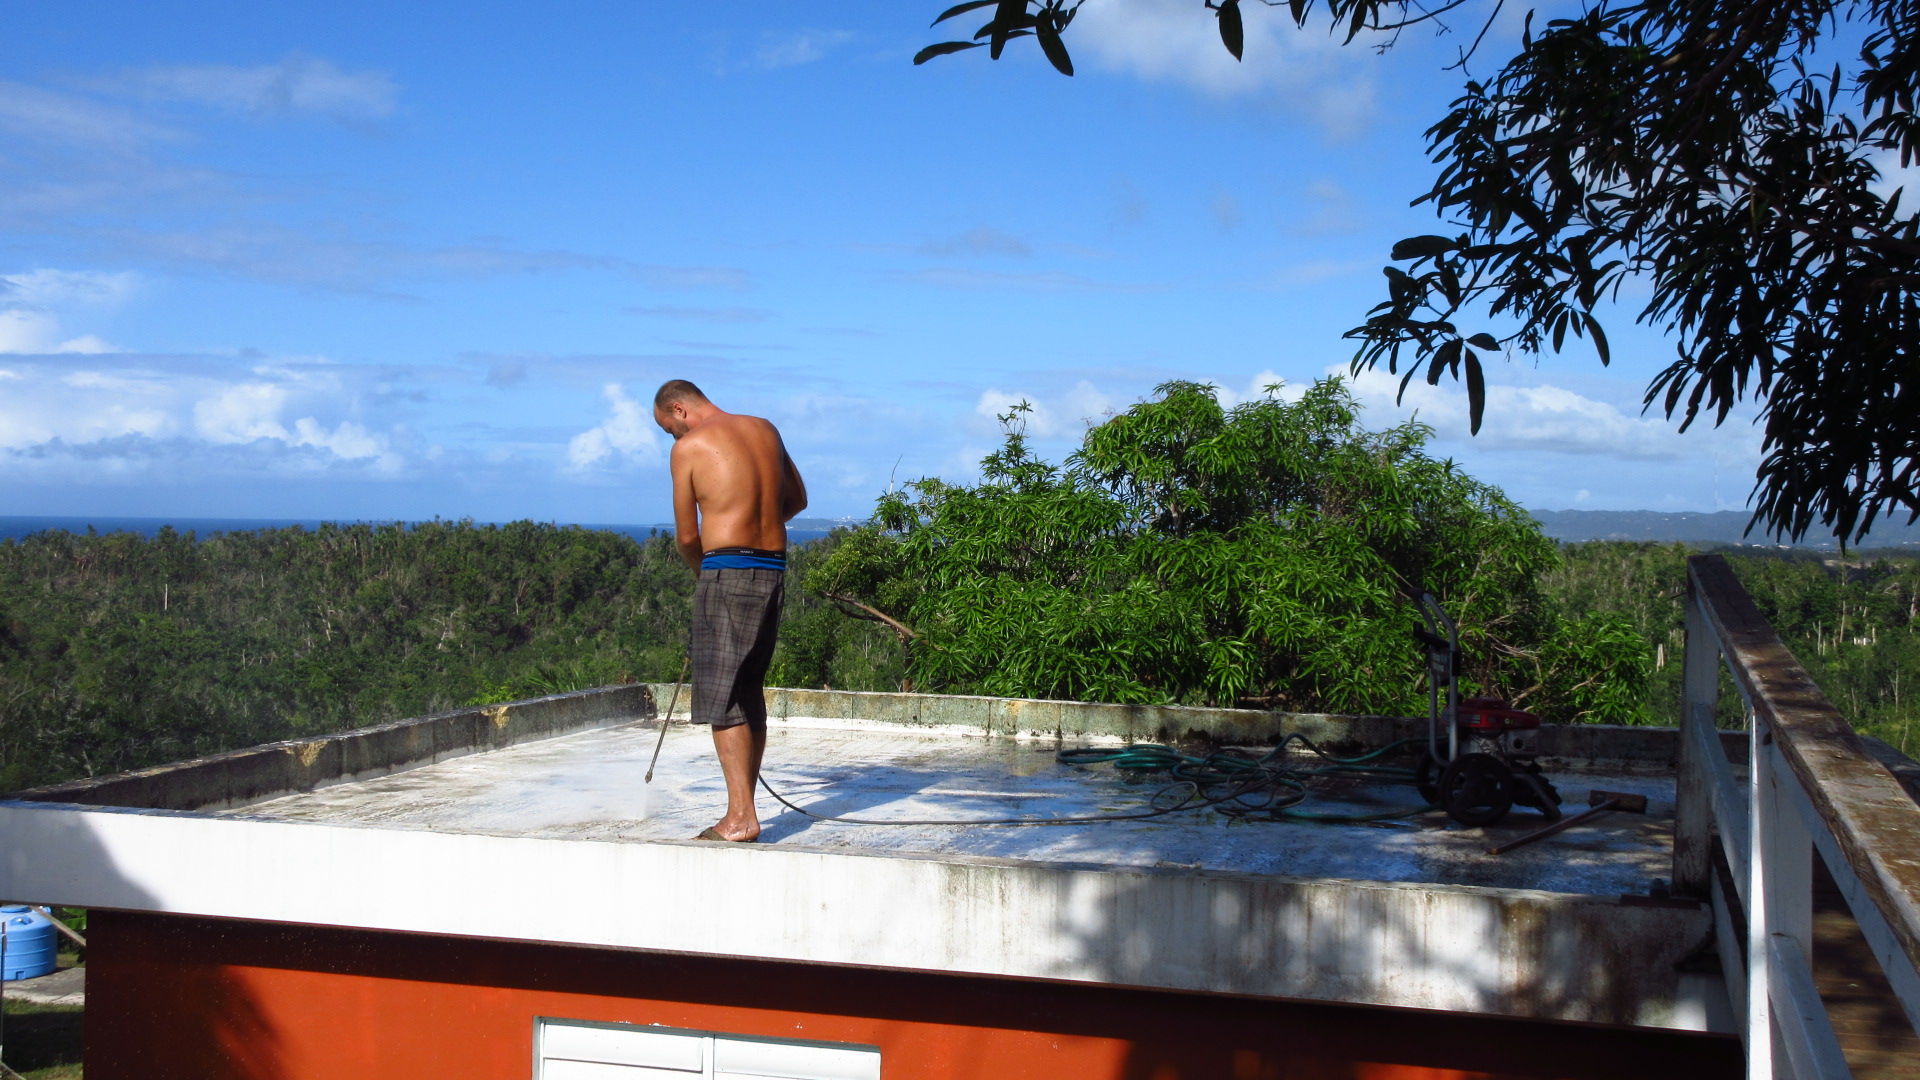
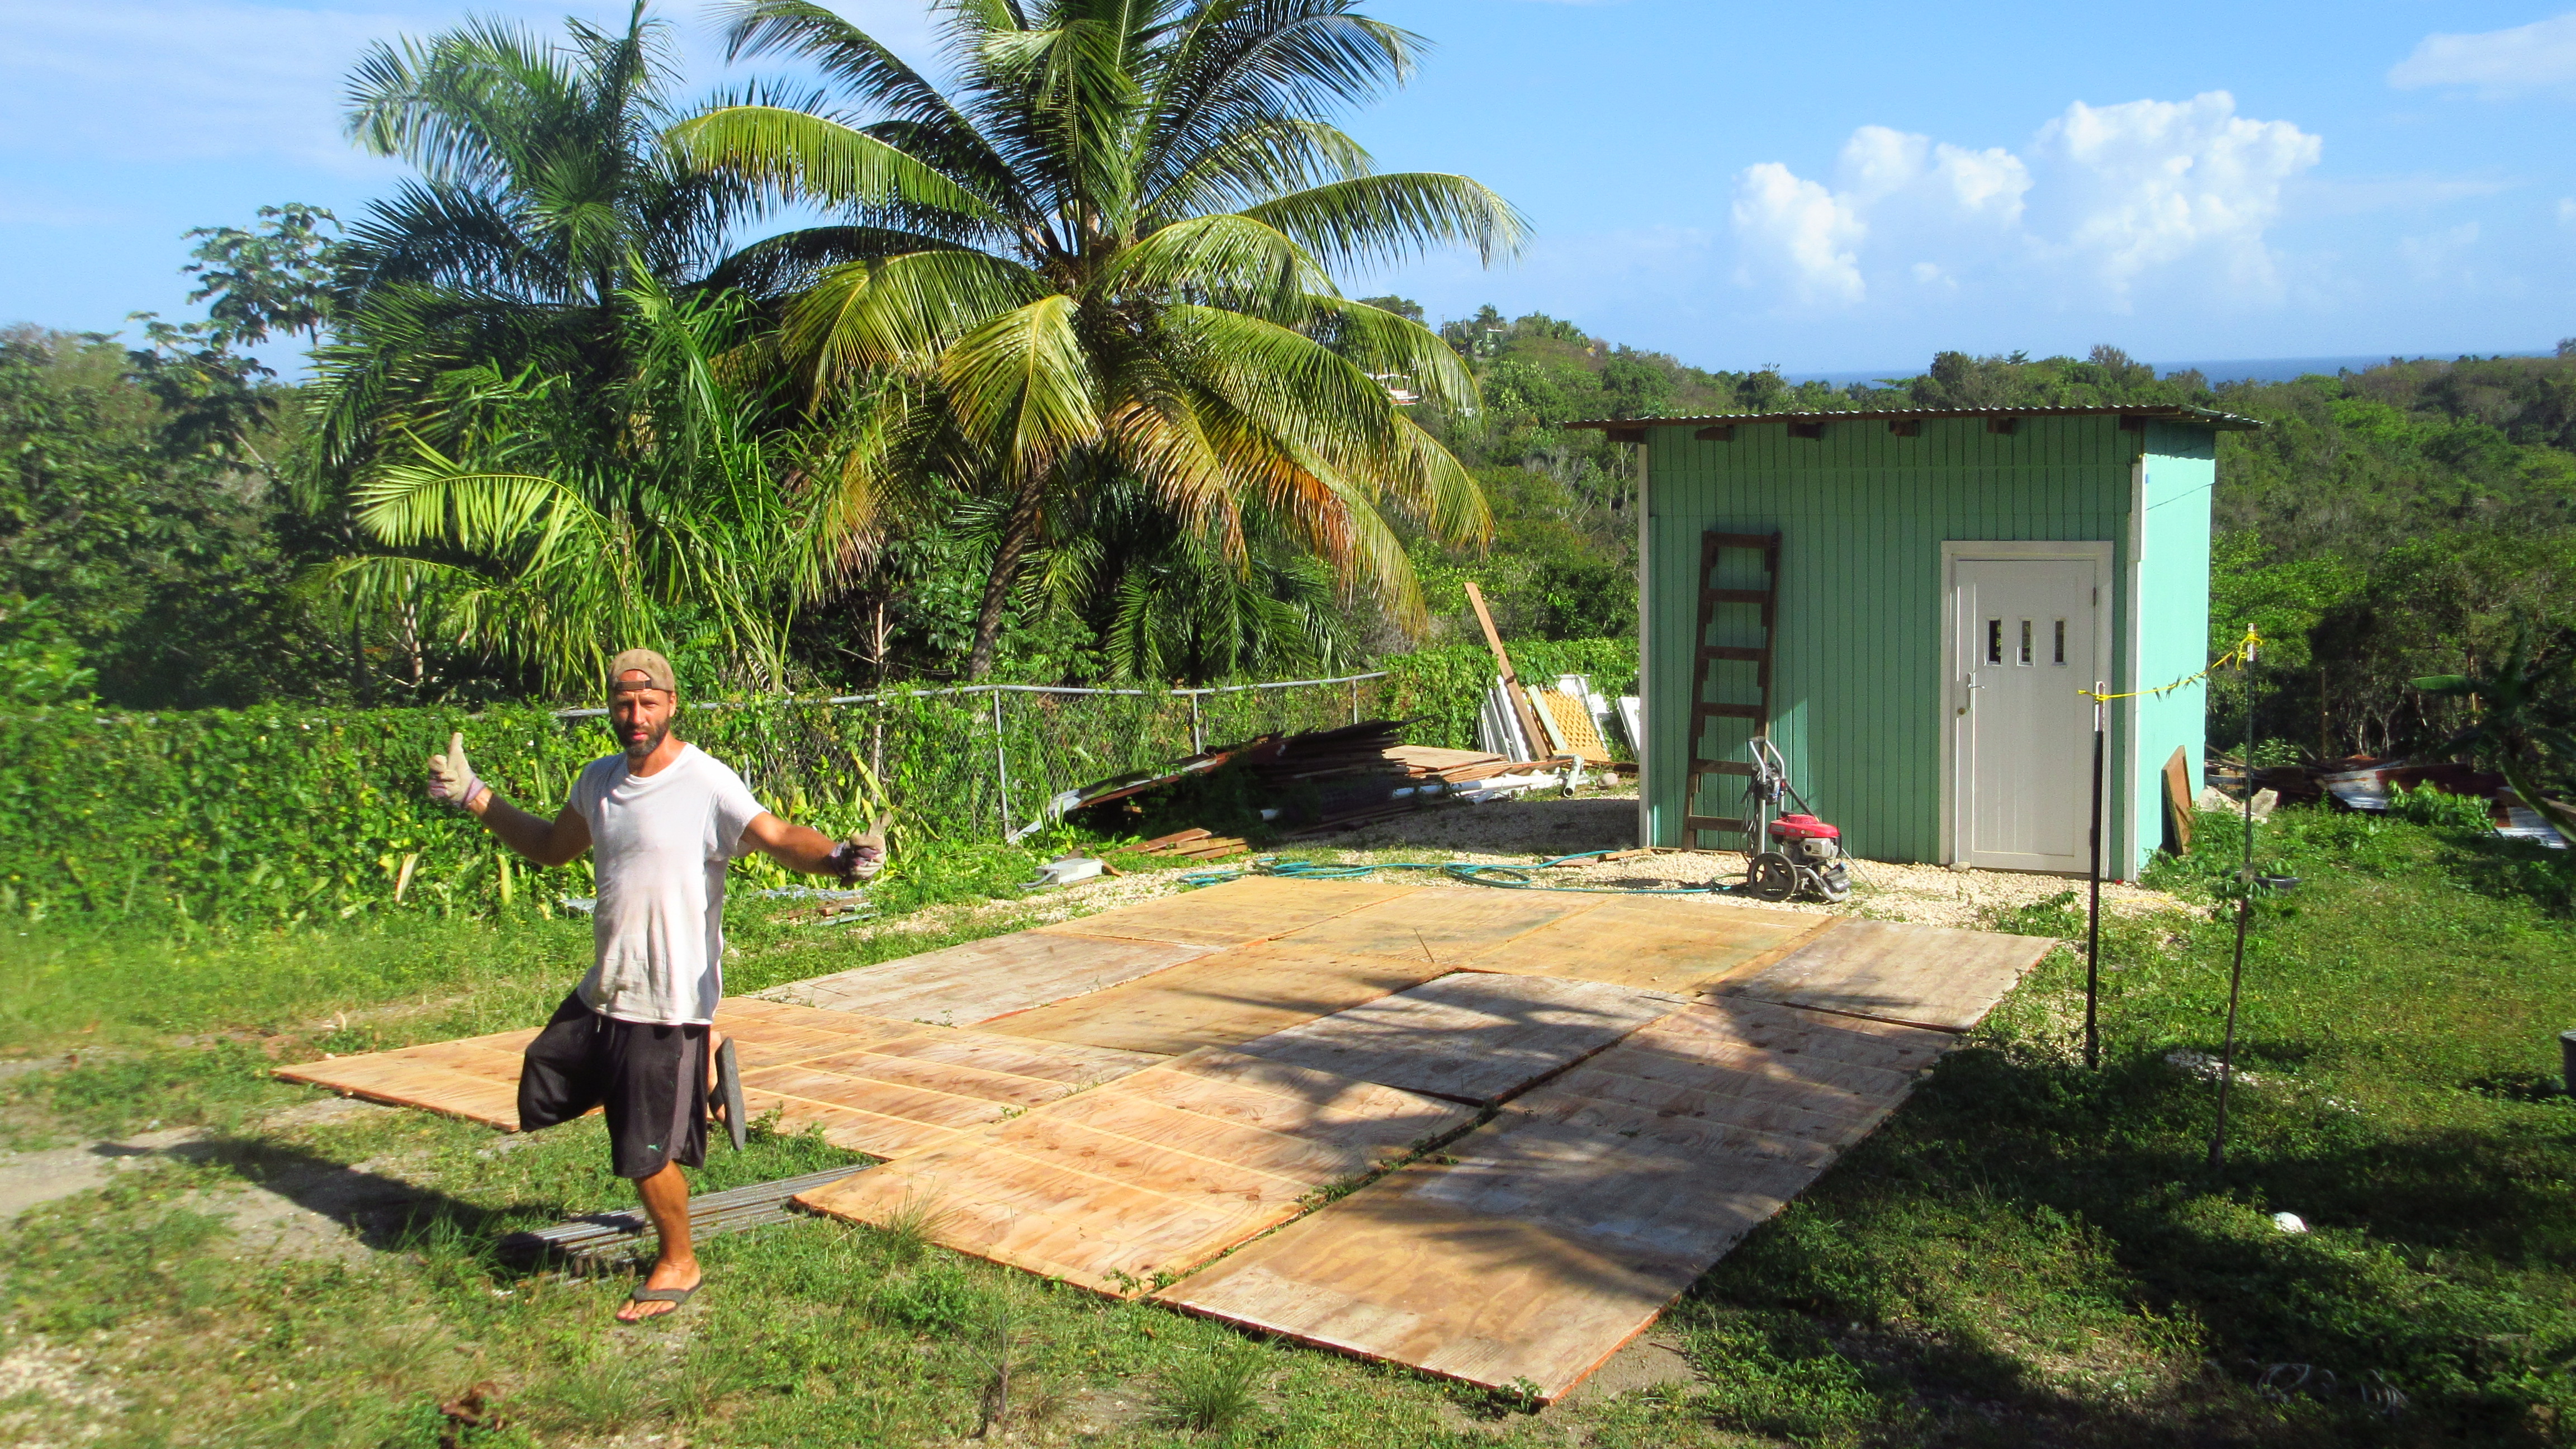
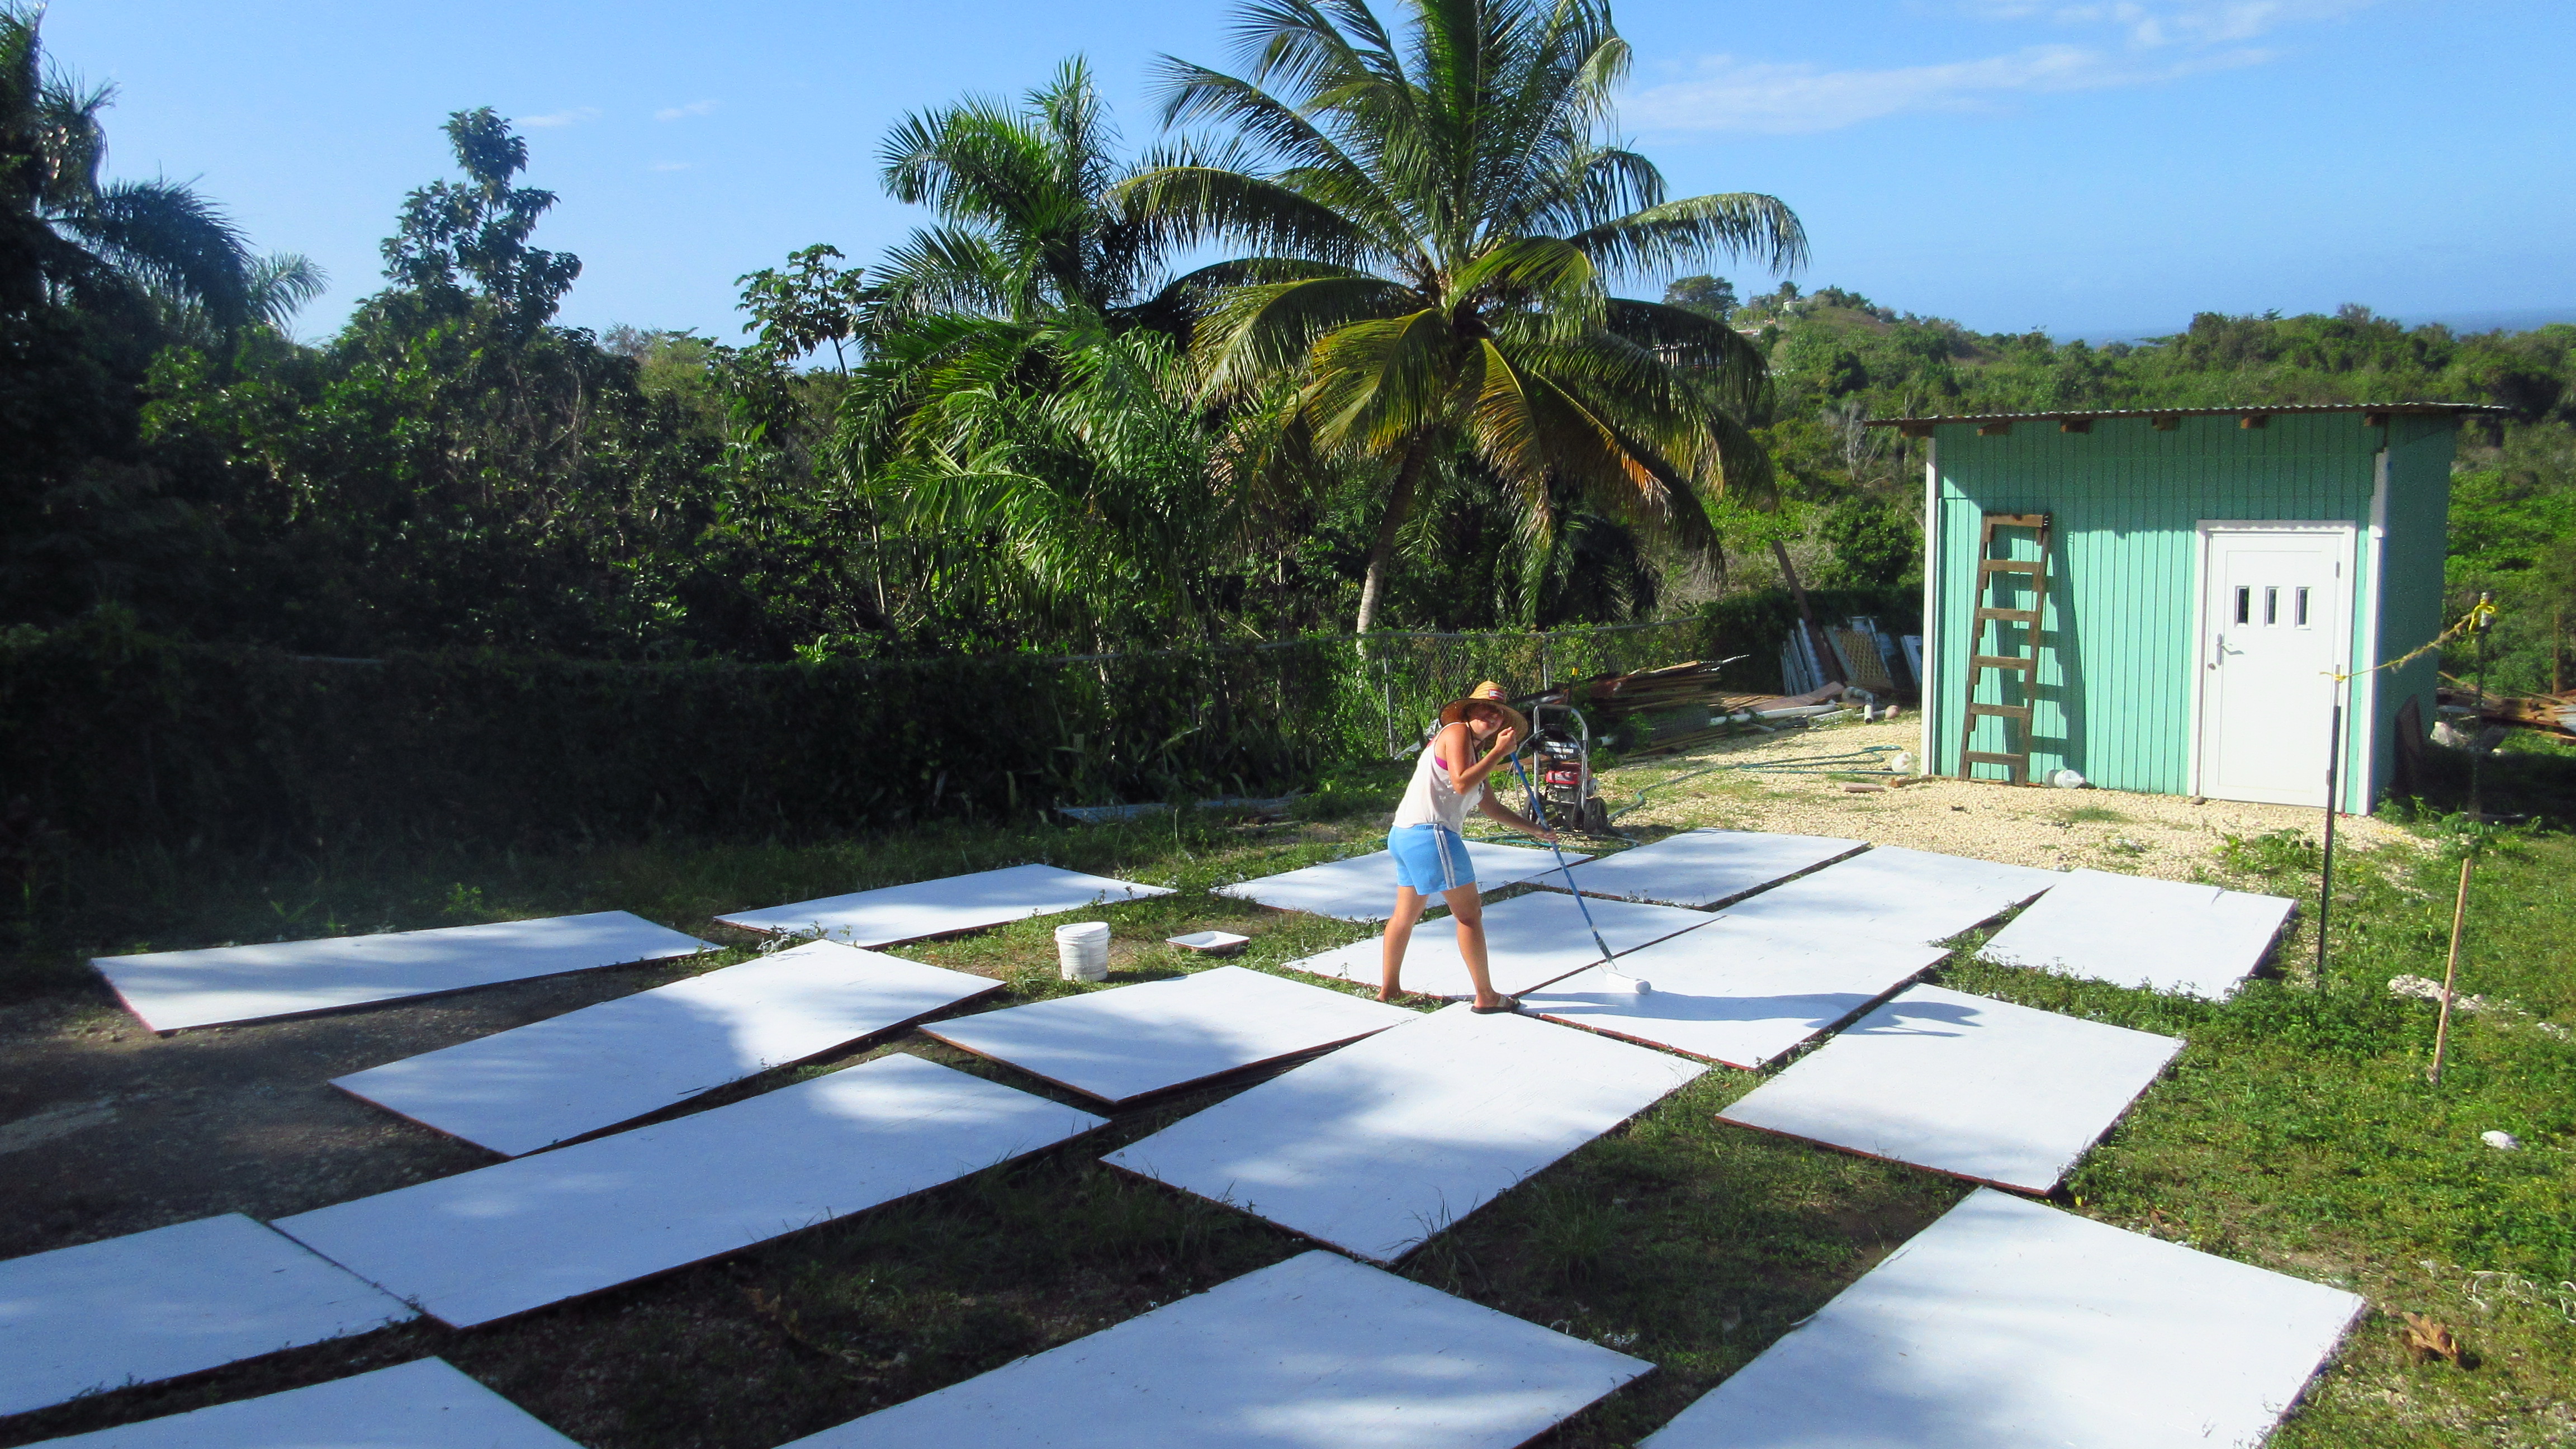
Powerwashing then resealing the roof of the cabana

Cabana Roof Sealing roof
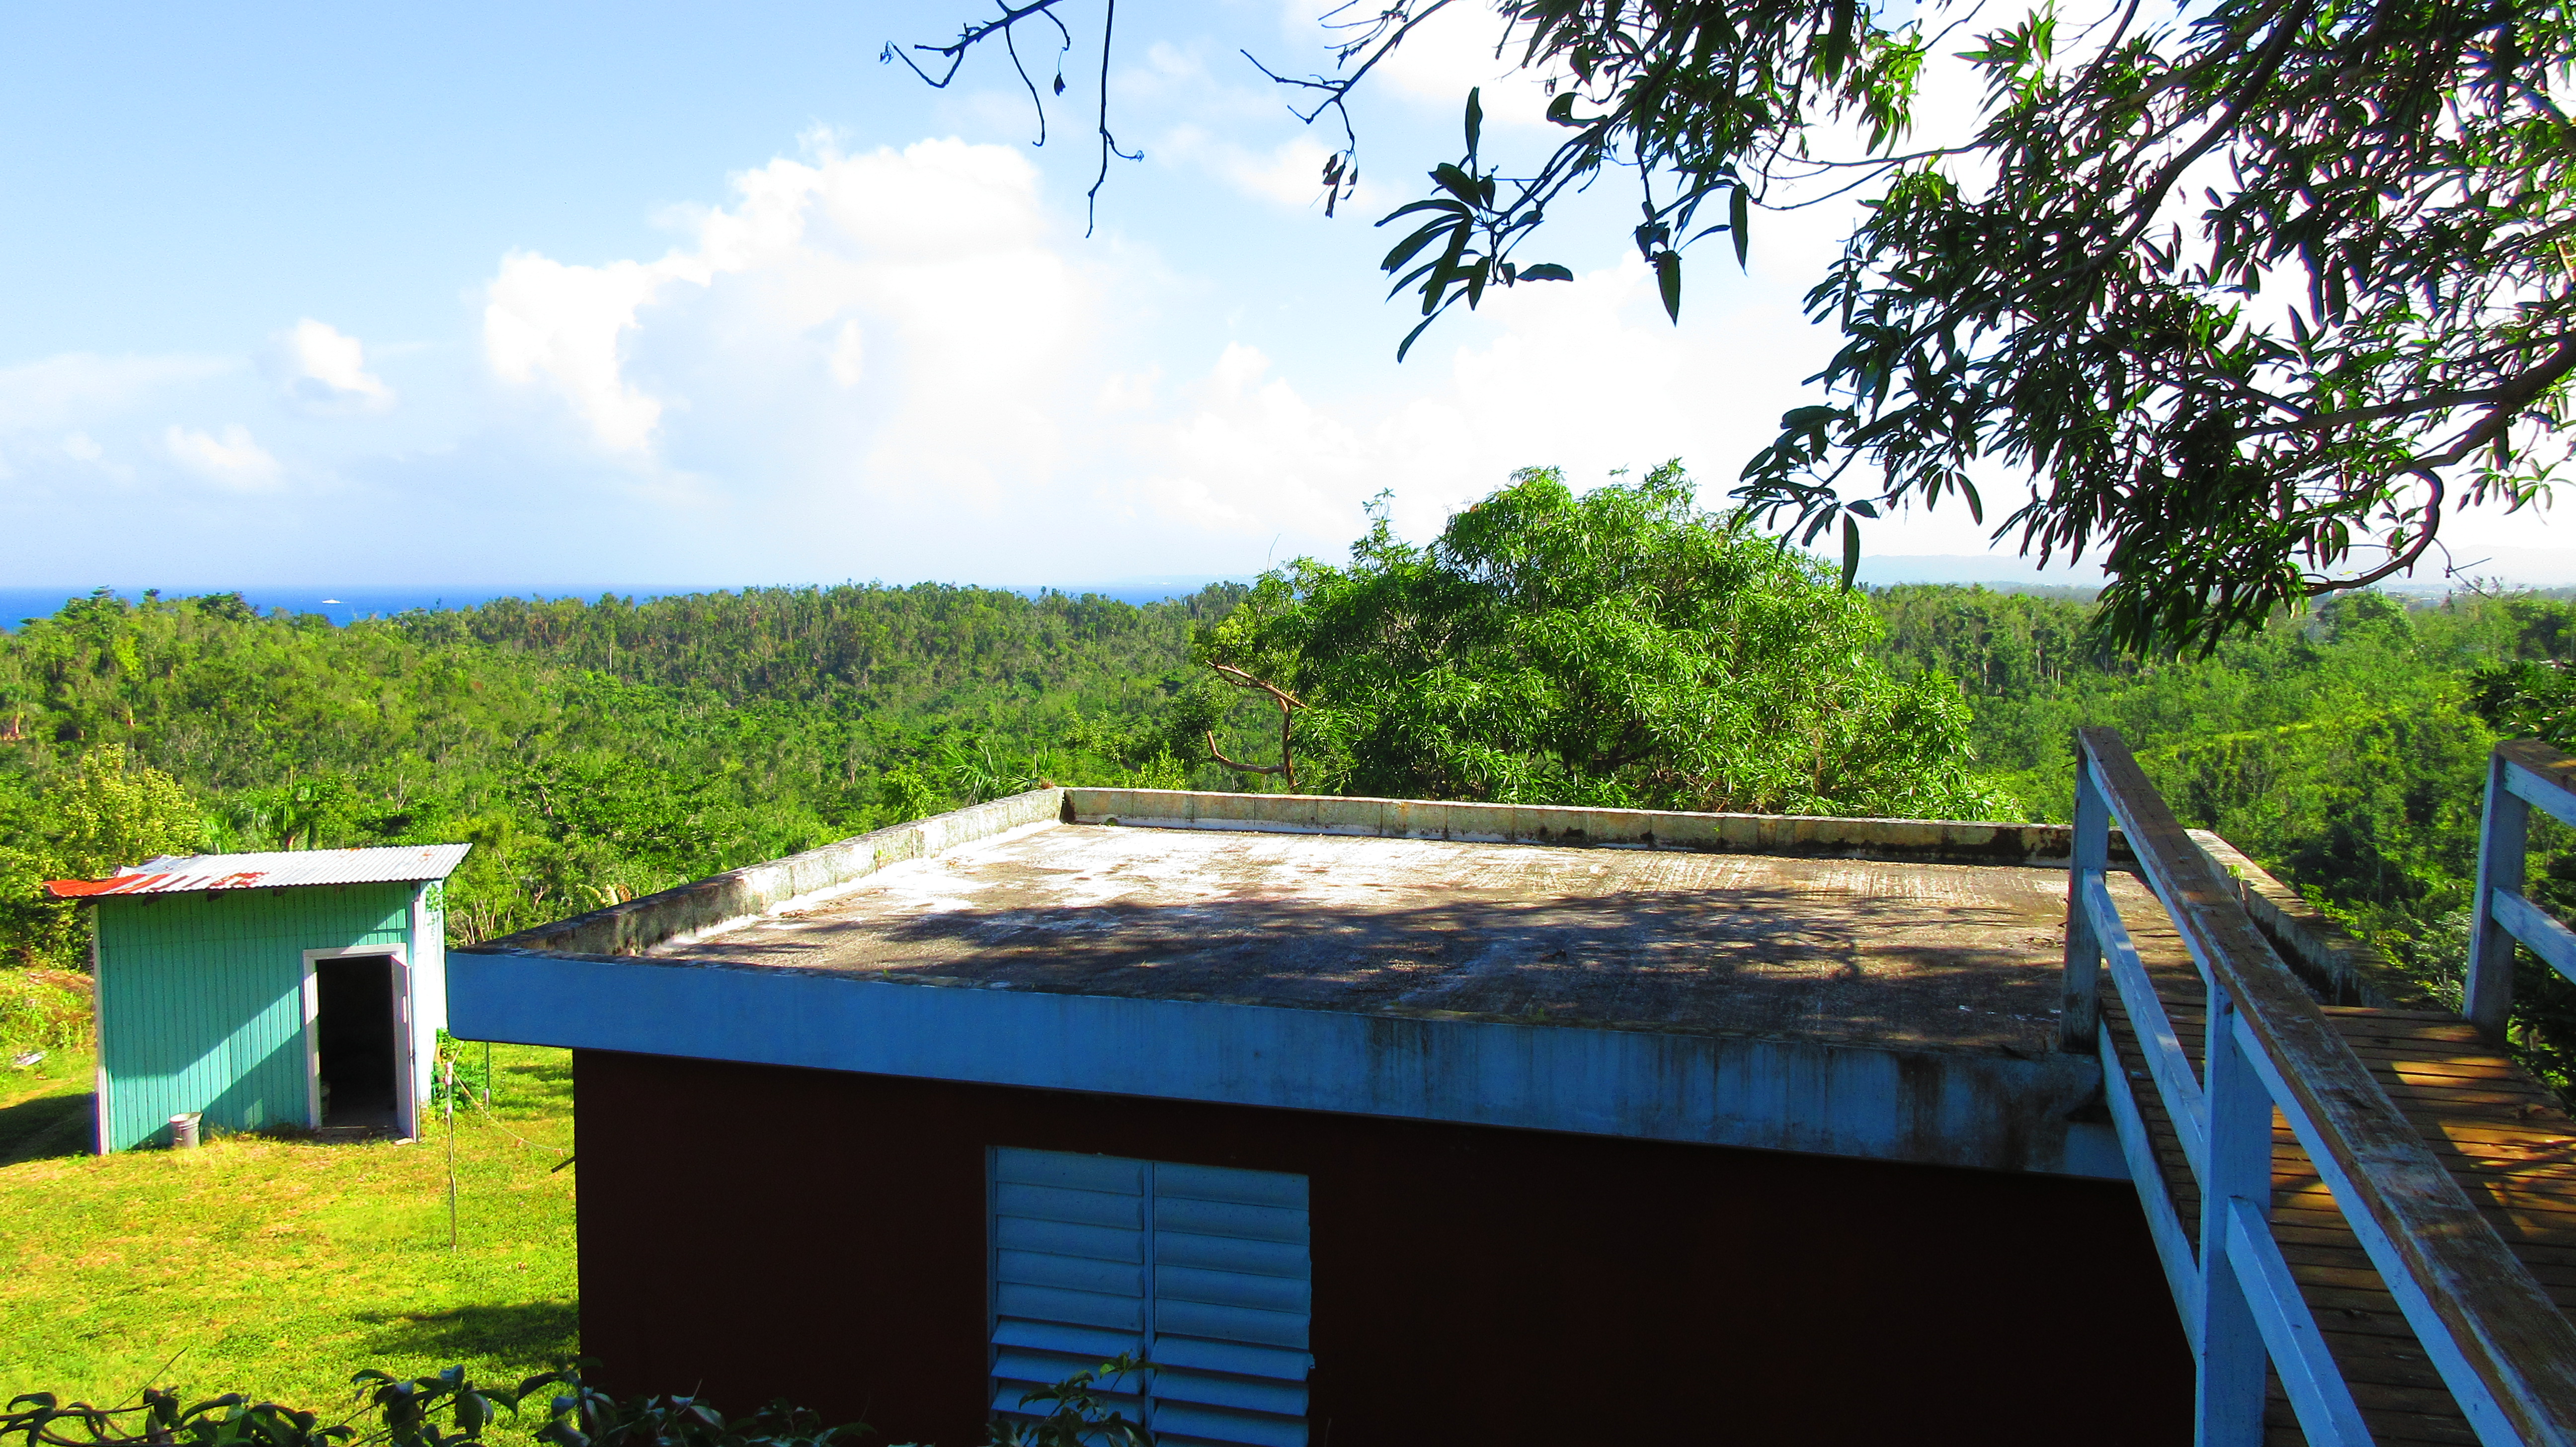
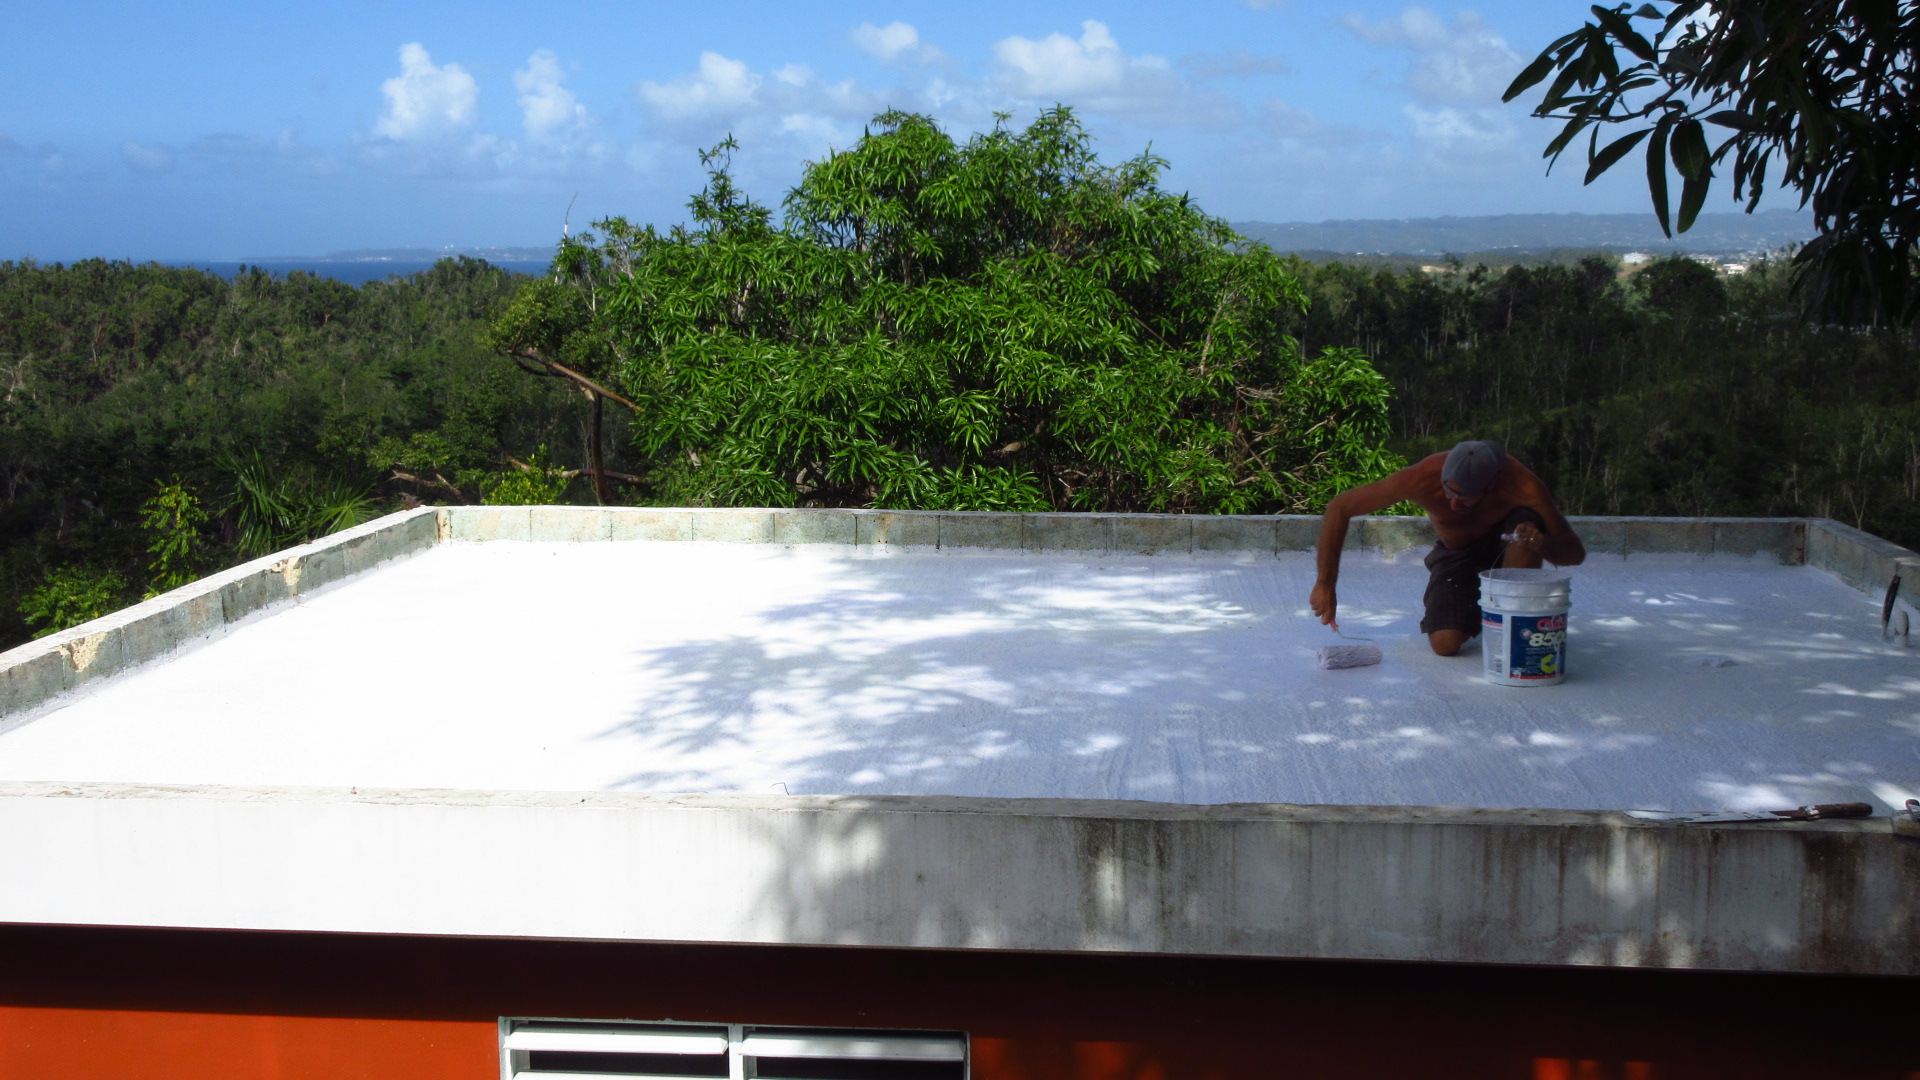
Before and after sealing

Of course there is always more, but these have been the current projects around the property. It’s hard work but keeps us busy and I love seeing the ever-changing beauty of this magical place.

What do you think of this post?
  • WOW (4)
  • Awesome (17)
  • Interesting (1)
  • Useful (0)
  • Bummer (0)
  • Whoa (0)

Tile Floors are Installed!

We just accomplished a major milestone in building the cabin! We have just finished installing the tile floors! This was quite a process not the least of which was just simply bringing over the supplies. Before they could even start on the tiles they had to bring over almost 30 sheets of plycem (concrete backer board). Each one of them weighed over 130 pounds! Then they had to move over all the boxes of tiles as well!

Britton and Waldemar floors
Installing each of the concrete backer sheets!

Cassie and Waldemar
Preparing the tile with Waldemar starting with the center piece

Tile Line
Beginning the tile from the center out

One special touch we added was a tile mosaic in the center of the room under the large ceiling fan. It complicated things a little but I think it is pretty cool. We bought the last one in the tile store and so we had to cut some parts special for it, but it turned out very nice.

Design
Mosaic design

Lechada Grout
Installing the grout

Floors
Shortly after installation

Doorway
After the first mopping

For a more in-depth how-to on this tile installation you can watch this video; there’s some pretty funny bloopers at the end too:

Once we finished with the tiles we were able to accomplish something else that we are super excited about: bringing over the full-sized fridge and stove! These were very tough to move over because they, like everything in the cabin, had to be brought over by hand. No dolly was used.

Fridge loading
First they loaded it from the shed into the truck and drove it half-way down

Trail
Then they carried it through the jungle

Britton and Waldemar on the bridge with fridge
Across the bridge

Fridge at the house
Up the stairs, and to the house!

And yes, their backs were pretty sore after this! But we are super excited about the floors and what it means. With the floors and the walls basically finished, that means we are nearly ready to move everything else in too! Next up, the toilet and finishing work on the bathroom!

What do you think of this post?
  • WOW (8)
  • Awesome (10)
  • Interesting (0)
  • Useful (1)
  • Bummer (0)
  • Whoa (1)

Construct It: Cabin Floors and Walls

I figured it was maybe time to do a little construction update.  One thing nice about doing things at your own pace is that you can take a step back when you start to feel overwhelmed or don’t have an answer to a “how to” and want to take some time to research.  A lot of building this house has required research because I’ve never done it before.  Like what screws to use for drywall and WHY?  What screws to use for cement board and WHY?  How do you construct a shower basin in a wood framed house?

The company that delivered the drywall delivered screws too.  They were black phosphate coated drywall screws BUT they were fine thread.  When I asked about it they claimed of course “It’s fine to use them in wood!” which isn’t really true.  Wood screws use a coarse thread for holding power.  Fine threads are used for metal studs.  Just an example of how a small thing can turn into a small ordeal when you are ready to start a project in the morning.

Using what are considered the “correct” fasteners might not matter to some people, especially if the fasteners are difficult to locate.  I have been called “Mañoso” (picky) a few times which is accurate I guess.

Drywall
Mud, Tape and Ready for Primer/Paint

This past week have been getting the inside ready for paint and flooring.  Since we decided to go with tile, we needed to prep the sub floor.  We got 24 4×8 sheets of 3/4″ thick cement board.  Those weigh 136 pounds each!  It took a whole day just for us to move them over to the house.  It was actually easiest for one person to carry an entire sheet on their back than it was for two people to awkwardly try to move one.  So there was a lot of resting in between trips but we got it done.

While I do a lot of the research myself it is tremendously useful to have Waldemar help with each step. He propels us forward so much more than we can do alone. I really appreciate his help. He brings skills, experience as well as lots of energy and motivation when I just don’t have a whole a lot.

Britton and Waldemar floors
Installing Cement Board

We then cut and installed the cement boards (generically called plycem here).  Those things were ridiculously heavy.  The floors however are SOLID and we shouldn’t have any problems with tiles popping or cracking.  Under the cement boards we used thinset to fill any space between the 3/4″ inch plywood.  There are a few write ups about this online.  The professionals who sold me the cement board told me I didn’t need to use thinset, but again for me it comes down to the “why” and the write ups did a good job of convincing me that it should be done.

Waldemar and Cassie 2
Cassie brings over lunch for us and helps where she can

Our tile is on order and should be here in a week or so.  We wanted to get a natural feel instead of using ceramic printed tiles and went with a red clay tile almost like terracotta.  Again, Mañoso but what can you do?  If you want something, sometimes you have to wait.

Waldermar and Britton
¿Tu quiereme? Waldemar and I work together a lot and have gotten to know each other well, even with the language barrier.

We also used cement board for the shower stall.  Over top of the cement board I used aqua defense, it is a paintable rubber membrane that adheres well to thinset when dry so you can tile over it.  The paintable membrane will keep any moisture from seeping past the grout/tiles and cement board into the wood below.  One thing I have learned is that cement is porous and should be sealed if you want to keep water out.  There is also a 3 piece drain.

Blue bathroom
Green Water-proof Membrane

Soon we should receive some tiles.  Until then we will be painting the walls.
Cassie Painting
Cassie Priming the Drywall for Paint

So as you can see, we haven’t JUST been chinchorreando and having fun…We are making really good progress on the cabin too. Now that we can see the walls and floors taking shape we are super stoked to move in!

What do you think of this post?
  • WOW (2)
  • Awesome (15)
  • Interesting (1)
  • Useful (1)
  • Bummer (0)
  • Whoa (0)

Cabin Subflooring

This week the work on the cabin started with lifting the huge girders into place. With just three guys, it was quite the challenge filled with lots of exertion and grunting, but they did it!

Girders
Sliding a girder into place

When all three were up, they began bringing over the 2x8s and installing them. At this point we could really see the footprint that the house will take.

Floor boards
Floor joists installed

Boards are placed
Looks out and in toward the jungle

Side profile
Side profile

All of the wood so far has come from the deconstructed wooden house, so it has been relatively inexpensive. Britton and I were unsure if we should use the underlayment panels so we checked them all out and found that a large majority were in great shape as far as integrity of the wood, but pretty dirty. We sorted out the best pieces and then I powerwashed and painted/sealed them with Kilz.

Panels
Sorting out the old underfloor panels (or building a dance floor?)

Kilz the panels
Painting/sealing them after powerwashing

We did have to buy a couple of panels but just doing this cleaning and recycling of most probably saved $1000 as compared to new.

And the very next day, they began installing them!

Cabin through the trees
Subflooring being installed

We have had a few challenges that we’ve had to work through during this process, but overall it has been remarkably smooth. It has been a change in pace, especially for Britton, to work every day at 7am again, but it seems a little different when it is for a project of our choosing. It is also a little different to be a manager of this project and work with a crew. We must constantly be aware of people’s (including our own) strengths and weaknesses, desires and dreads. Overall, we are learning, growing and of course building a little more every day throughout this project.

What do you think of this post?
  • WOW (3)
  • Awesome (2)
  • Interesting (2)
  • Useful (0)
  • Bummer (0)
  • Whoa (0)