
I figured it was maybe time to do a little construction update. One thing nice about doing things at your own pace is that you can take a step back when you start to feel overwhelmed or don’t have an answer to a “how to” and want to take some time to research. A lot of building this house has required research because I’ve never done it before. Like what screws to use for drywall and WHY? What screws to use for cement board and WHY? How do you construct a shower basin in a wood framed house?
The company that delivered the drywall delivered screws too. They were black phosphate coated drywall screws BUT they were fine thread. When I asked about it they claimed of course “It’s fine to use them in wood!” which isn’t really true. Wood screws use a coarse thread for holding power. Fine threads are used for metal studs. Just an example of how a small thing can turn into a small ordeal when you are ready to start a project in the morning.
Using what are considered the “correct” fasteners might not matter to some people, especially if the fasteners are difficult to locate. I have been called “Mañoso” (picky) a few times which is accurate I guess.
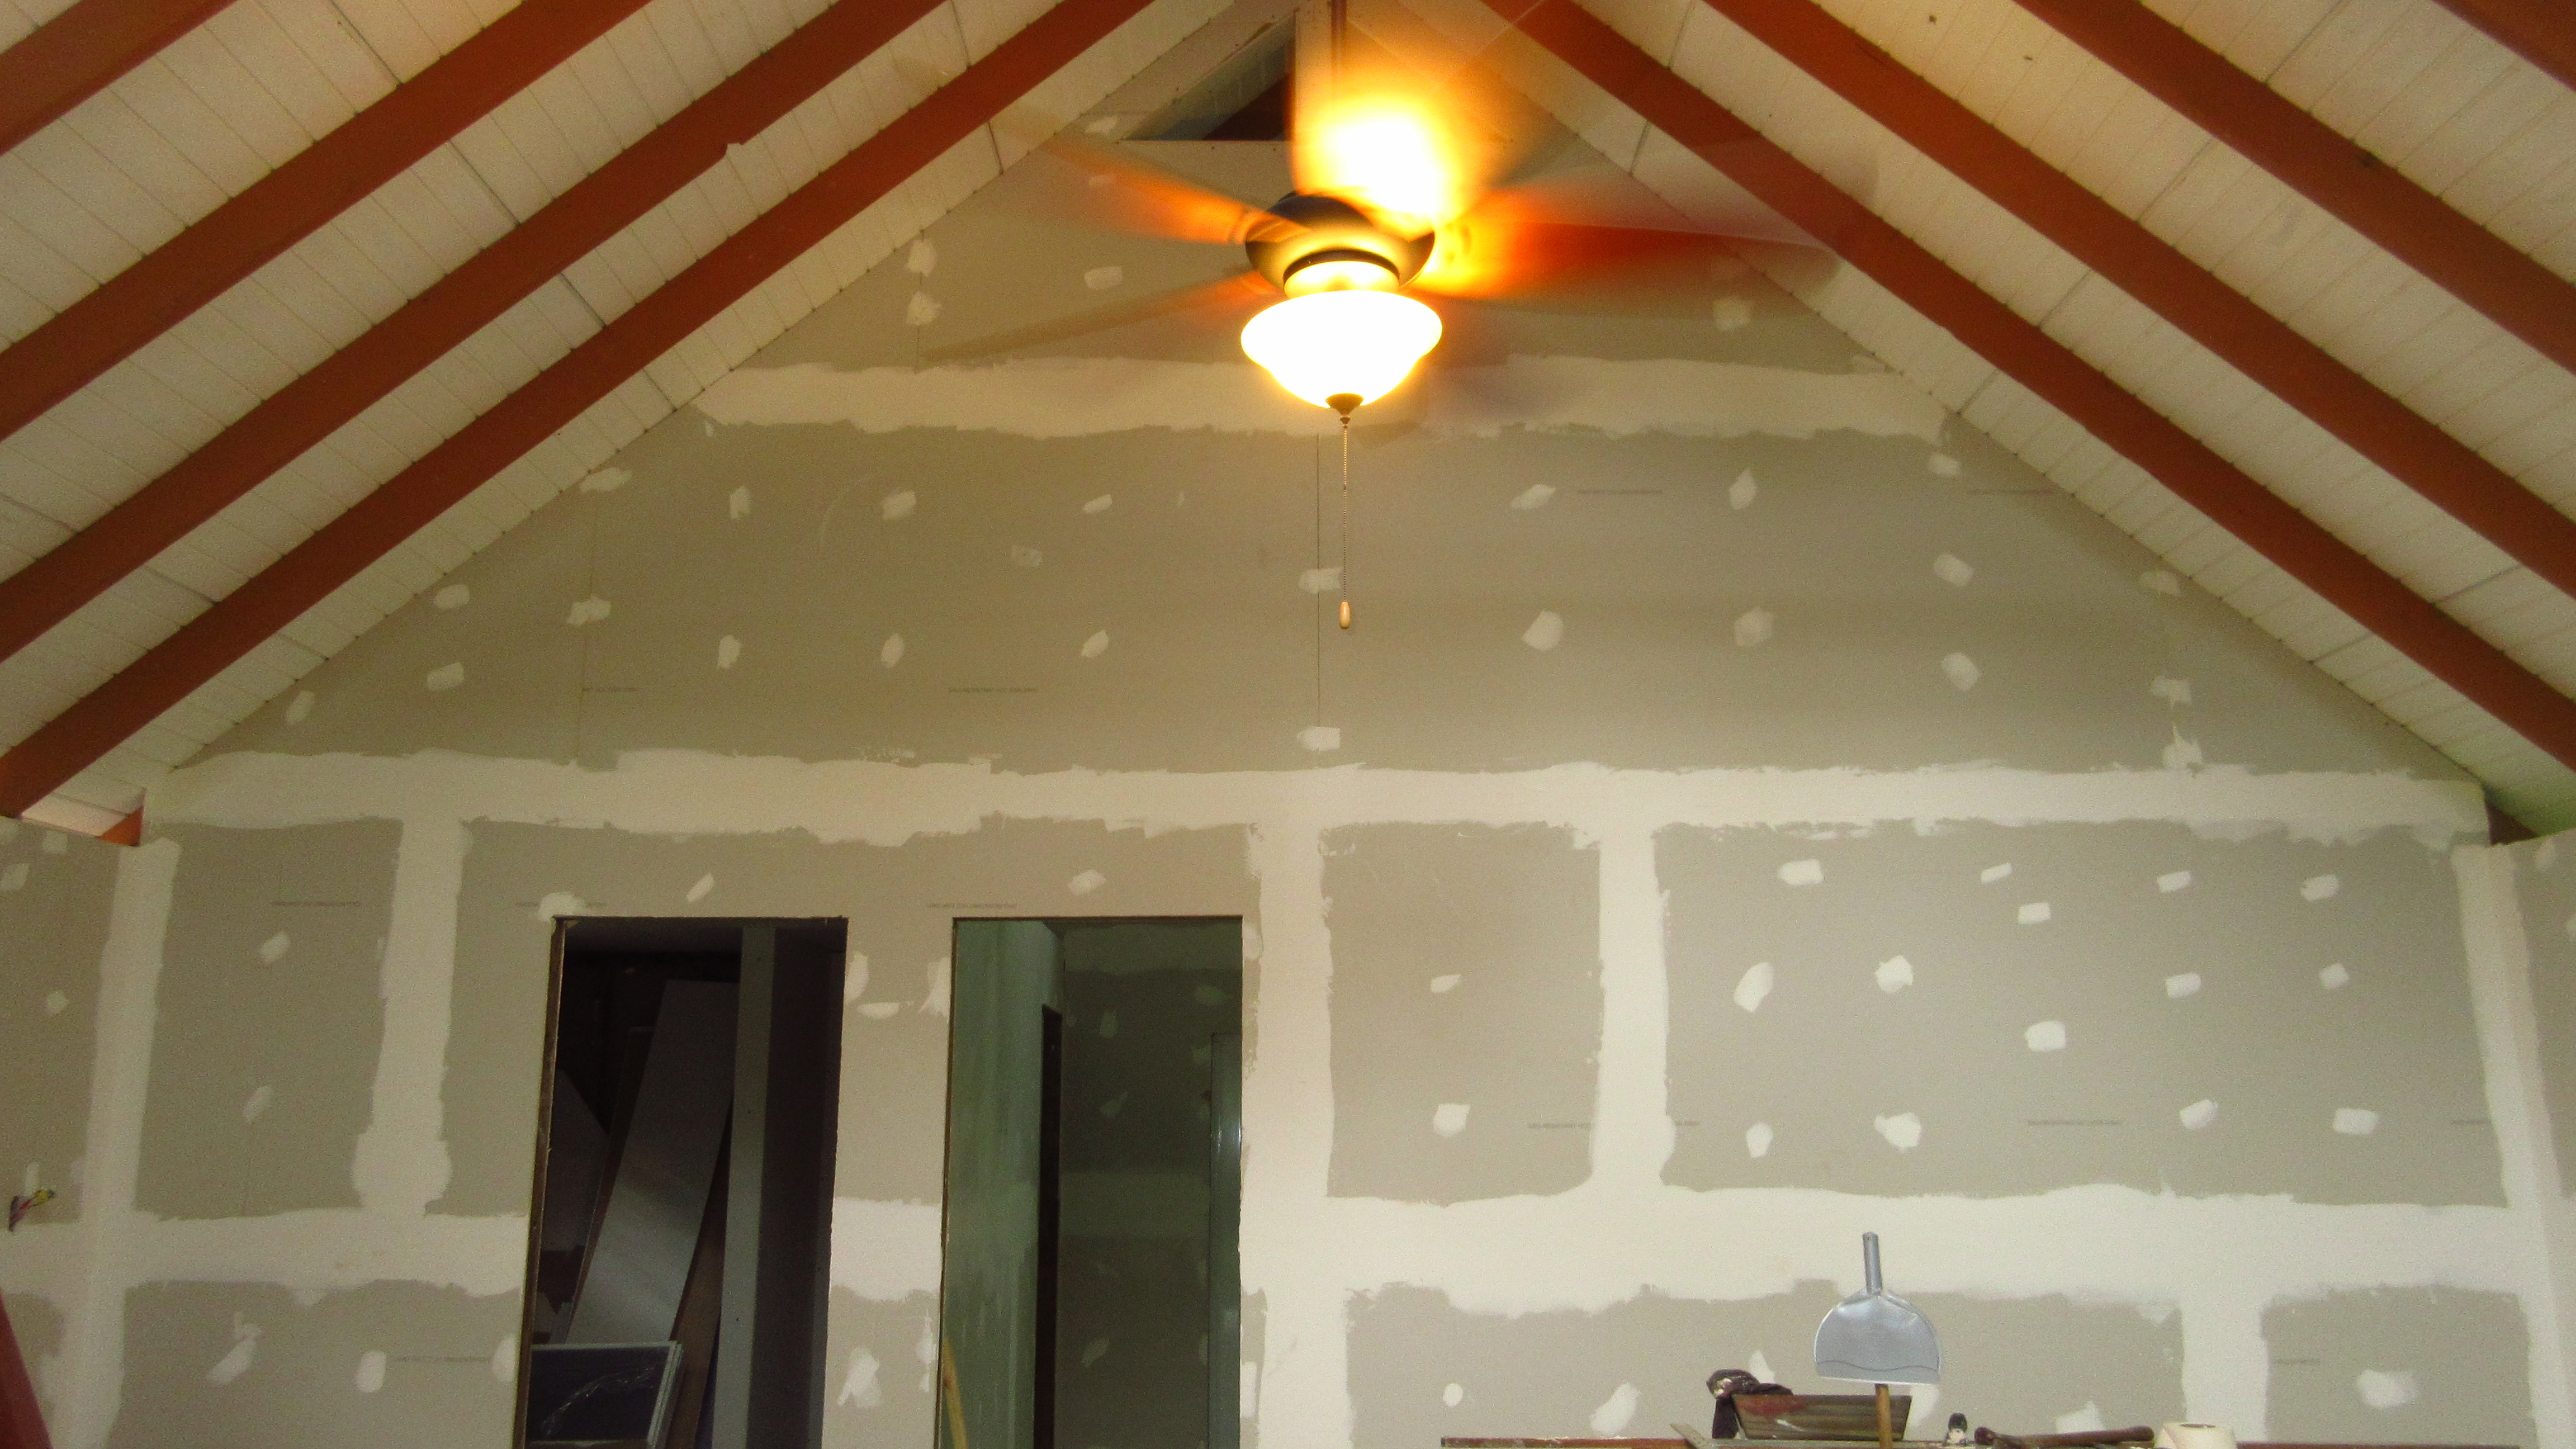
Mud, Tape and Ready for Primer/Paint
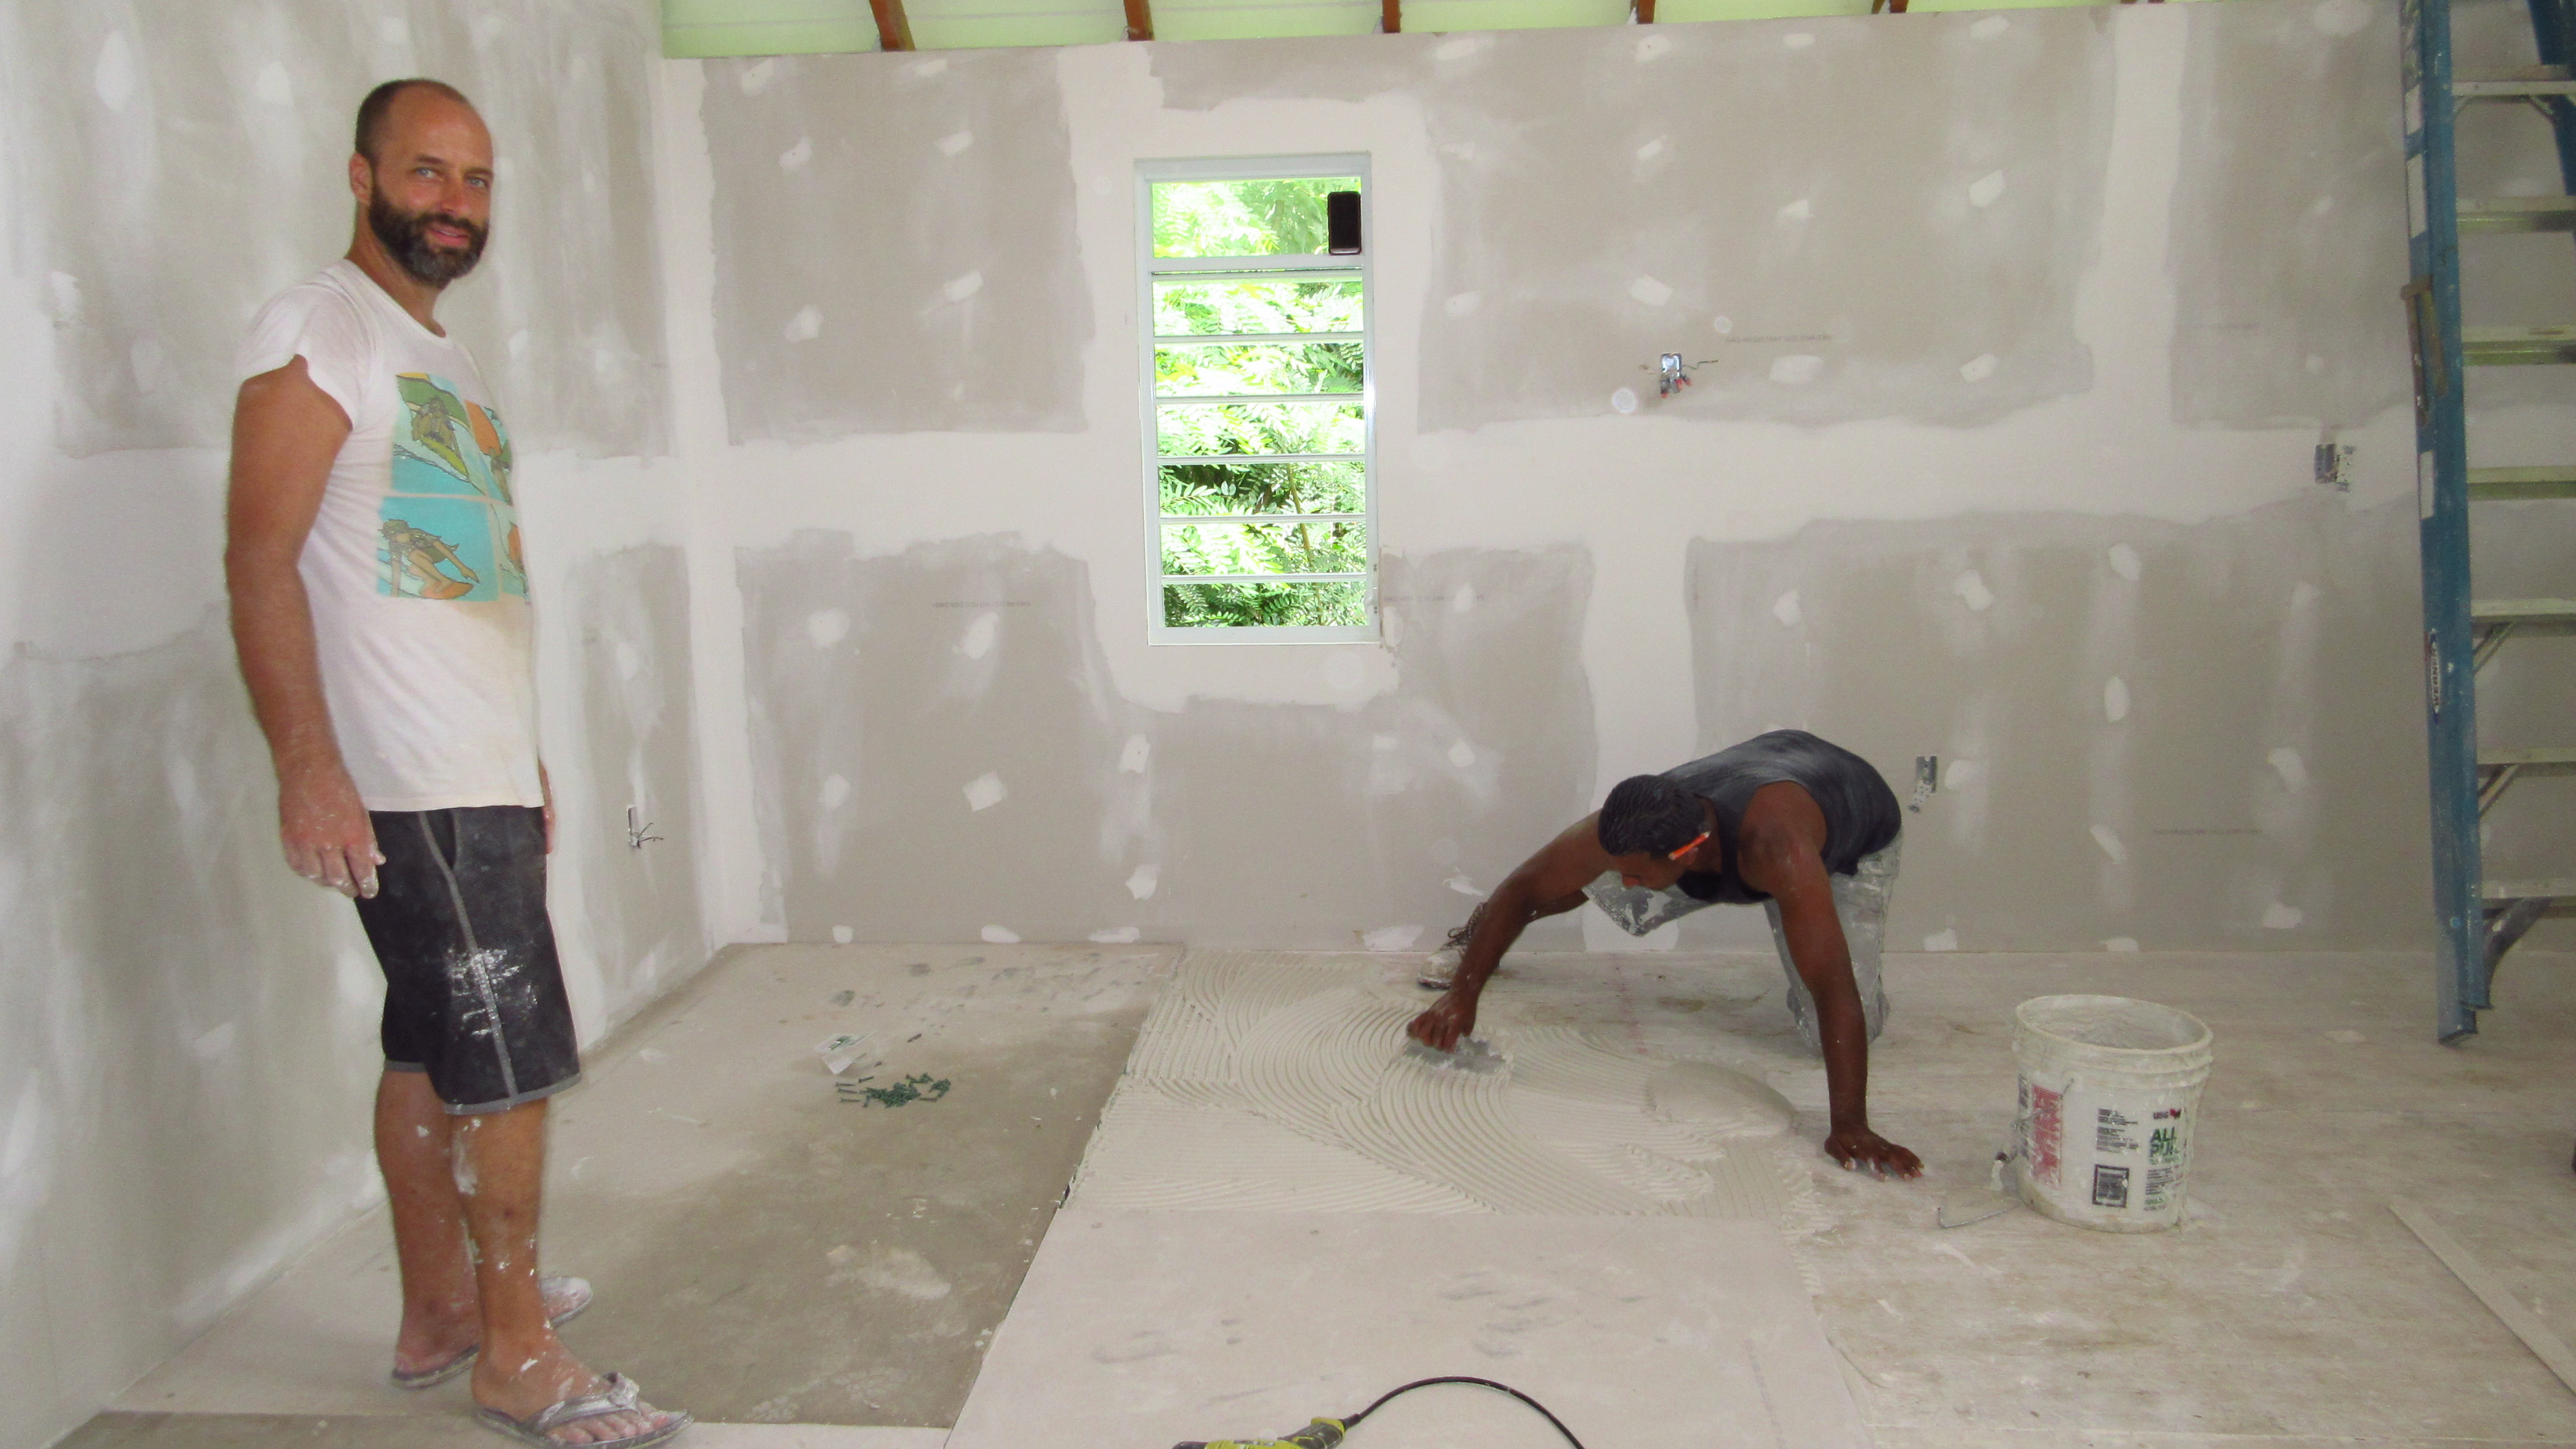
This past week have been getting the inside ready for paint and flooring. Since we decided to go with tile, we needed to prep the sub floor. We got 24 4×8 sheets of 3/4″ thick cement board. Those weigh 136 pounds each! It took a whole day just for us to move them over to the house. It was actually easiest for one person to carry an entire sheet on their back than it was for two people to awkwardly try to move one. So there was a lot of resting in between trips but we got it done.
While I do a lot of the research myself it is tremendously useful to have Waldemar help with each step. He propels us forward so much more than we can do alone. I really appreciate his help. He brings skills, experience as well as lots of energy and motivation when I just don’t have a whole a lot.
Installing Cement Board
We then cut and installed the cement boards (generically called plycem here). Those things were ridiculously heavy. The floors however are SOLID and we shouldn’t have any problems with tiles popping or cracking. Under the cement boards we used thinset to fill any space between the 3/4″ inch plywood. There are a few write ups about this online. The professionals who sold me the cement board told me I didn’t need to use thinset, but again for me it comes down to the “why” and the write ups did a good job of convincing me that it should be done.
Cassie brings over lunch for us and helps where she can
Our tile is on order and should be here in a week or so. We wanted to get a natural feel instead of using ceramic printed tiles and went with a red clay tile almost like terracotta. Again, Mañoso but what can you do? If you want something, sometimes you have to wait.
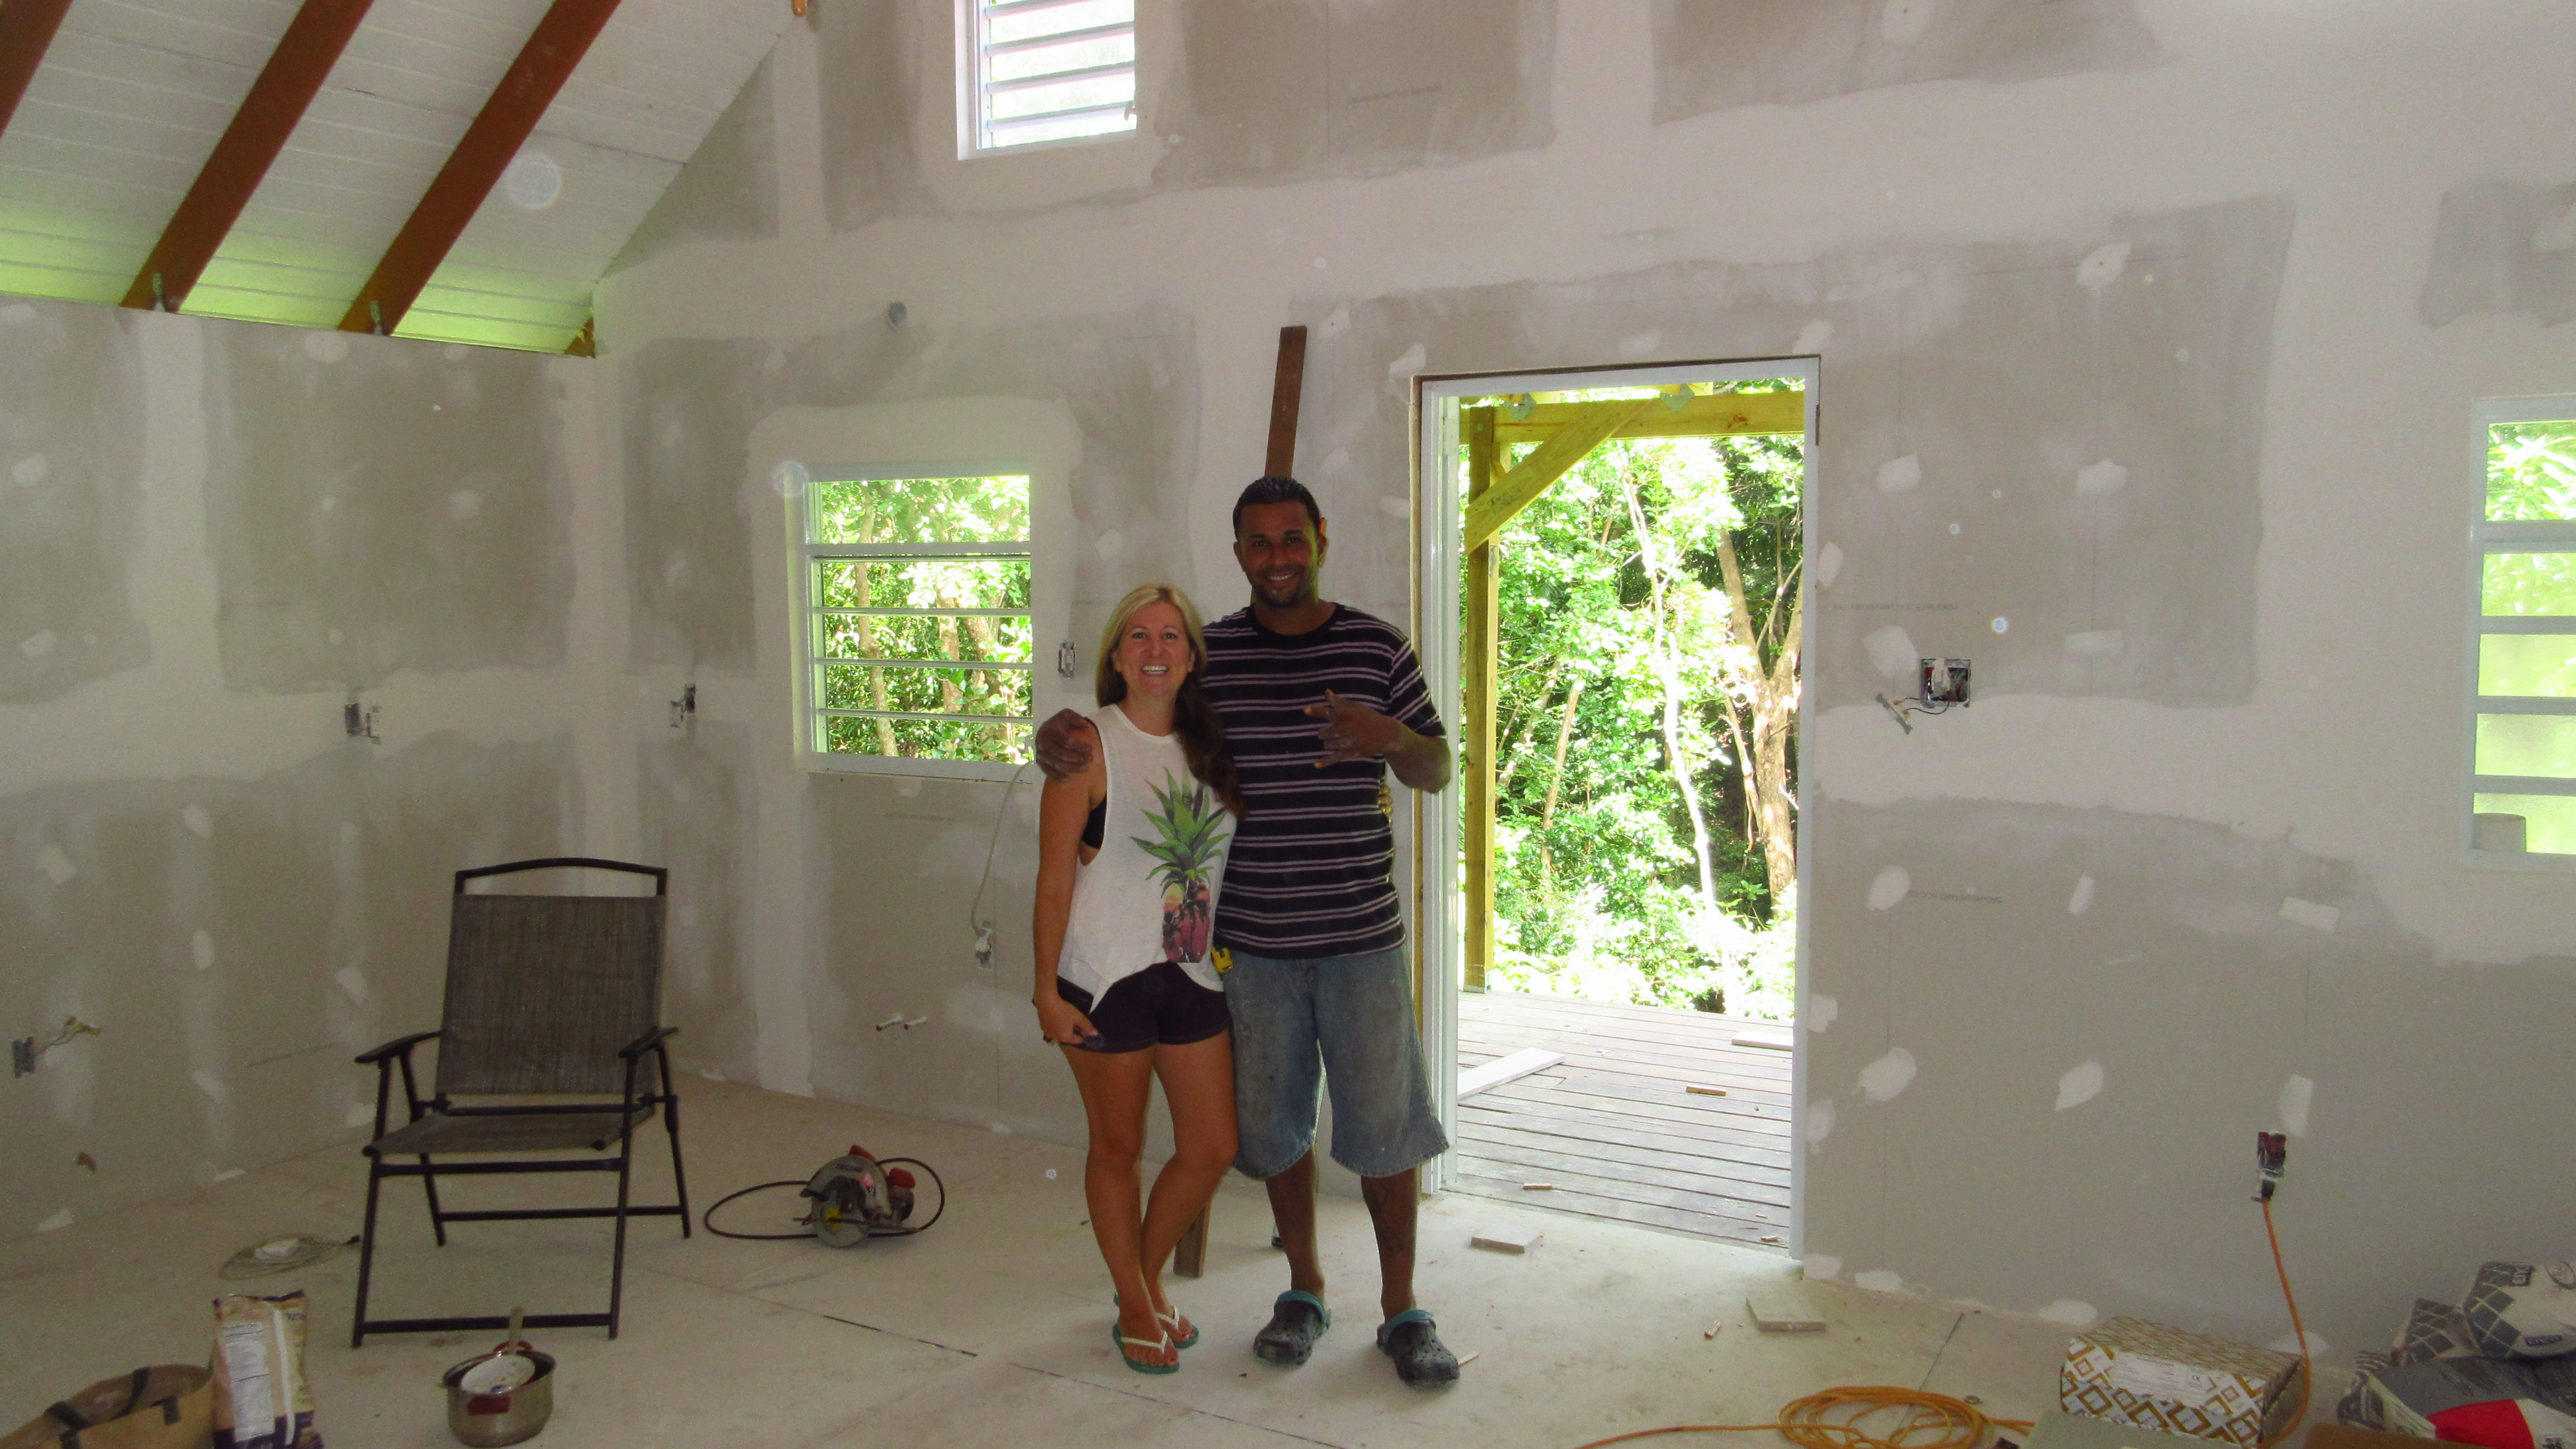
¿Tu quiereme? Waldemar and I work together a lot and have gotten to know each other well, even with the language barrier.
We also used cement board for the shower stall. Over top of the cement board I used aqua defense, it is a paintable rubber membrane that adheres well to thinset when dry so you can tile over it. The paintable membrane will keep any moisture from seeping past the grout/tiles and cement board into the wood below. One thing I have learned is that cement is porous and should be sealed if you want to keep water out. There is also a 3 piece drain.
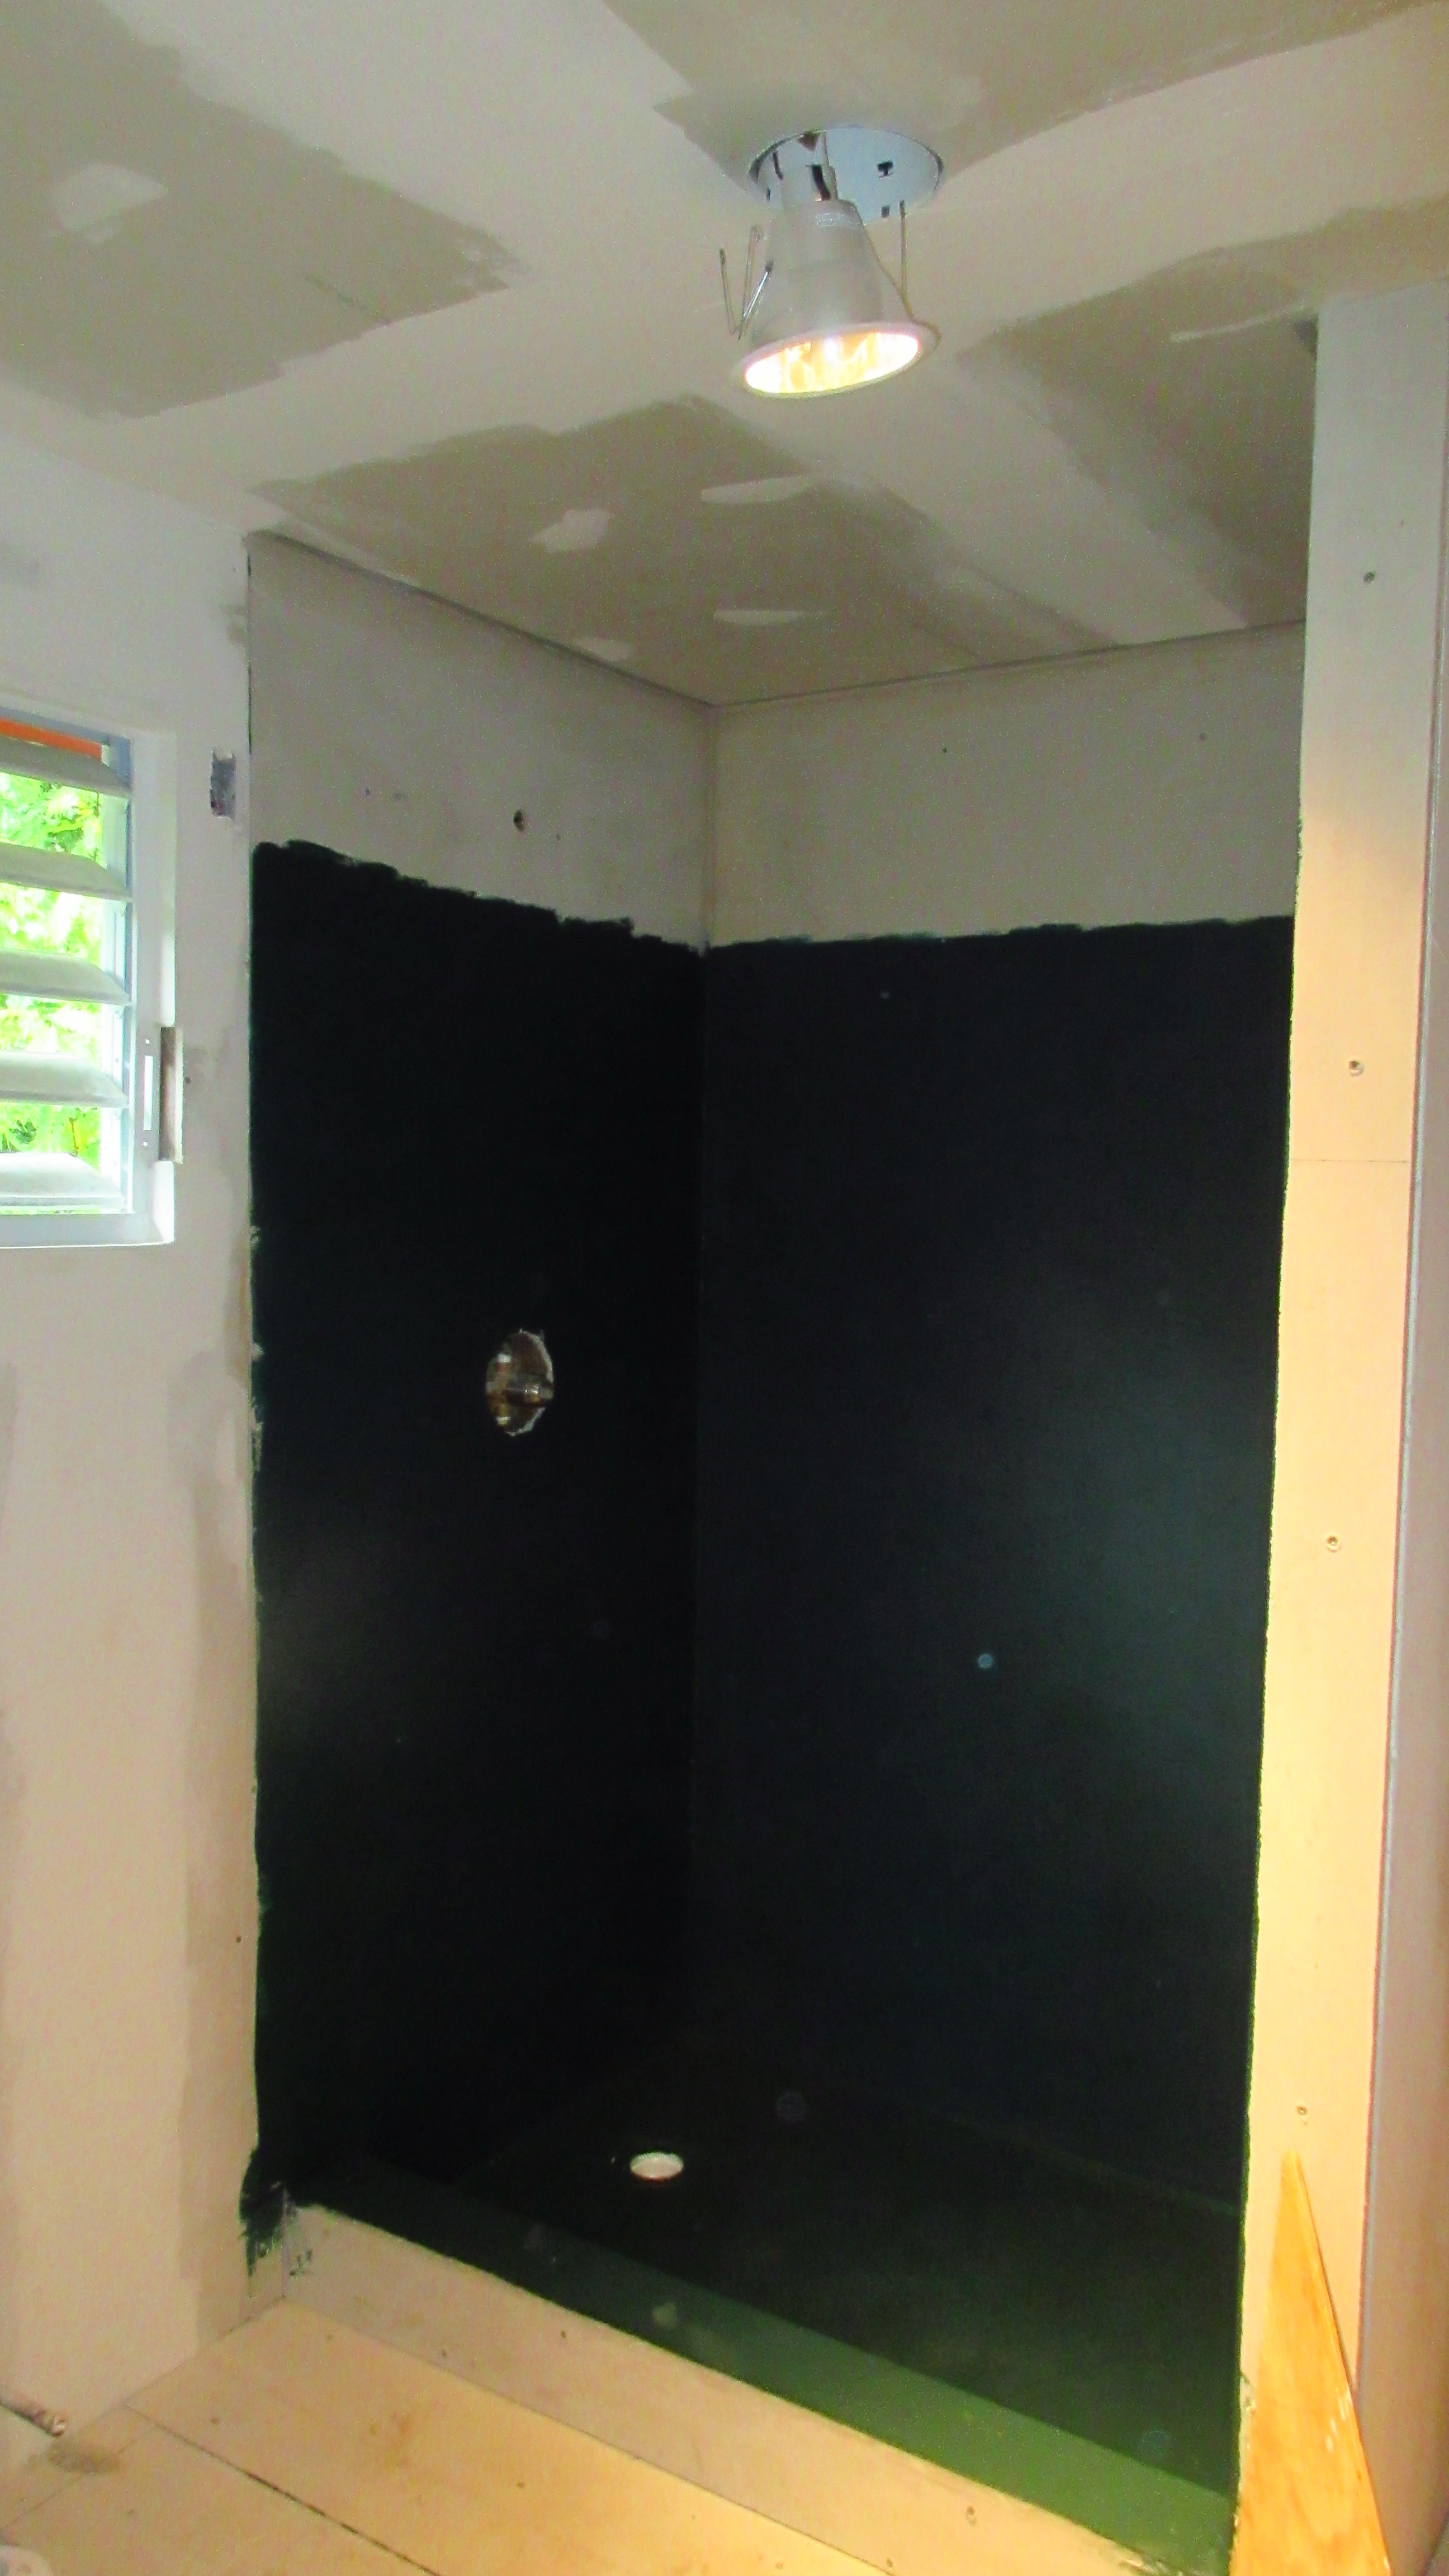
Green Water-proof Membrane
Soon we should receive some tiles. Until then we will be painting the walls.
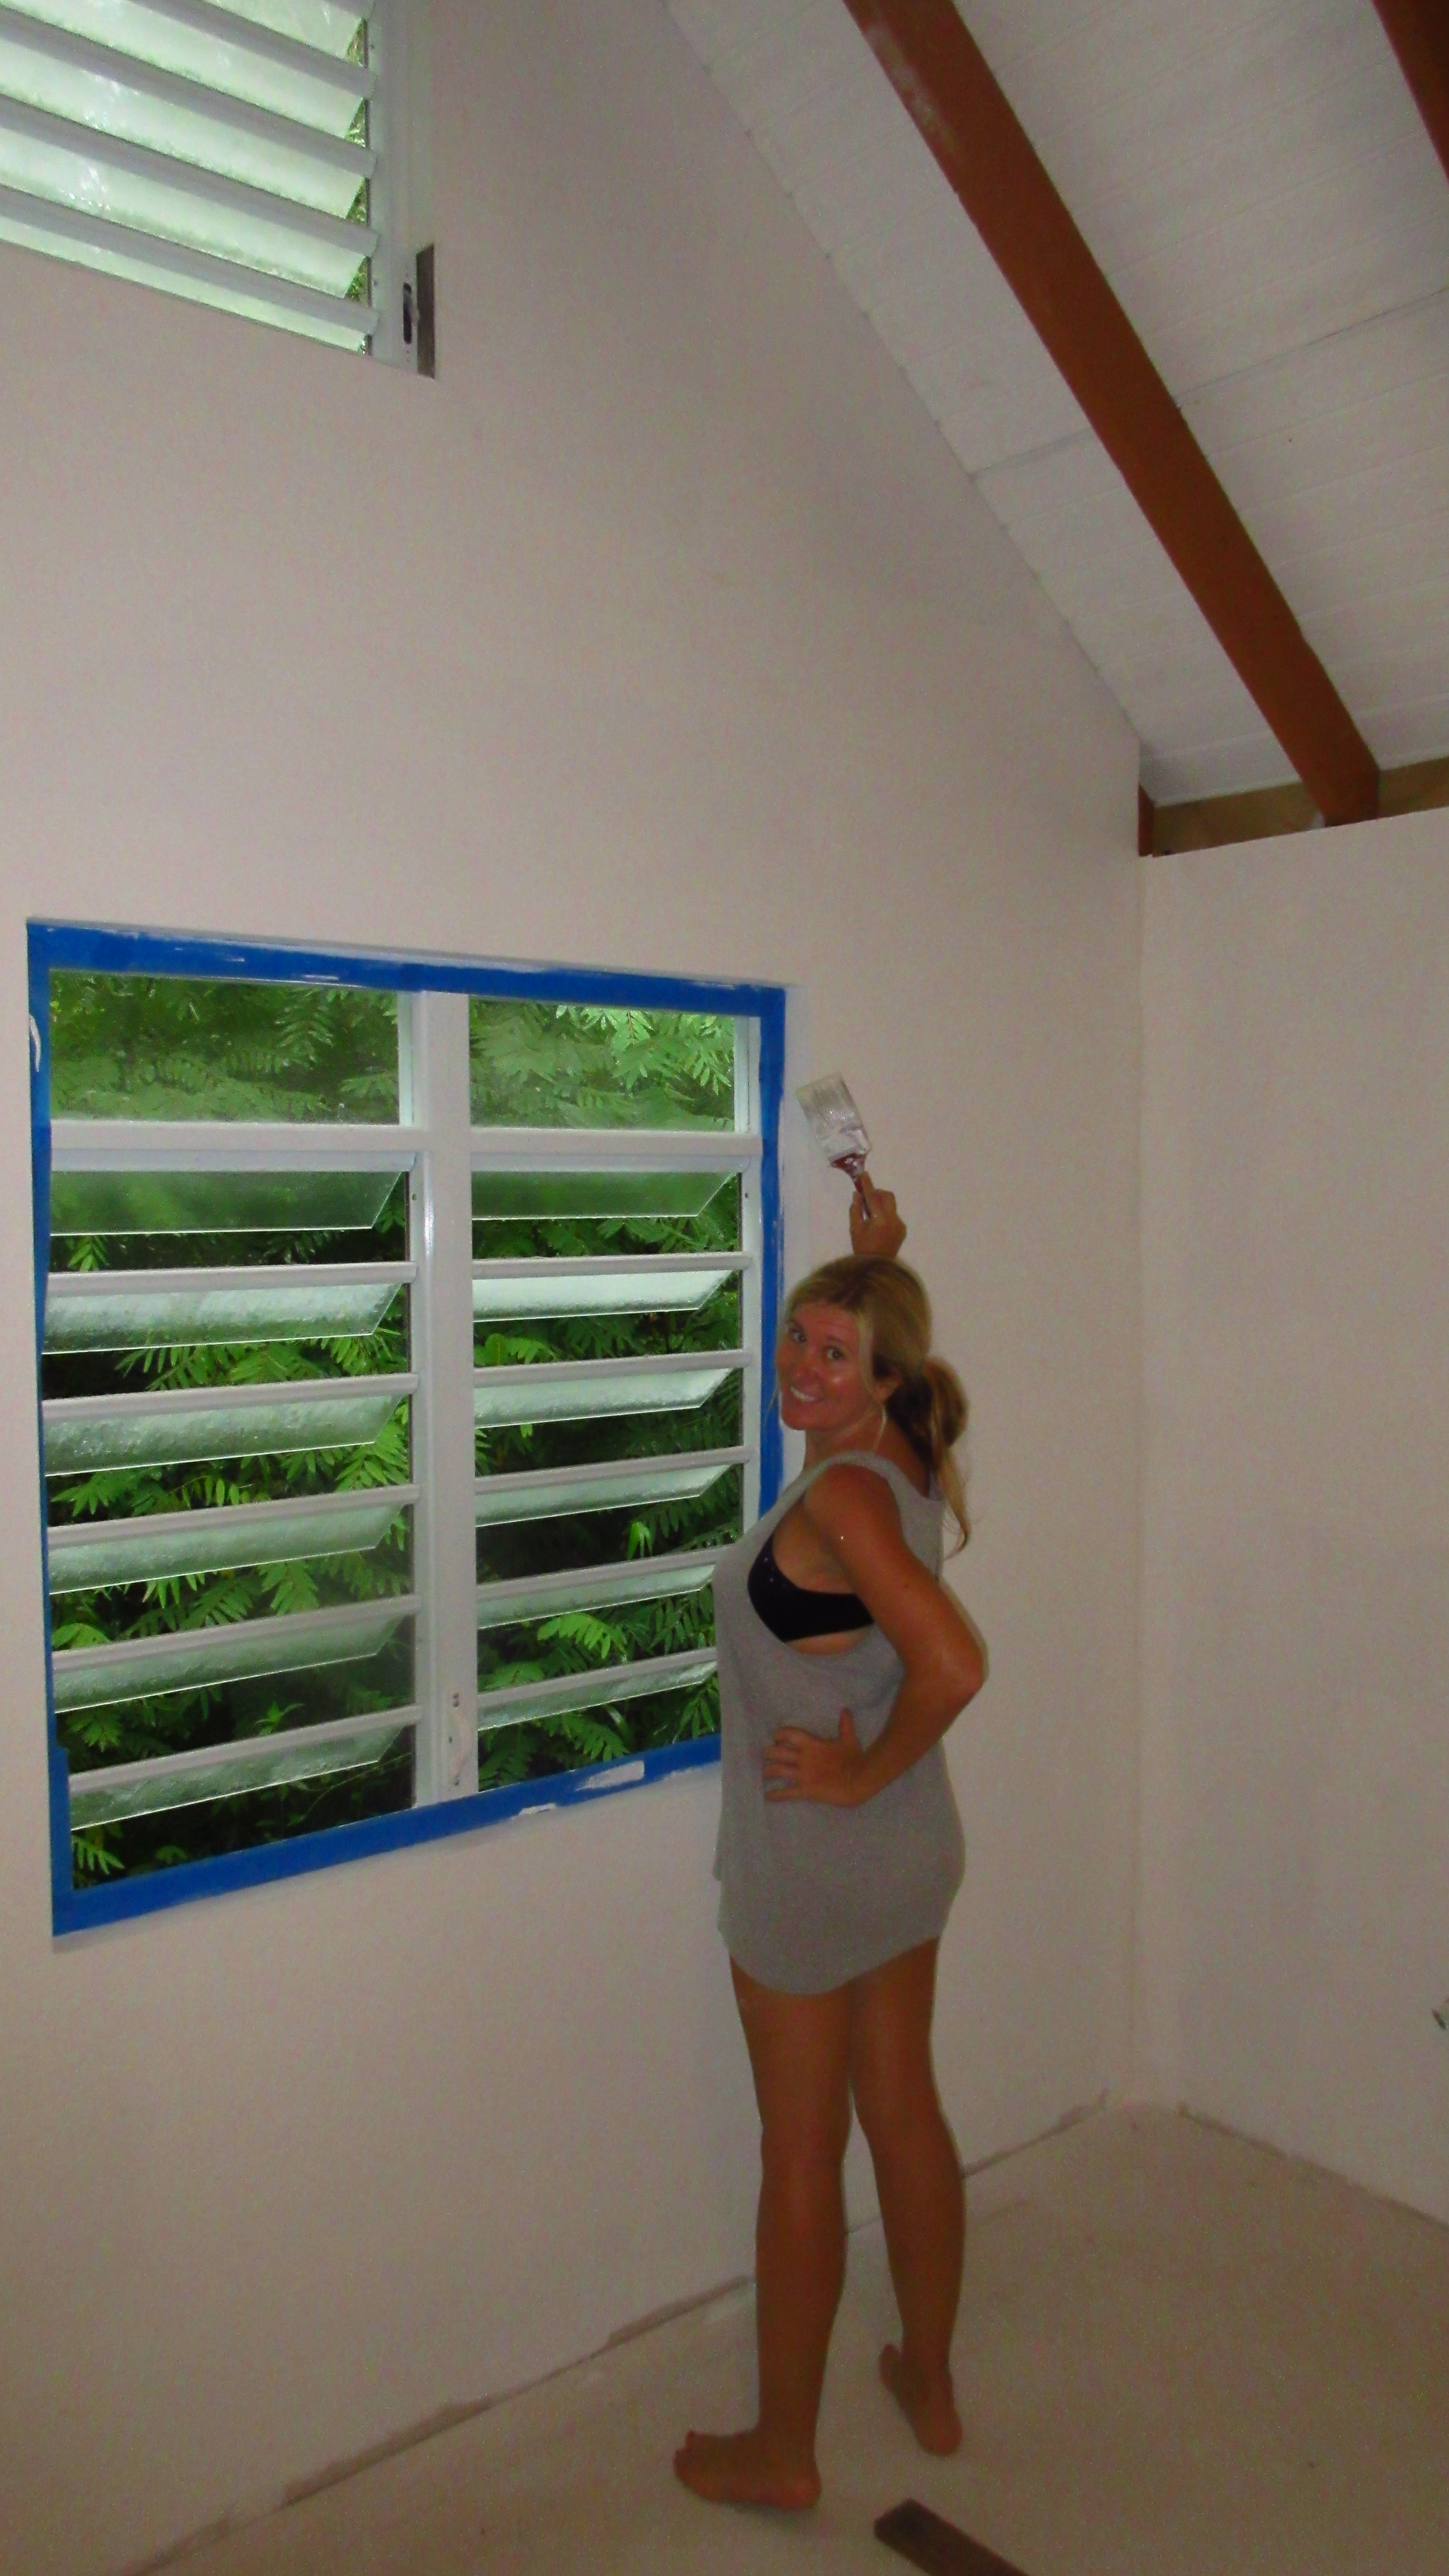
Cassie Priming the Drywall for Paint
So as you can see, we haven’t JUST been chinchorreando and having fun…We are making really good progress on the cabin too. Now that we can see the walls and floors taking shape we are super stoked to move in!
You guys are really making great progress. When you used the liquid membrane in the shower did you use the 6″ cloth/ fabric tape in the joints and seams.?
6″ tape?! No, I used 2″. Another part of trying to do things here is limited selection.
What I wanted to use was a PVC membrane/liner but they don’t sell them here. Or, I was unable to find someone who does.
There is a company out of the Savannah, GA area that sell shower bases, waterproofing, etc. Krbs or kbrs. You can buy the water proofing material from them. Free shipping on most stuff. Not sure if that would include for PR or not.
I would think that if you used a poly urethane caulk in the joints and then the tape and waterproofing over that it would be far superior to a rubber liner. The rubber/pvc liner can wear over time as it only floats on the substrate material.
I like the way you think. I feel that the waterproofing would be sufficient enough but part of building something is getting to test it out and seeing if it holds up or not. That is where experience reigns supreme.
Shipping things to PR can be a real pain. A lot of companies simply don’t. Even on Amazon.
Coming right along well, guys! I can’t wait to see your tile…sounds really lovely 🙂
Thanks!! We are so excited for the tile too. And of course there would be a long delay before we get it…lol. It is one of those ‘hurry up and wait’ scenarios. I think once the tile is in and the toilet/shower are hooked up we might just very well move in.
Finish the kitchen, handrails and painting jobs while we live there! Soooo excited.