
Not all aspects of this building project have come easily. Some have been a comical disaster.
It’s nothing that we can’t change or fix, but big time and money wasters. Case in point: these dang ceiling beams.
We determined a while ago to have exposed ceiling/roof beams with a siding underneath. I researched and found quite a few different styles. For instance, something like this:
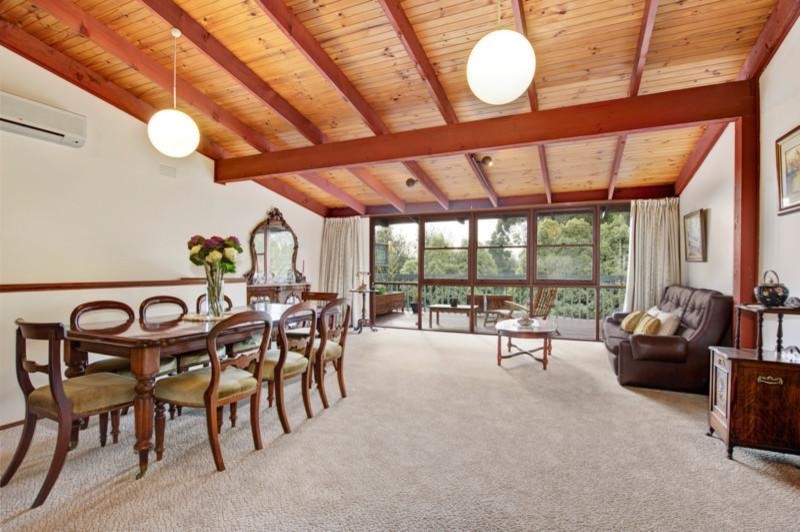
Example of an exposed wood beam ceiling
So Britton and I began by first powerwashing and then sanding the beams. We picked out a wood stain at Home Depot called Oak Leaf by Lanco. We thought it would be a deep wood color and then we could use a lighter stain on the T111 underneath.
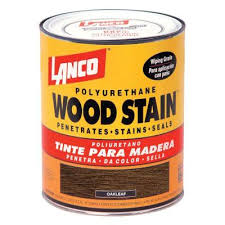
This is the exact stain we chose: buyer beware!!!
When Britton began staining, we noticed that the color was quite a bit redder than we expected. However, we thought maybe it was just because it was still wet and would mellow with time.
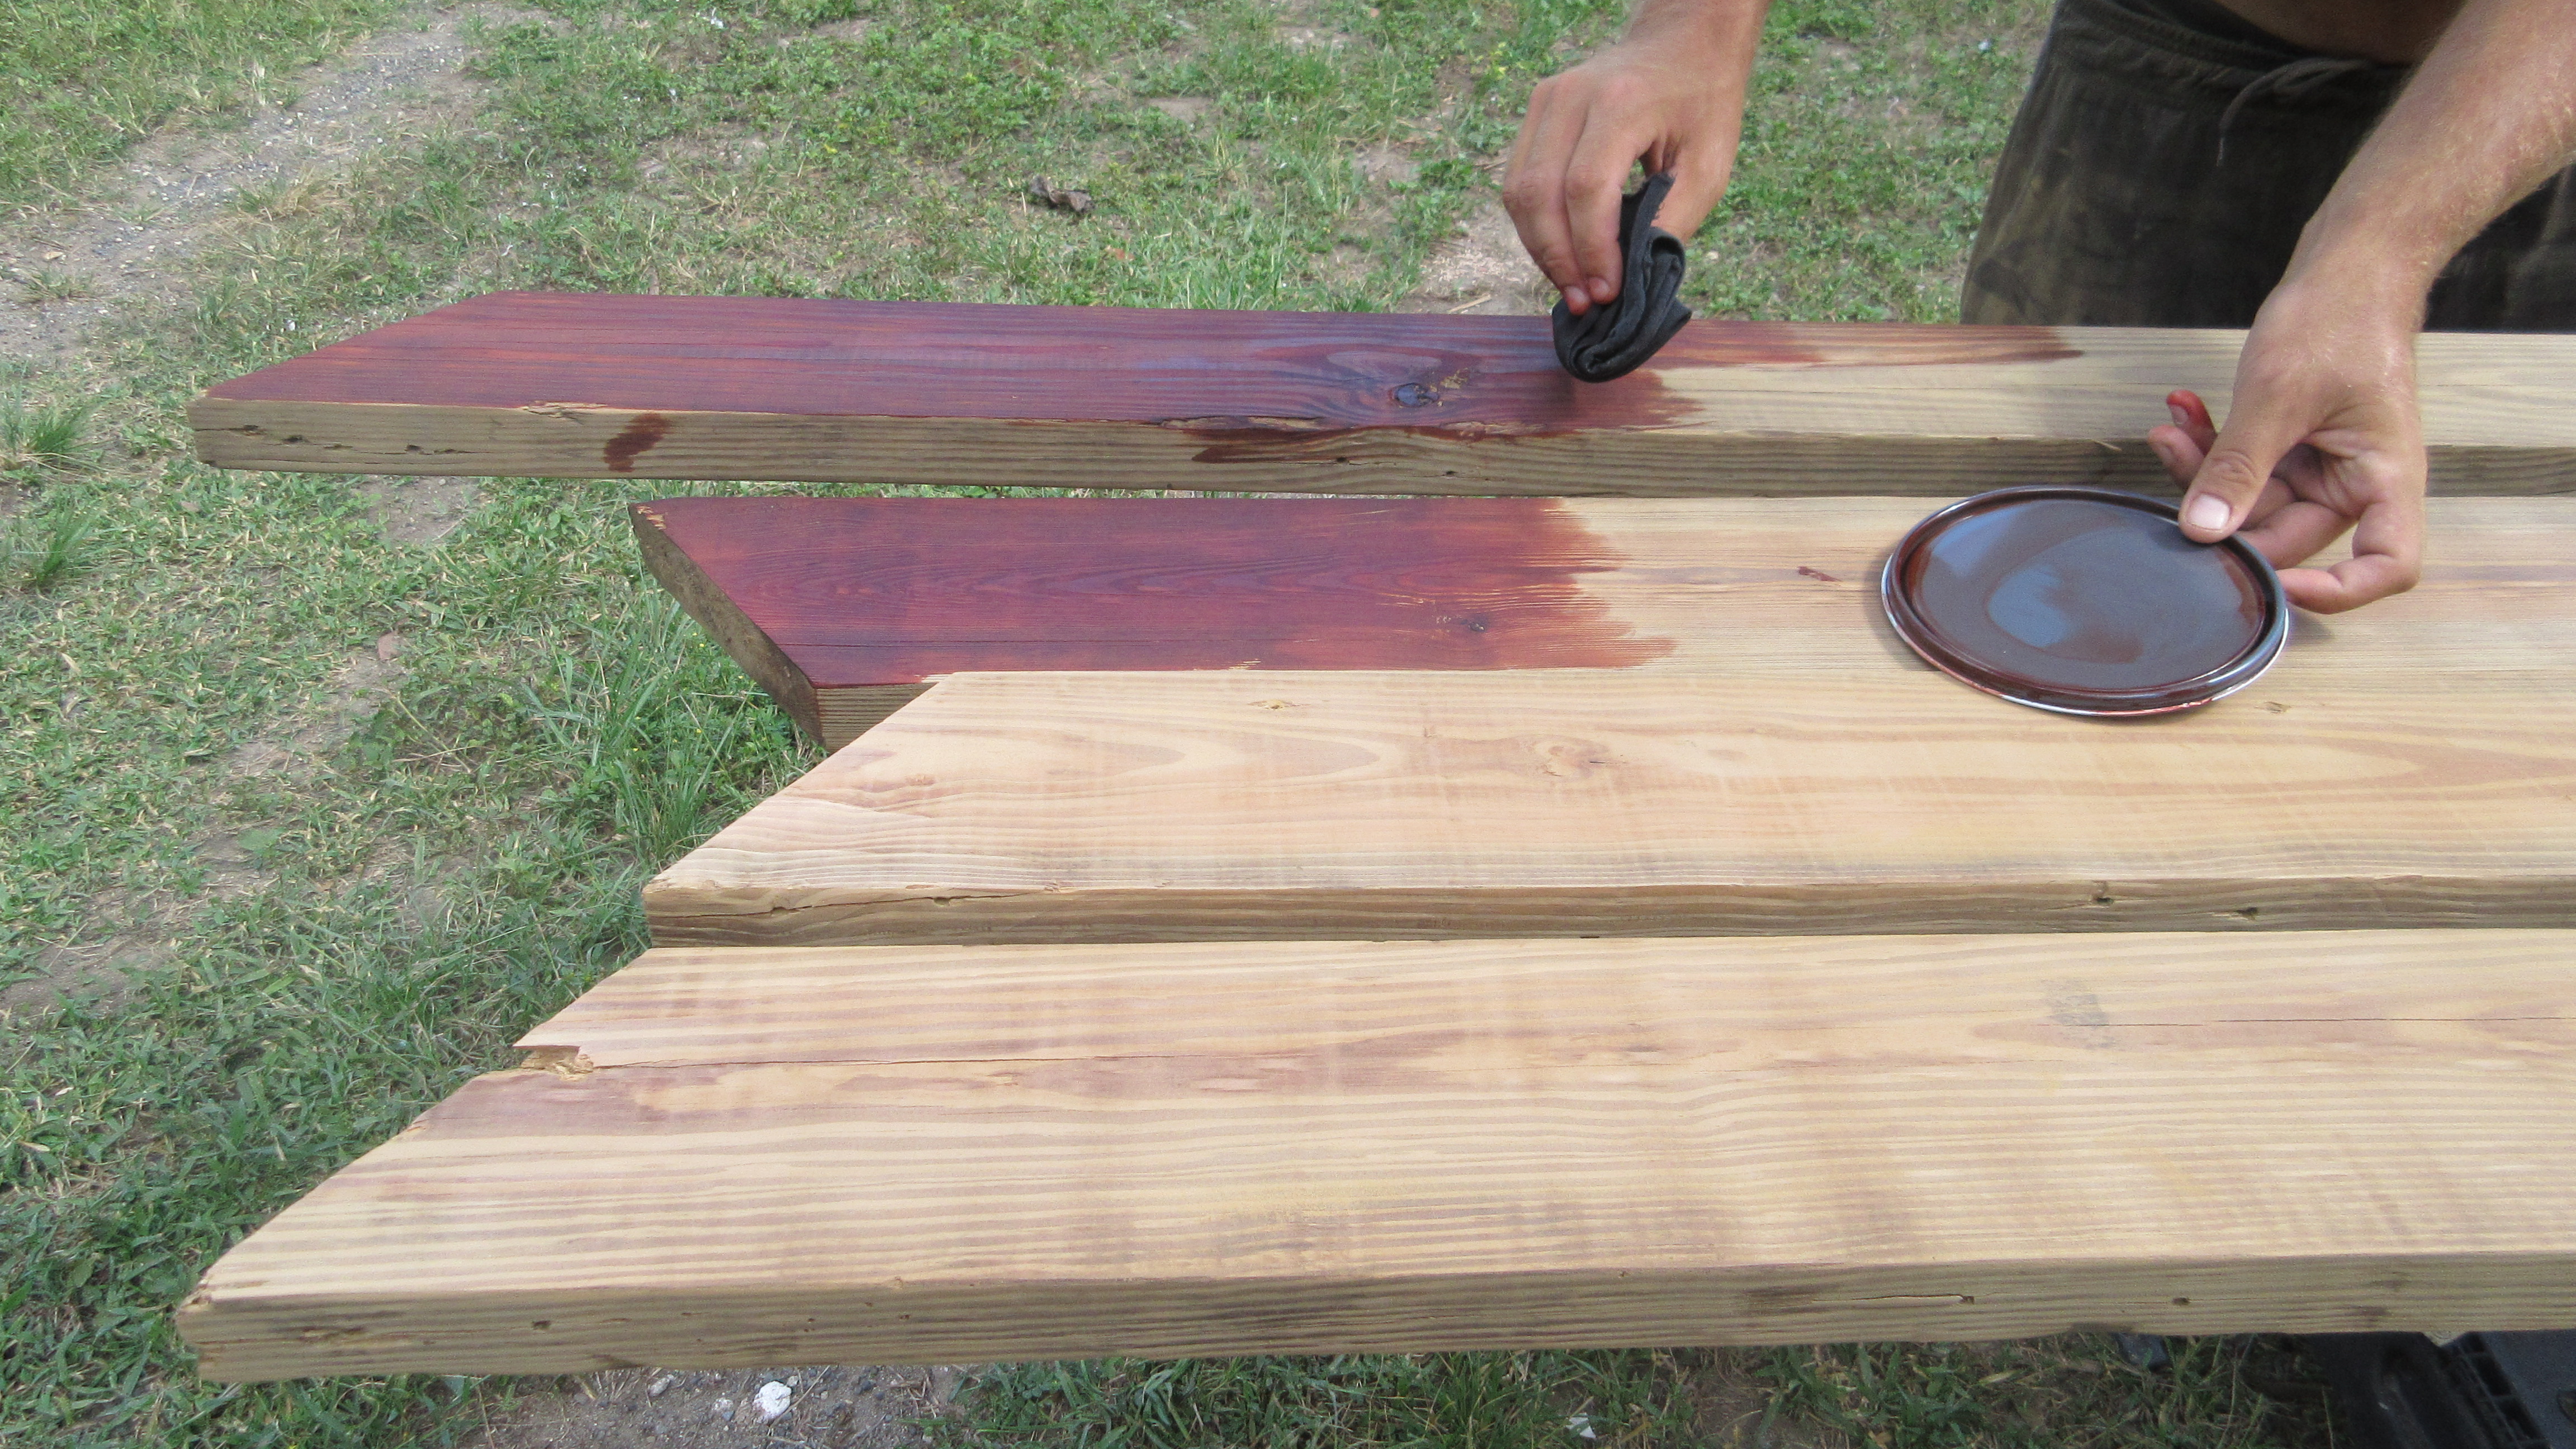
Beginning to stain -the start of the laughable nightmare
Hmmm…. the color threw me off a little because I wasn’t sure if a golden color would go well with the wine red. We thought about it a while and Britton agreed. Well, how about white underneath instead? We decided we would change to painting the T111 white to better go with the unexpected color of the boards. That was the first plan adjustment.
Well, when Britton came back from his trip to Colorado, we checked on the boards hoping they would be mellowed out and found the opposite. They were completely unacceptable. They were all different shades of red from an orange-red to a bright purple. Some of them didn’t even accept the stain and others soaked in too much. It was just a mess!
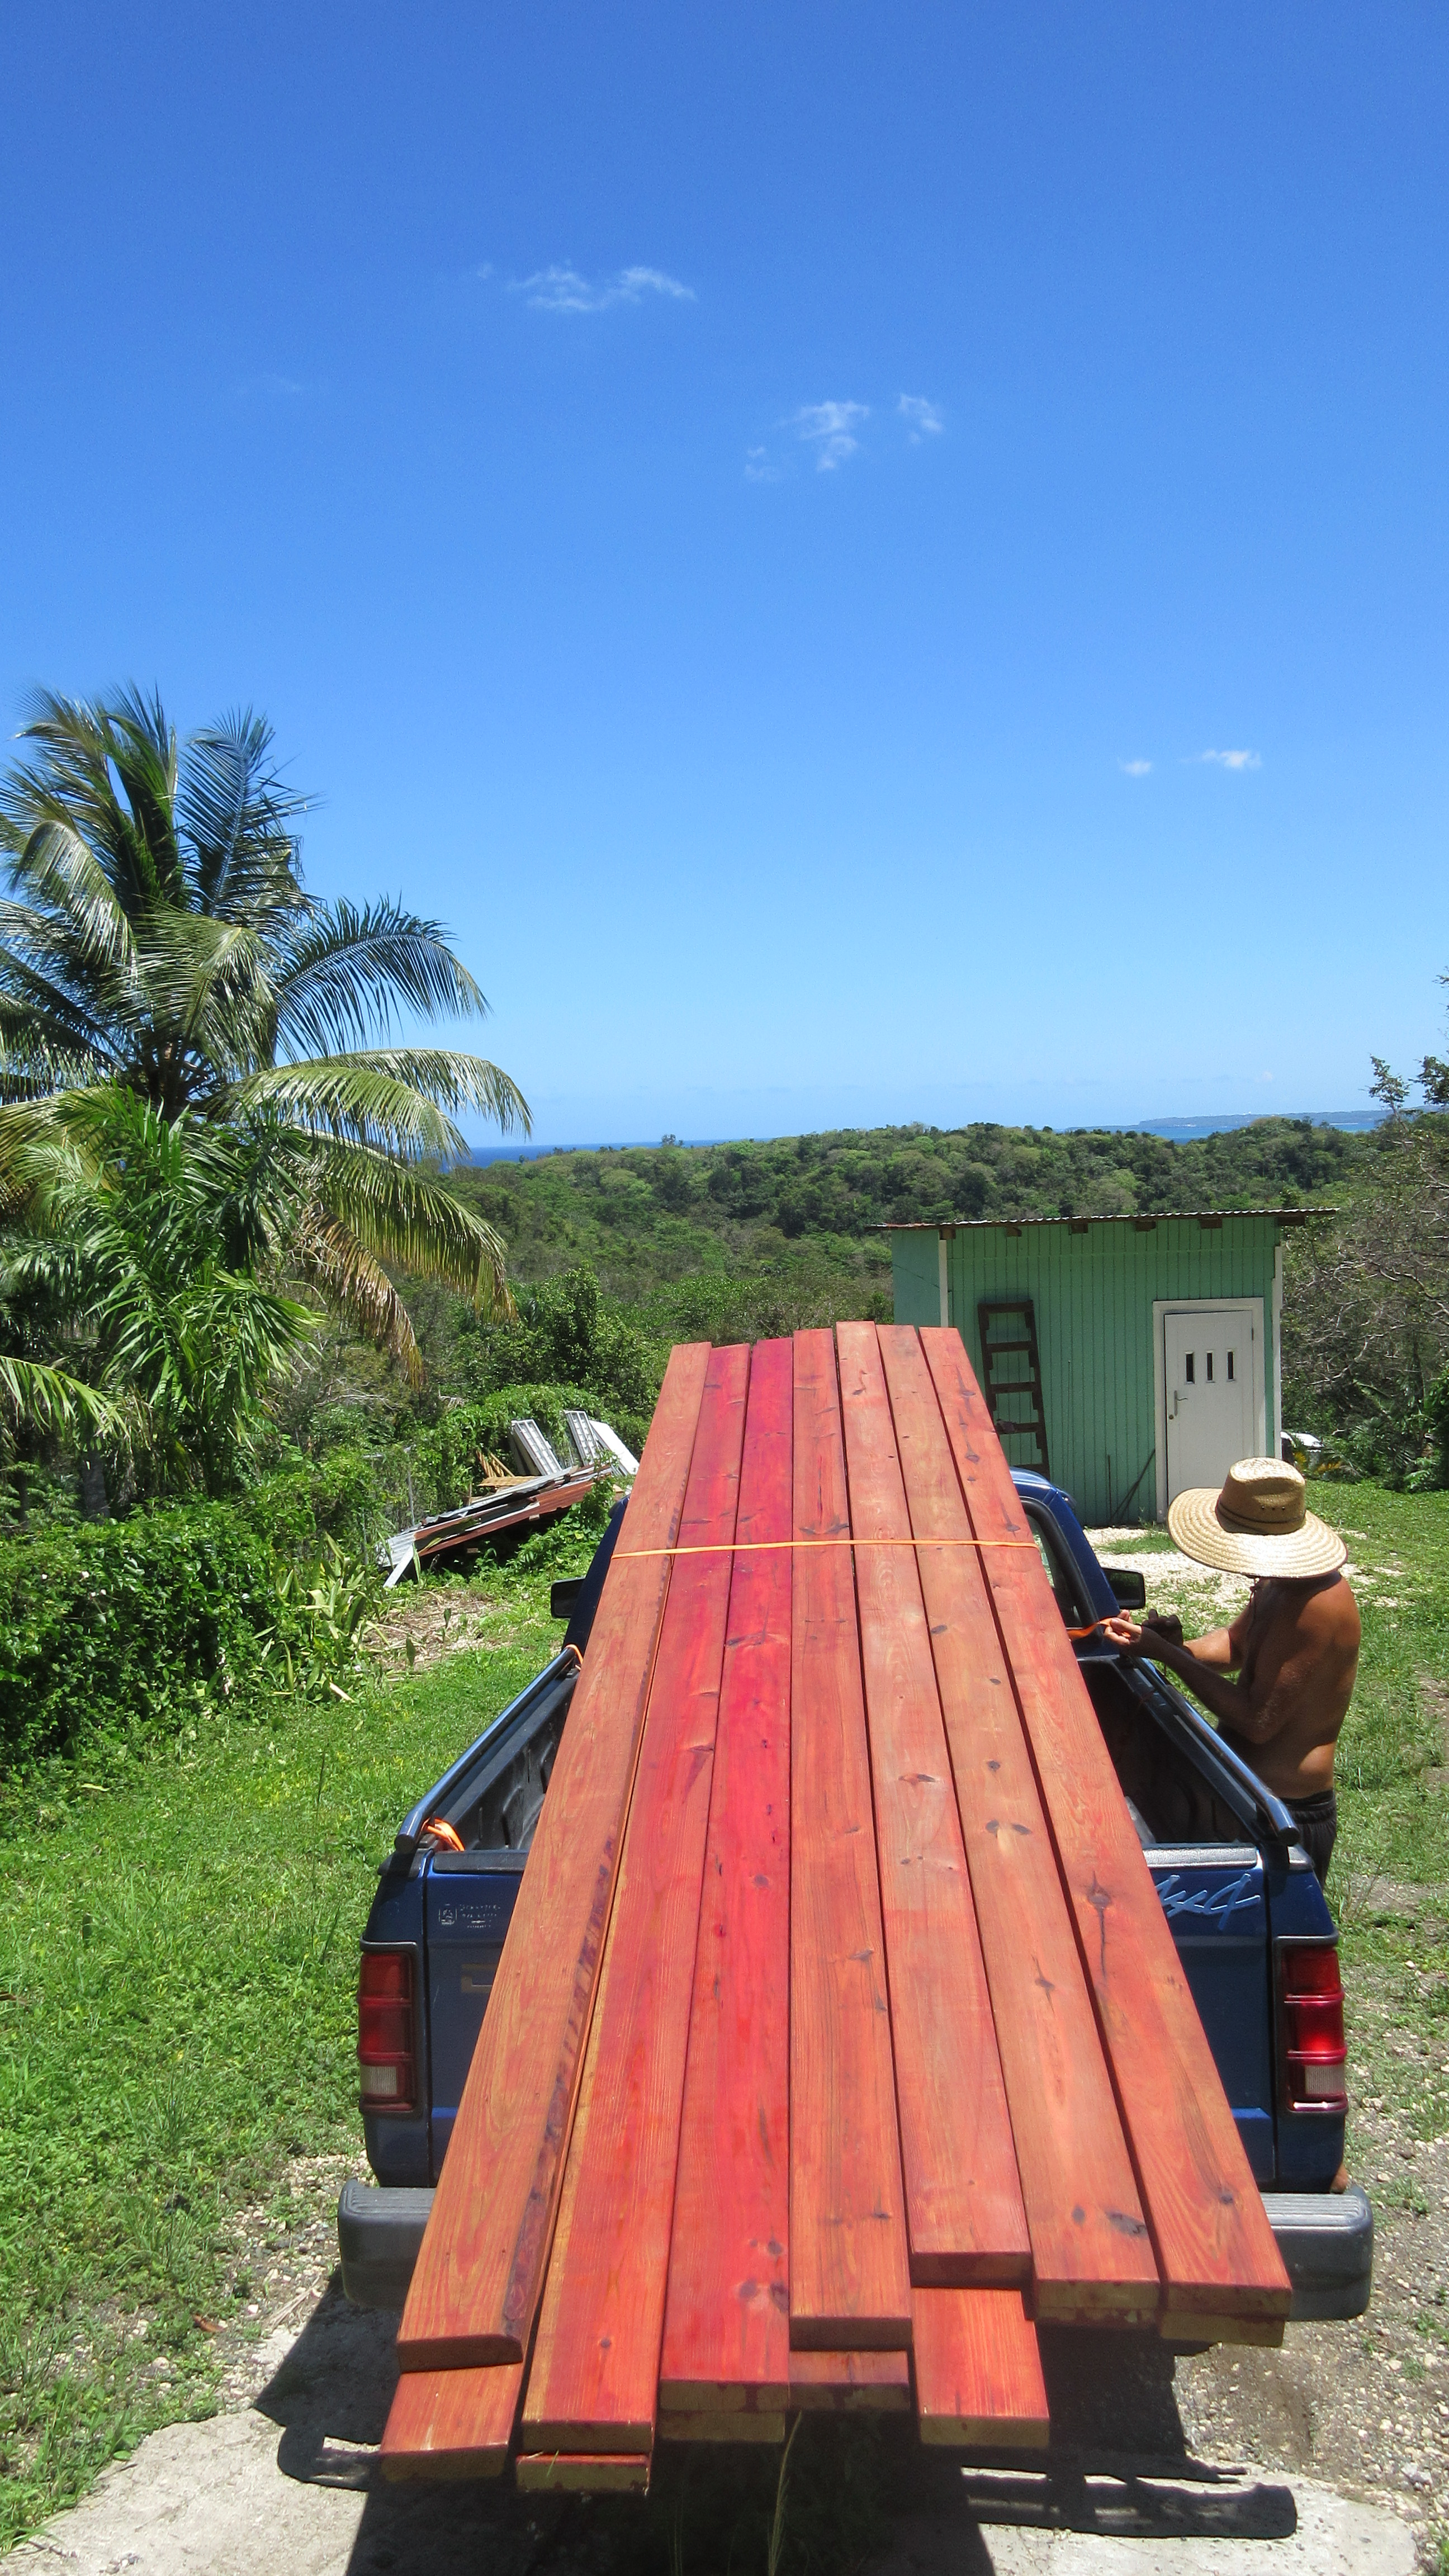
Check out the wild range of RED boards
So we started talking about what could be done about them. Stain is stain…literally and is virtually impossible to remove completely unless you plane it down. By now Britton has already spent probably 12 -15 hours sanding and staining these things.
We got to talking and our friends Dan and Theresa recently just moved into a wooden house in Rincón and invited us to check out how the roof/ceiling was done in it.
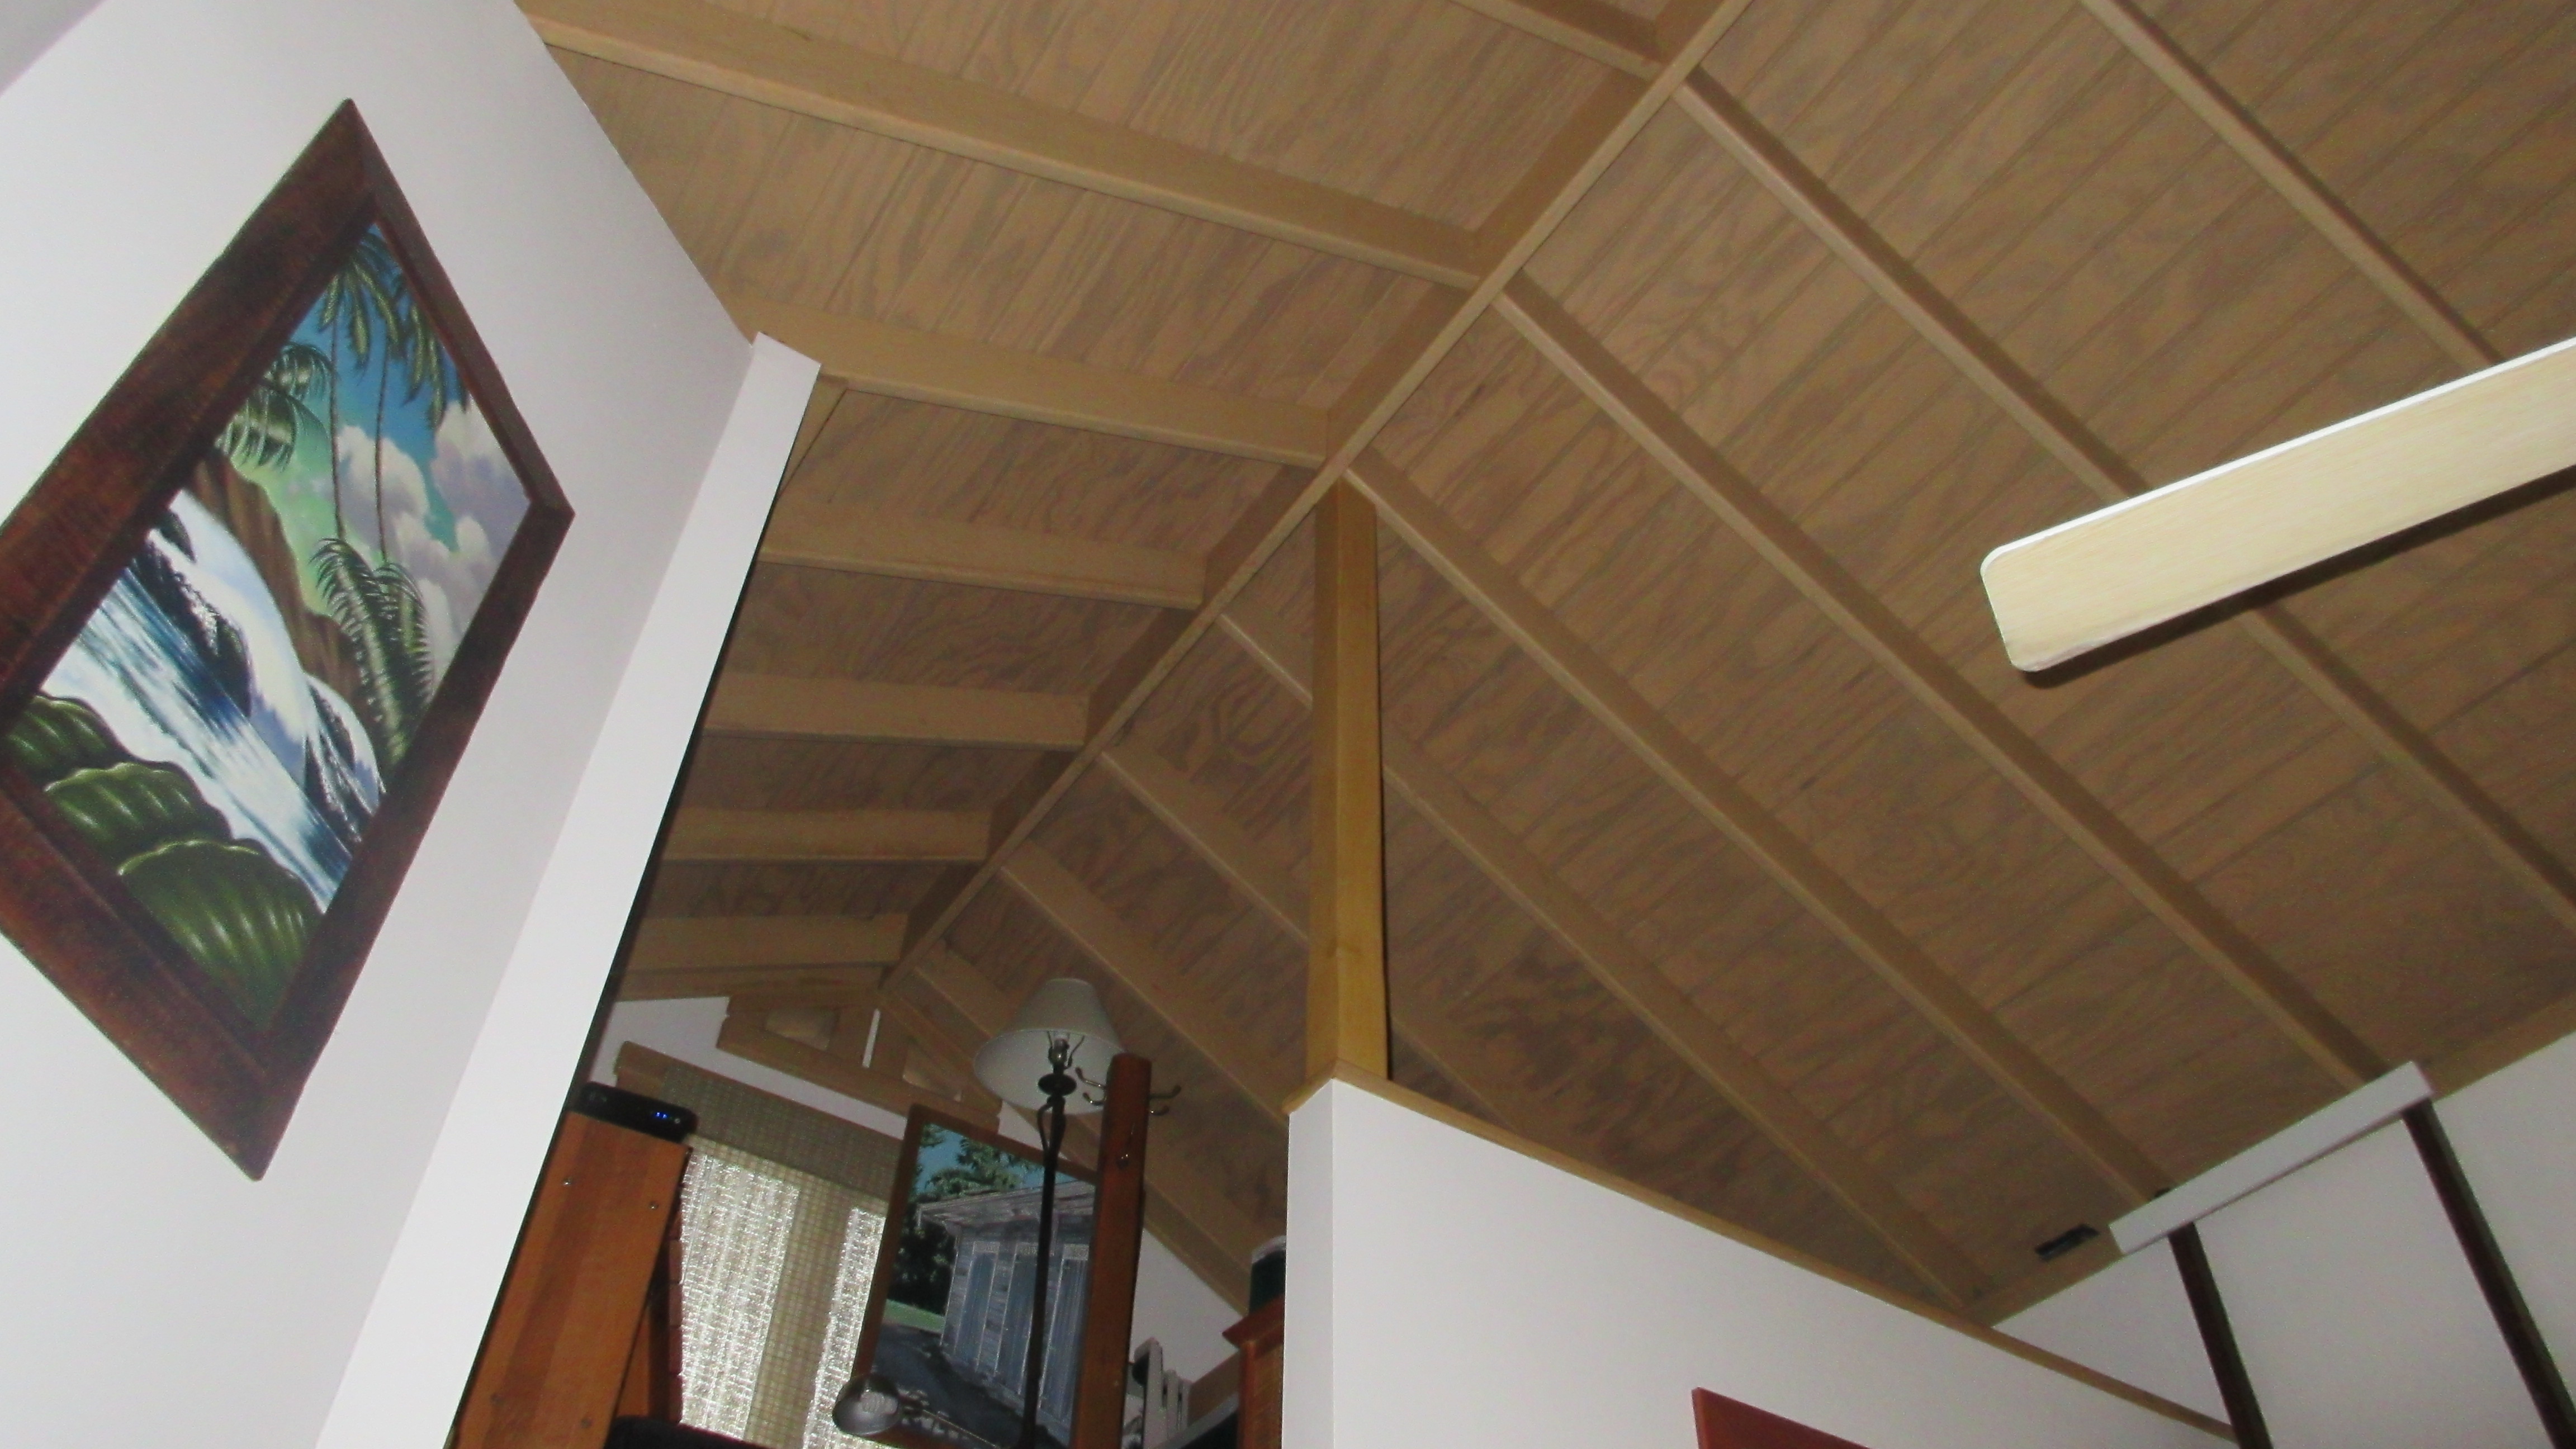
Another roof idea we liked -and it was here in PR!
We thought this could work! We would find a solid stain or paint for the beams and then a semi-transparent one for the T111. We went to Home Depot again and took back the white paint we were planning on using and asked the clerks what they recommended. They gave us a brochure and we looked through it for the better part of an hour until we found what we wanted. We went to pick it out and…oh, yah they don’t have that here in Puerto Rico. Only in the states! Oh, ok, well that would have been nice to know beforehand…
So the next day we saw that the Sherwin-Williams store in Rincón was having a sale. Perhaps they would carry a line of semi-transparent. They did! We were super excited. We picked out a tannish color for the beams and a matching semi-transparent for the panels along with primer to cover the red stain. One of the associates insisted on bringing it to our truck, but because of his short stature couldn’t quite reach over the truck bed with the paint and he dropped it with a thud. Oops. It didn’t look like anything had happened. But come to find out that when it had been dropped, the can bent and began spilling in the cardboard box, so when BK picked it up it just splattered everywhere! All over the truck, all over his clothes (our rarely worn ‘in-town’ clothes no less) and all over the rest of the paint supplies. We went back to the store and they apologized and refilled the gallon of stain.
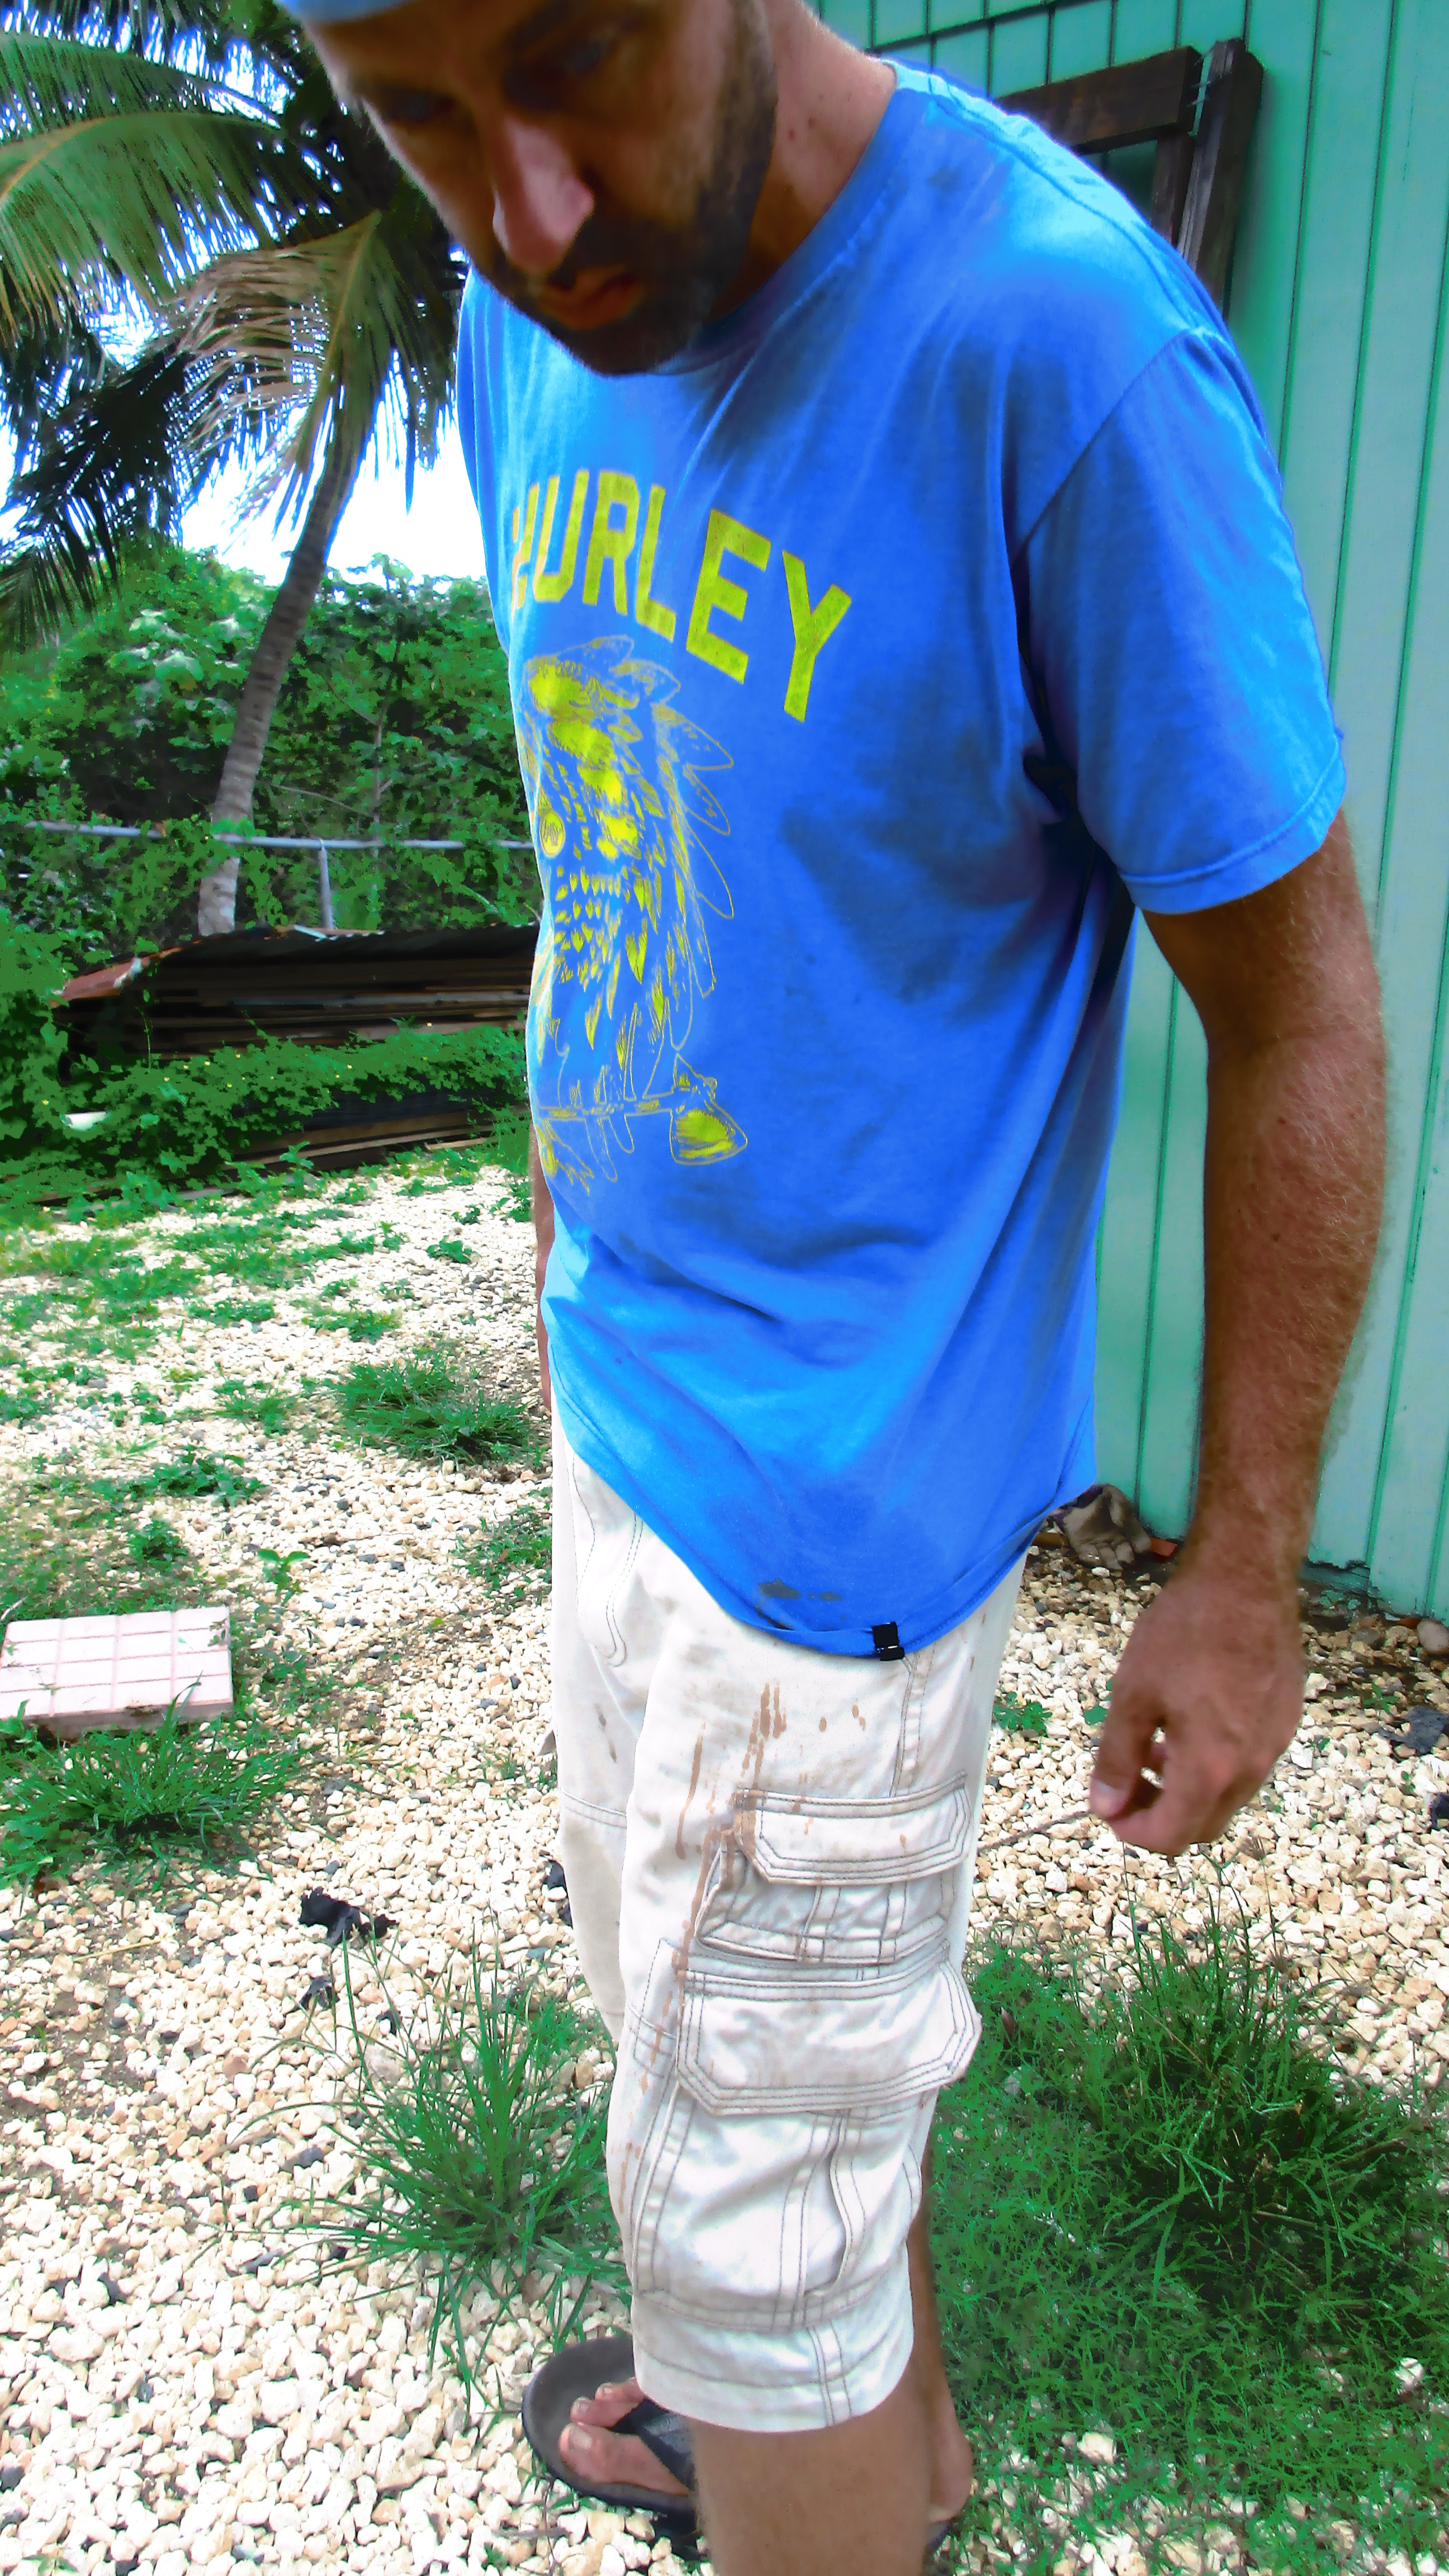

Stain spilled everywhere!
So that day was shot. But we wanted to get these things done before the guys came back to work on the roof. We frantically primered and then painted over all the 38 beams. This took another 12 hours or so over the course of two days.
When they were complete, we were happy with the color and our newest adjustment to the plan.
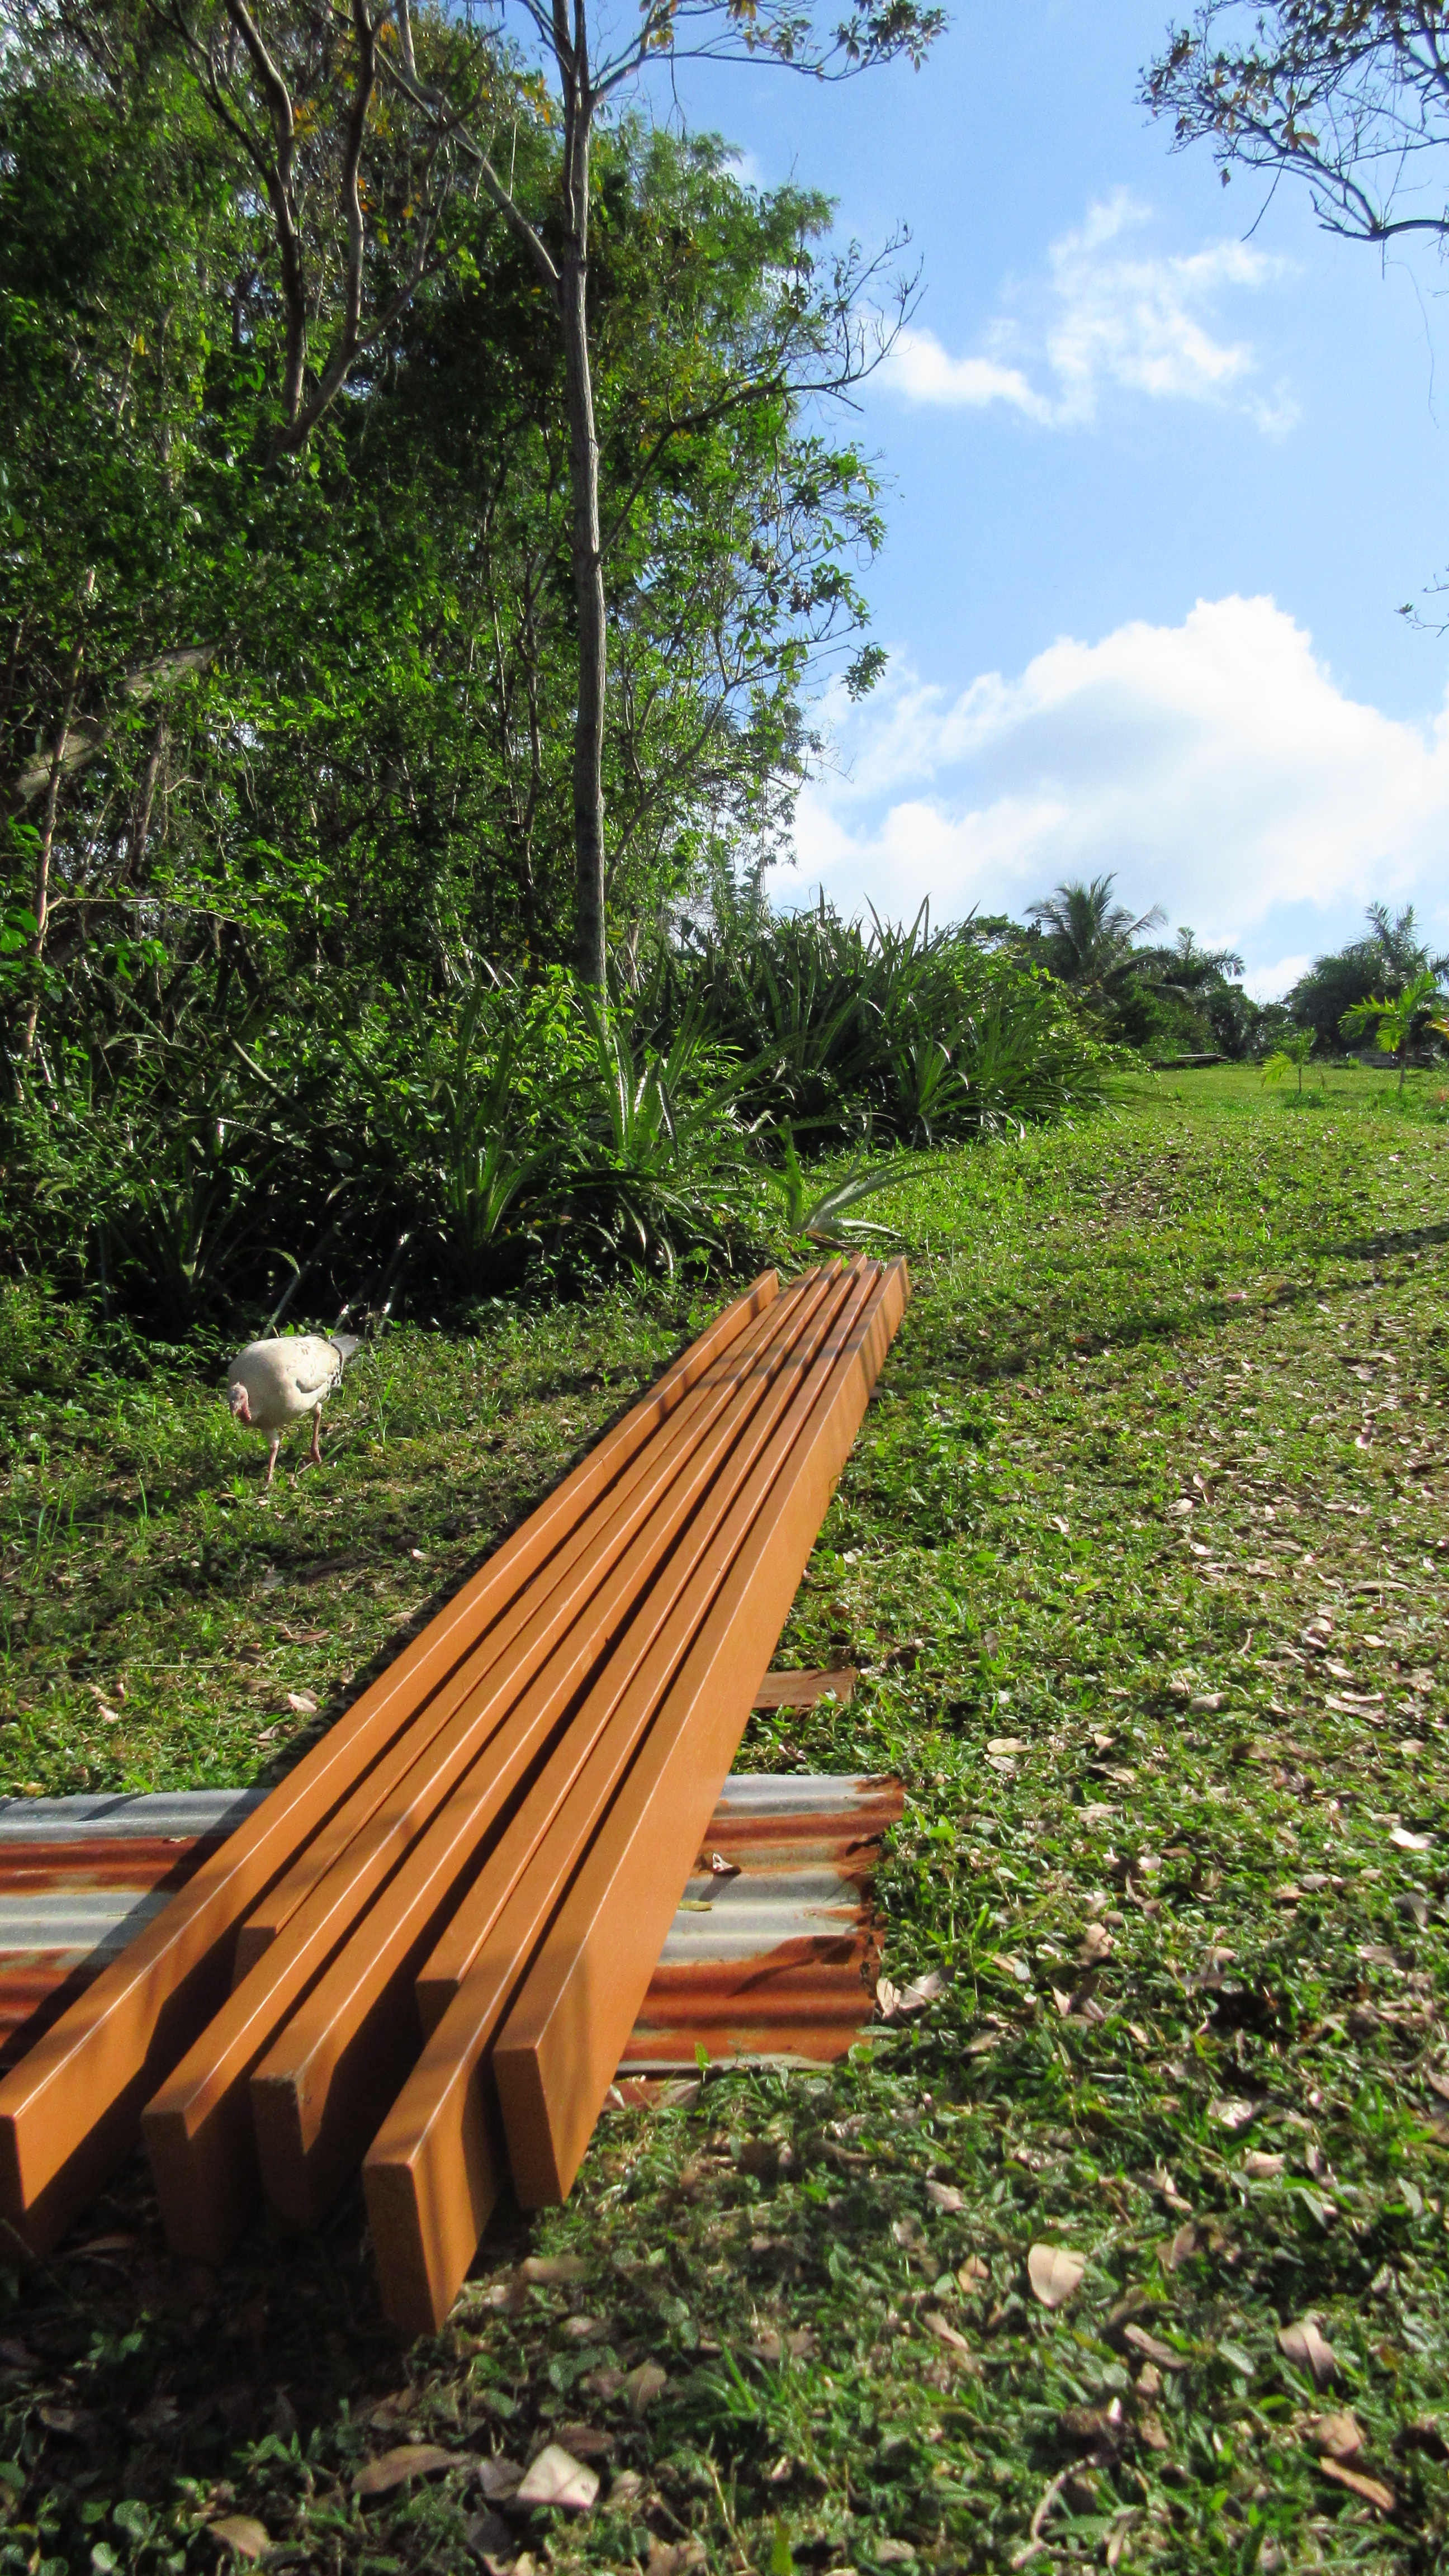
Freshly painted roof/ceiling boards
Then we went to begin the staining of the T111 and found that the color did not match really at all. It was quite a bit darker and not really even in the same color shade. Why didn’t we check that BEFORE we started painting the beams? AGH! So frustrating. What is up with these stains?! Maybe we are going crazy. Or maybe we should stick with what we know: paint. Of course this is all just cosmetic and we shouldn’t worry too much but these darn beams have taken so much of our time, money and contemplation that we are just burned out!
At this point we have decided to just keep pushing through with the roof and install the underside T111 without anything on them for now. Sometimes I wonder if we would have been better off doing nothing to these beams than all of this running around. Talk about spinning our wheels! I guess this is how you can tell we are amateurs (or fools?). We thought we were being efficient by working on these beams on the ground, but maybe we should have just waited until the finishing stages. These are the painfully hilarious lessons in a big project like this. My mantra lately: Mistakes are just learning opportunities. Mistakes. Are. Just. Learning. Opportunities! I also try and constantly remind myself not to sweat the small stuff (and it’s all small stuff). That relative to the issues other people are dealing with this is just child’s play. But sometimes I feel like a big bumbler out here.
A useful idea is to try to round up all finish materials, from paint finishes tested on a piece of finished drywall or wood to cabinet wood samples, counter tops, window frames (if needed to be stained), even door knobs, carpet or tile samples and sample of lighting fixture metal together before beginning the interior. It takes time to round this stuff up, but it what the pros have to do when working with clients, and it saves a lot of redo time and expense later. We make up a “book” later with these materials for future buyers so they have the paint numbers, wood floor type and company, tile, grouts, stucco type and color, roofing material etc etc etc for repair and replacement later. Both collections help with interior design later also (such as buying a carpet or rug or even a bedspread or pillows).
I noticed by the picture of the house of your friends that have paintings with tropical landscapes. So, they fully embraced Puerto Rico. That´s awesome!
Oh, No! How incredibly frustrating to have to go through all that plus have your clothes ruined and paint on the truck. You have a very positive attitude and are rolling with the flow, kudos to you both. It will all work out in the end. Thank you for the updates as I’m still following along on your incredible journey. Ohhh, I want to move to Rincon so badly!
Thanks guys.
Annie, you are WAY more organized than I am. That is such a great idea, but I wonder if I would follow through. There are so many aspects to this project. Just keeping track of receipts for returns has been a PITA.
Lester, yes most people who move here love the tropical vibe inside and out!
Barbara, thank you again. It has been a super trying time. We have moments of elation about this project and moments of utter “can this be done yet?!” feelings.
Rincón and all her adventures are awaiting you as well!
And the comedy of errors for these beams has not ended. Wait till you hear what happened this week…